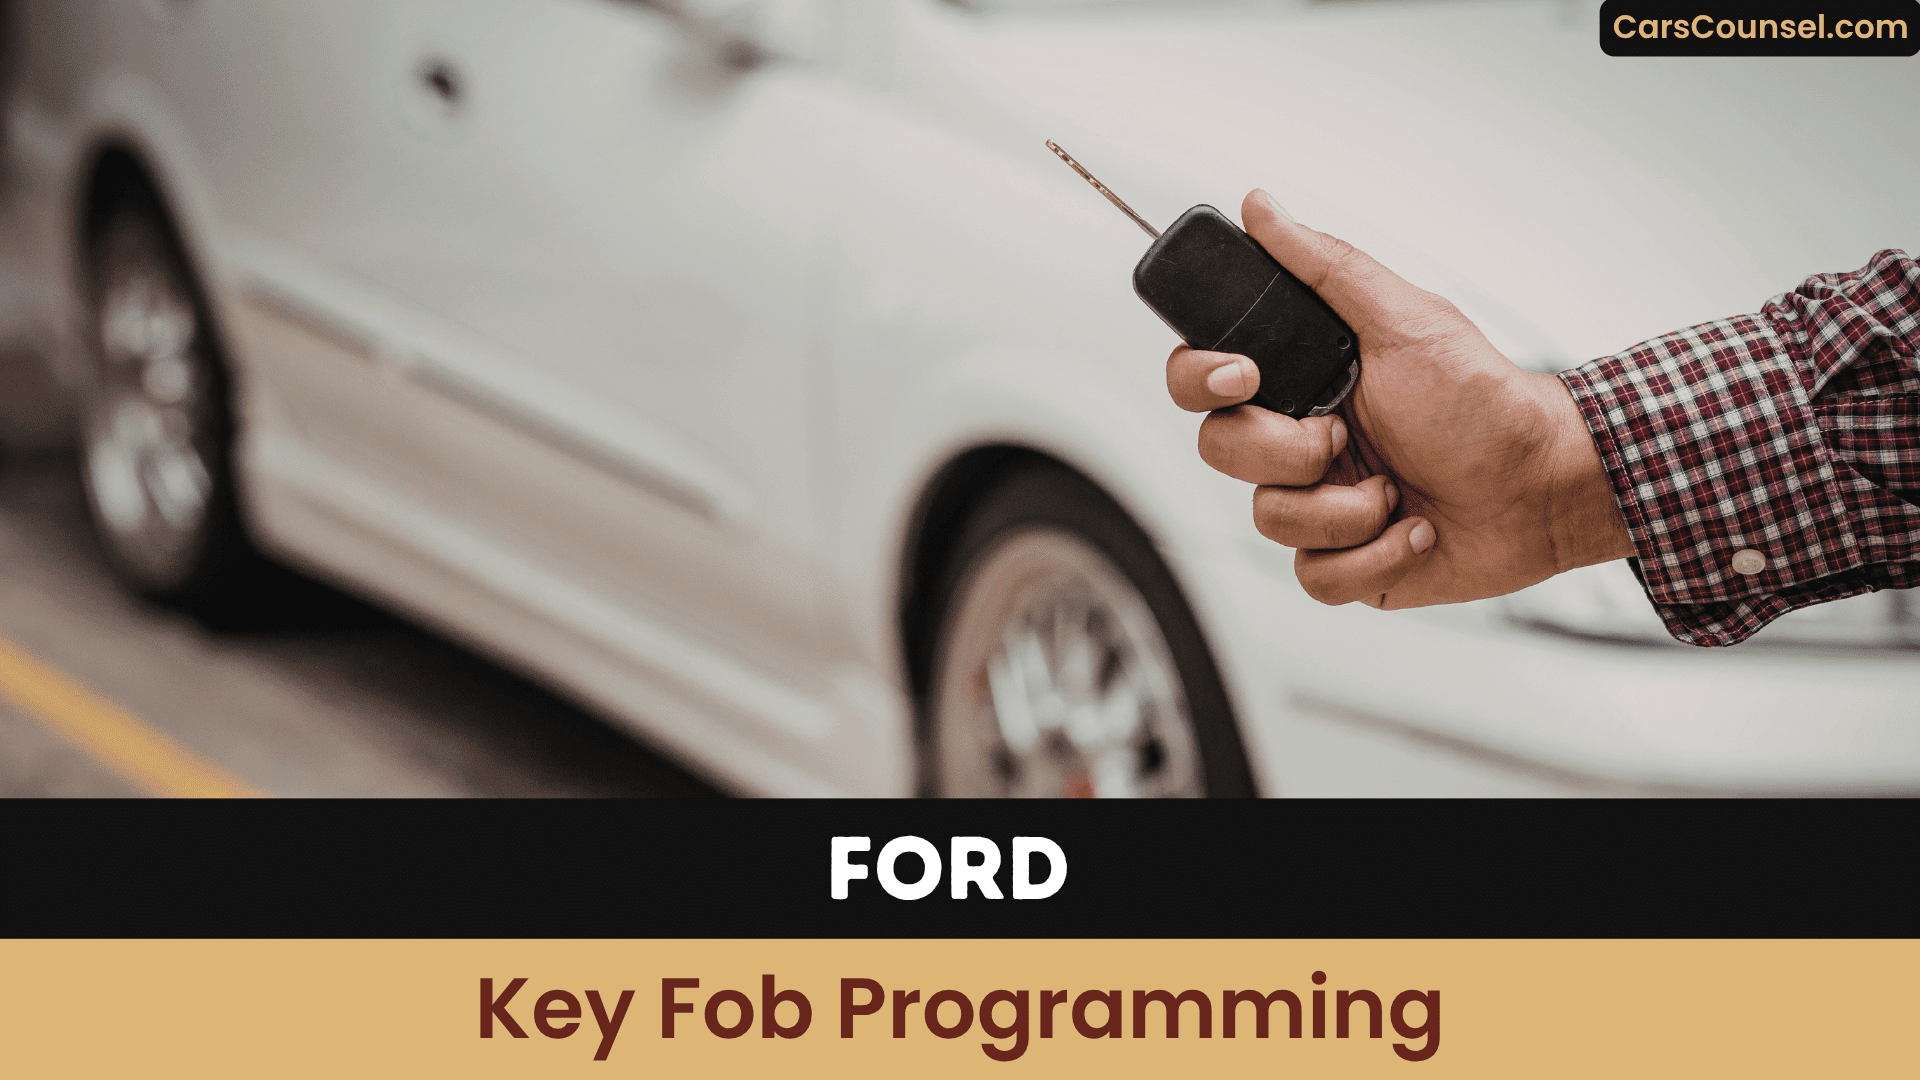
It’s a gentle exercise in patience, not a high‑tech miracle. You’ll start by checking the fob’s battery and closing every door except the driver’s.
Then you’ll execute eight rapid ignition cycles, each under 1.2 seconds, and press a button within eight seconds. You’ll soon discover why precise timing makes all the difference.
Quick Navigation
Key Takeaways
- Verify the fob’s CR2032 battery is ≥ 3 V before starting.
- Perform eight rapid ignition ON→RUN cycles within 10 seconds, ending on RUN.
- Within 8 seconds of the final RUN, press any fob button to register it.
- A lock‑unlock‑lock cycle confirms success; repeat the ignition sequence for each additional fob.
- If lock cycles fail, check ignition timing, battery voltage, door sensors, and remove nearby electronic interference.
Quick Start Checklist for Ford Key Fob Programming
How can you quickly verify you’re ready for Ford key fob programming? First, confirm the fob’s battery health; a full‑charge battery prevents missed signals.
Check fob placement, each fob within reach, avoiding obstructions that could interfere with transmission.
Turn ignition OFF, then press RUN eight times in ten seconds, pausing on RUN to trigger the lock‑unlock cycle that signals programming mode.
Within eight seconds, press any button on primary fob; a second lock‑unlock confirms registration.
Repeat the eight‑second press for each additional fob while ignition stays in RUN.
After the last fob, turn ignition OFF; a cycle indicates completion.
Prepare Doors and Unlock the Driver’s Door
Before you start the programming sequence, make sure every door on the vehicle is fully closed.
Verify door alignment and confirm the lock sensor reports a sealed cabin.
Then open only the driver’s door, keeping the remaining doors shut.
Press the RELEASE button on the driver‑side panel; the door lock actuator will cycle once, indicating entry mode is active.
Observe the single lock‑release cycle and avoid touching any other doors or locks until it finishes.
This precise preparation guarantees the vehicle’s systems recognize the key fob and prevents communication errors during the subsequent programming steps, guaranteeing flawless results today.
Perform the 8‑Cycle Ignition Sequence
You turn the ignition from OFF to RUN eight times within ten seconds, making each turn quick enough to stay under the limit.
As you complete the sequence, watch the doors lock and release, confirming that the vehicle has entered programming mode.
If the lock cycle doesn’t appear, repeat the rapid turns, ensuring the speed requirement is met before proceeding.
Rapid Ignition Cycling
In under ten seconds, you’ll turn the ignition on and off eight times, ending on RUN, while the driver’s door remains open and unlatched. Begin by setting the key to OFF, then rotate to RUN, counting each turn.
Complete each rotation in roughly 1.2 seconds or faster; any pause longer than one second breaks the sequence. Maintain a steady rhythm to minimize ignition wear and reduce signal latency, ensuring the vehicle registers each transition.
If you miss the timing window, start over immediately, preserving the required speed until the eight‑cycle finishes within the ten‑second limit for successful programming today.
Observe Lock Cycle
Having completed the rapid eight‑turn ignition sequence, you now watch for the lock‑release feedback that confirms the vehicle has entered programming mode.
Immediately after the eighth turn, listen for audible signals and observe visual cues: the doors will lock, pause briefly, then release.
This lock cycle must occur before you press any fob button, or the programming attempt fails.
If you hear no click or see no flash, repeat the eight‑turn cycle, keeping each turn under 1.25 seconds to stay within the ten‑second window.
Confirm the cycle each time before proceeding to fob registration according to the procedure today.
Press the New Fob Within 8 Seconds
After the ignition finishes, you have exactly eight seconds to press any button on the new fob, and the doors must lock and open to confirm registration.
If the lock cycle doesn’t occur, repeat the ignition‑ON/OFF sequence and confirm the eight‑second interval is met before trying again.
Staying within this window for each fob guarantees successful programming without additional steps.
Timing Is Crucial
When you finish the eight rapid OFF→RUN ignition cycles, the door locks execute a lock‑unlock pulse and a strict eight‑second window opens for you to press any button on the new fob; if you miss that window or if the ignition sequence takes longer than ten seconds, the vehicle never enters programming mode and the timer never starts.
You need to align your press with the vehicle’s clock synchronization; any reaction latency beyond a fraction of a second will abort the window.
Each additional fob requires its own eight‑second slot, otherwise you’ll repeat the ignition cycle to complete properly.
Stay Within Window
Because the vehicle’s computer starts the 8‑second programming window the moment the ignition settles in RUN, you’ve got to press any button on the new fob within that span or the sequence aborts.
After the eight rapid cycles finish, watch the lock‑unlock flash; it confirms the buffer tolerance is still within sync precision.
You must hit the fob before the visual cue disappears, otherwise you’ll restart the cycle.
- Press any button within eight seconds.
- Only the first press registers; presses are ignored.
- Repeat the ignition cycle for each additional fob.
Maintain sync precision; any delay exceeds buffer tolerance, aborting.
Add Extra Fobs in One Go
How can you add multiple fobs in a programming session?
After you program the first fob, keep the ignition in RUN mode and perform a batch addition.
Press each additional fob’s button within an eight‑second window for simultaneous registration.
Press each extra fob’s button within an eight‑second window to register them simultaneously.
The door locks will cycle once for every successful press, confirming storage.
The timer resets after each press, so you must complete each step before the next window expires.
There’s no fixed limit to how many fobs you can add, provided you meet the timing requirement.
When all fobs are programmed, turn the ignition off; a lock‑unlock cycle signals completion.
How to Confirm a Successful Ford Key Fob Programming
You’ll know the programming succeeded when the doors execute a lock‑unlock‑lock cycle within eight seconds of pressing the fob button.
After the final fob, turning the ignition to OFF should trigger one more cycle, confirming the sequence is complete.
No dashboard lights or beeps are required—only the lock cycle serves as visual feedback.
Lock Cycle Confirmation
A successful programming triggers a full lock‑unlock‑lock cycle, which is the definitive sign that the fob has been entered correctly. Press the fob within eight seconds while the engine stays in RUN after eight rapid ignition cycles (≤1.25 s each). Listen for one click and watch the doors move once; extra cycles mean the window was missed.
Sensor latency or electrical noise may interfere, so keep connections tight during the programming session.
- Verify eight ON→RUN cycles, each ≤1.25 s, properly.
- Make certain a single lock‑unlock‑lock occurs immediately after the fob press quickly.
- Turn ignition OFF; the final cycle confirms programming completion successfully.
Dashboard Indicator Check
After you’ve confirmed the lock‑open‑lock sequence, watch the instrument cluster for the next visual cue.
The cluster will flash the lock/open icon twice, a clear status illumination that marks successful registration.
Simultaneously, the driver‑information display presents “Key Programming Completed” for a few seconds, confirming proper indicator timing.
During each fob’s 8‑second window the doors will cycle once more, then the final lock cycle occurs.
Observe the “Keyless Entry” light: it should stop blinking and stay steady.
Finally, test each new fob; immediate lock and open confirms the programming succeeded.
If any fob fails, repeat the programming steps promptly again.
Troubleshoot Lock‑Cycle Issues After Programming
If the lock‑cycle fails to happen after you’ve programmed a new fob, first verify that you completed the ignition‑ON to RUN cycle eight times within ten seconds—any slower cadence typically blocks the confirmation.
Ensure you complete eight ignition‑ON to RUN cycles within ten seconds, or the lock‑cycle won’t confirm.
Press any fob button within eight seconds of the final RUN; later presses won’t trigger the cycle.
Verify the keyless entry system is active—doors should lock when the driver’s door opens.
Check for signal interference and battery health; a voltage under 3 V often stops the lock‑cycle.
- Repeat the ignition‑ON/RUN sequence precisely.
- Replace the fob battery if voltage low.
- Remove nearby electronic devices that could cause interference.
Common Mistakes That Can Halt Programming
How often do you miss the tight timing that governs Ford’s key‑fob programming?
If you fail to execute eight OFF→RUN cycles within a ten‑second window, the vehicle never enters programming mode.
Pressing the fob after the eight‑second lock‑cycle window aborts registration, as does turning the ignition OFF before every fob is pressed.
Make sure the keyless‑entry system is active—doors must open with the driver‑side OPEN button—otherwise the lock‑cycle signal never appears.
Avoid button confusion by pressing any button, not just the lock button.
Finally, verify the remote’s battery low isn’t present; a source prevents the signal from being properly recognized.
How to Disable MyKey After Ford Key Fob Programming
Having avoided the timing pitfalls that can halt programming, you’ve now cleared any MyKey limits that were set during the fob setup.
Proceed with the Admin override to eliminate MyKey.
Start the vehicle using the primary admin key, let the instrument cluster power up, then press the steering‑wheel left‑arrow, select Settings, and confirm with OK.
- Scroll to MyKey, choose Clear MyKey, hold OK.
- Release when “All MyKeys Cleared” appears.
- Confirm removal; vehicle returns to admin status.
With MyKey removal complete, all restrictions vanish and you regain full admin privileges, allowing unrestricted speed, RPM, and feature access every single drive.
When to Call the Dealer for Programming Help
When should you call the dealer for programming help? You call the dealer when the doors fail to lock after three ignition‑on/off cycles, when the eight‑second lock confirmation never occurs, or when a “Keyless Entry Required” warning appears. If you must program more than two fobs, a system timeout can stop the process, requiring dealer assistance. MyKey active situations also need the dealer to clear or reassign keys.
| Issue | Symptom | Action |
|---|---|---|
| Door lock fail | No cycle | Call dealer |
| No confirmation | No 8‑sec response | Call dealer |
| Too many fobs | System timeout | Dealer reset |
| MyKey active | Clear/reassign needed | Dealer assistance |
Follow these checkpoints to minimize trips and guarantee key fob programming every time for your vehicle.
Ford Key Fob Programming Safety Tips
Safety hinges on preparing both vehicle and environment before you start the programming sequence.
Close all doors, park on a flat surface, and choose a dry area for Moisture avoidance. Follow Battery handling rules: use a fresh CR2032 and keep it below 140 °F.
- Limit ignition on/off to eight cycles in ten seconds, then press the fob within eight seconds.
- Test each fob twice from five feet to verify lock and release before driving.
- Store programmed fobs away from moisture and extreme heat.
These steps protect the fob, prevent damage, and guarantee reliable operation in every time you program consistently.
Key Fob Programming Guide by Vehicle Make
| BMW Key Fob Programming | Use a dealer-grade OBD-II scanner (ISTA+) with correct firmware and an ENET cable to initiate fob programming. With all doors closed, insert the key, press the Start/Stop button once without braking, then hold the new fob against the steering column symbol. Double-press the unlock button on each remote; locks will cycle once to confirm successful programming. After battery replacement, hold the fob near the transponder coil with ignition ON to relearn the fob. Dealer programming costs $200-$400; DIY with a refurbished fob and scan is ≈$300, saving $150-$300 versus a new OEM fob. |
| Buick Key Fob Programming | Use a dealer-grade OBD-II scanner (GM Tech2 or GDS2) with correct firmware and a J2534 cable to initiate fob programming. With all doors closed, insert a recognized key, toggle ignition to ON, then swap to the new key within 5 s. Double-press the lock and unlock buttons simultaneously on each remote; locks will cycle once to confirm successful programming. After battery replacement, place the fob in the center console pocket with ignition ON to relearn the fob. Dealer programming costs $150-$250; DIY with a refurbished fob and local scan is ≈$180, saving $100-$200 versus a new OEM fob. |
| Chevy Key Fob Programming | Use a dealer-grade OBD-II scanner (GM GDS2) with correct firmware and a J2534 cable to initiate fob programming. With all doors closed, access the Driver Information Center, toggle to “Relearn Remote Key,” and select start. Double-press the lock and unlock buttons on each remote simultaneously until a chime sounds; locks will cycle once to confirm successful programming. After battery replacement, place the fob in the transmitter pocket with ignition ON to relearn the fob. Dealer programming costs $150-$300; DIY with a refurbished fob and scan is ≈$200, saving $100-$250 versus a new OEM fob. |
| Dodge Key Fob Programming | Use a dealer-grade OBD-II scanner (wiTECH) with correct firmware and a Security Gateway bypass cable to initiate fob programming. With all doors closed, insert a working key, cycle to ON, press the unlock button for 4 s, then hold panic for 1 s. Double-press any button on each new remote while the chime sounds; locks will cycle once to confirm successful programming. After battery replacement, press lock/unlock near the push-start button with ignition ON to relearn the fob. Dealer programming costs $150-$250; DIY with a refurbished FOBIK and scan is ≈$180, saving $100-$200 versus a new OEM fob. |
| GM Key Fob Programming | Use a dealer-grade OBD-II scanner (GDS2/Tech2Win) with correct firmware and a J2534 cable to initiate fob programming. With all doors closed, insert the physical key into the driver’s door cylinder, toggle lock/unlock five times in 10 s to open the relearn menu. Double-press the Start button on each remote while placed in the center console pocket; locks will cycle once to confirm successful programming. After battery replacement, hold the fob near the dash sensor with ignition ON to relearn the fob. Dealer programming costs $200-$300; DIY with a refurbished fob and scan is ≈$220, saving $150-$350 versus a new OEM fob. |
| GMC Key Fob Programming | Use a dealer-grade OBD-II scanner (GM GDS2) with correct firmware and a J2534 cable to initiate fob programming. With all doors closed, navigate the dashboard menu to the learning sequence or cycle the ignition ON/OFF rapidly. Double-press the lock and unlock buttons on each remote simultaneously; locks will cycle once to confirm successful programming. After battery replacement, place the fob in the cup holder transmitter slot with ignition ON to relearn the fob. Dealer programming costs $150-$300; DIY with a refurbished fob and scan is ≈$210, saving $100-$250 versus a new OEM fob. |
| Honda Key Fob Programming | Use a dealer-grade OBD-II scanner (HDS) with correct firmware and a J2534 cable to initiate fob programming. With all doors closed, insert key, toggle ignition ON, press the fob lock button, toggle OFF, and repeat three times in 10 s. Double-press the lock button on each remote on the fourth ON cycle; locks will cycle once to confirm successful programming. After battery replacement, press lock/release 5-7 times, hold fob near the start button with ignition ON to relearn the fob. Dealer programming costs $120-$250; DIY with a refurbished fob and scan is ≈$160, saving $80-$200 versus a new OEM fob. |
| Hyundai Key Fob Programming | Use a dealer-grade OBD-II scanner (GDS) with correct firmware, a specific 6-digit PIN, and a J2534 cable to initiate fob programming. With all doors closed, plug in the VCI module, enter the immobilizer menu, and follow the terminal prompts. Double-press the lock button on each remote when the scanner indicates; locks will cycle once to confirm successful programming. After battery replacement, use the smart key to directly push the start button with ignition ON to relearn the fob. Dealer programming costs $150-$250; DIY with a refurbished fob and scan is ≈$180, saving $100-$250 versus a new OEM fob. |
| Infiniti Key Fob Programming | Use a dealer-grade OBD-II scanner (CONSULT-III Plus) with correct firmware and a rolling PIN code to initiate fob programming. With all doors closed, cycle the ignition ON/OFF and insert the new intelligent key into the dashboard port. Double-press the lock button on each remote while the key remains inserted; hazard lights will flash and locks will cycle once to confirm successful programming. After battery replacement, hold the fob against the push-start button with ignition ON to relearn the fob. Dealer programming costs $200-$350; DIY with a refurbished fob and scan is ≈$240, saving $150-$300 versus a new OEM fob. |
| Jaguar Key Fob Programming | Use a dealer-grade OBD-II scanner (SDD or Pathfinder) with correct firmware and a J2534 cable to initiate fob programming. With all doors closed, bypass the disabled manual sequences and access the KVM (Keyless Vehicle Module) directly. Double-press the unlock button on each remote when prompted by the software; locks will cycle once to confirm successful programming. After battery replacement, place the fob beneath the steering column with ignition ON to relearn the fob. Dealer programming strictly costs $250-$500; DIY with a refurbished fob and specialized scan is ≈$320, saving $200-$400 versus a new OEM fob. |
| Jeep Key Fob Programming | Use a dealer-grade OBD-II scanner (wiTECH 2.0) with correct firmware and an FCA secure gateway cable to initiate fob programming. With all doors closed, insert a working key, toggle ignition ON/OFF, then insert the unprogrammed key and turn to ON. Double-press the lock/unlock buttons on each remote; a chime sounds and locks will cycle once to confirm successful programming. After battery replacement, press the push-start button with the nose of the fob with ignition ON to relearn the fob. Dealer programming costs $150-$300; DIY with a refurbished FOBIK and scan is ≈$200, saving $100-$250 versus a new OEM fob. |
| Lexus Key Fob Programming | Use a dealer-grade OBD-II scanner (Techstream) with correct firmware and a Mini VCI cable to initiate fob programming. With all doors closed, enter the ECU passcode to bypass the high-security immobilizer system. Double-press the unlock button on each remote while holding the logo facing the push-start button; a beep and locks will cycle once to confirm successful programming. After battery replacement, press lock/release 5-7 times near the ignition sensor to relearn the fob. Dealer programming costs $250-$400; DIY with a refurbished fob and scan is ≈$280, saving $150-$350 versus a new OEM fob. |
| Mazda Key Fob Programming | Use a dealer-grade OBD-II scanner (Mazda IDS) with correct firmware and a J2534 cable to initiate fob programming. With all doors closed, insert key, toggle ignition ON/OFF three times in 10 s, then open/close driver’s door three times, leaving it open. Double-press any button on each remote while the key remains inserted; locks will cycle once to confirm successful programming. After battery replacement, press lock/release 5-7 times, hold fob near steering-column sensor with ignition ON to relearn the fob. Dealer programming costs $190-$300; DIY with a refurbished fob and dealer scan is ≈$270, saving $150-$400 versus a new OEM fob. |
| Nissan Key Fob Programming | Use a dealer-grade OBD-II scanner (CONSULT-III) with correct firmware and a J2534 cable to initiate fob programming. For manual pairing, with all doors closed, insert and remove the physical key from the ignition six times in 10 s. Double-press any button on each remote while inserted; hazard lights will flash and locks will cycle once to confirm successful programming. After battery replacement, press lock/release 5-7 times, hold the fob against the start button with ignition ON to relearn the fob. Dealer programming costs $150-$250; DIY with a refurbished fob and scan is ≈$180, saving $100-$250 versus a new OEM fob. |
| Porsche Key Fob Programming | Use a dealer-grade OBD-II scanner (PIWIS III) with correct firmware and a factory 24-hour learning code to initiate fob programming. With all doors closed, connect the system to the Stuttgart server to bypass the immobilizer lockdown. Double-press the lock button on each remote when prompted by the diagnostic terminal; locks will cycle once to confirm successful programming. After battery replacement, insert the key into the dash slot with ignition ON to relearn the fob. Dealer programming strictly costs $300-$600; DIY with a refurbished fob and specialized scan is ≈$400, saving $200-$500 versus a new OEM fob. |
| Ram Key Fob Programming | Use a dealer-grade OBD-II scanner (wiTECH) with correct firmware and a bypass cable for 2018+ gateways to initiate fob programming. With all doors closed, insert a programmed key, toggle to ON, and enter the RFHUB learning mode. Double-press the unlock button on each new remote while the sequence runs; a dashboard chime and locks will cycle once to confirm successful programming. After battery replacement, press the fob nose directly to the ignition switch with ignition ON to relearn the fob. Dealer programming costs $150-$300; DIY with a refurbished fob and scan is ≈$200, saving $100-$250 versus a new OEM fob. |
| Subaru Key Fob Programming | Use a dealer-grade OBD-II scanner (SSM4) with correct firmware and a J2534 cable to initiate fob programming. With all doors closed, open the driver’s door, toggle ignition ON/OFF 10 times in 15 s, and use the door lock switch to input the remote’s 8-digit PIN. Double-press the lock button on each remote; an acoustic chime and locks will cycle once to confirm successful programming. After battery replacement, press lock/release 5-7 times, hold fob near the push-start button with ignition ON to relearn the fob. Dealer programming costs $150-$250; DIY with a refurbished fob and scan is ≈$180, saving $100-$250 versus a new OEM fob. |
| Toyota Key Fob Programming | Use a dealer-grade OBD-II scanner (Techstream) with correct firmware and a Mini VCI cable to initiate fob programming. With the driver’s door open, insert/remove the key twice, close/open the door twice, insert the key, and close the door. Double-press the lock and unlock buttons on each remote; locks will cycle once to confirm successful programming. After battery replacement, press lock/release 5-7 times, hold the smart key logo against the start button with ignition ON to relearn the fob. Dealer programming costs $150-$250; DIY with a refurbished fob and scan is ≈$170, saving $100-$250 versus a new OEM fob. |
| Volvo Key Fob Programming | Use a dealer-grade OBD-II scanner (VIDA) with correct firmware, a DiCE interface, and an active software subscription to initiate fob programming. With all doors closed, download the necessary Central Electronic Module (CEM) software from the network. Double-press any button on each remote while placed in the center console reader; locks will cycle once to confirm successful programming. After battery replacement, place the fob in the backup reader cup with ignition ON to relearn the fob. Dealer programming costs $250-$500; DIY with a refurbished fob and specialized scan is ≈$320, saving $150-$350 versus a new OEM fob. |
| VW Key Fob Programming | Use a dealer-grade OBD-II scanner (VCDS or ODIS) with correct firmware and a HEX-V2 cable to initiate fob programming. With all doors closed, navigate to the Central Convenience module and enter the adaptation channels. Double-press the unlock button on each remote within 10 s; the hazard lights will flash and locks will cycle once to confirm successful programming. After battery replacement, press lock/release 5-7 times, physically lock the door with the blade with ignition ON to relearn the fob. Dealer programming costs $150-$300; DIY with a refurbished fob and scan is ≈$200, saving $100-$300 versus a new OEM fob. |
Frequently Asked Questions
Can You Program a Ford Key Fob Yourself?
Yes, you can program a Ford key fob yourself, using only basic DIY tools and following the eight‑cycle ignition steps, which yields significant cost savings while maintaining professional, methodical precision throughout and ensuring reliable operation.
Can You Program a Key Fob Without Going to the Dealership?
Yes, you’ll program a key fob without going to the dealership by using DIY programming; a Mobile locksmith can guide you through the ignition cycles, button presses, and lock confirmations successfully to complete the process.
How Do I Reprogram My Ford Keyless Key Fob?
Isn’t it hilarious that you must do battery replacement before fob syncing? Close doors, open, turn ignition RUN eight times in ten seconds, press fob within eight seconds, carefully repeat properly for each additional fob.
What Is the Ford 5 Digit Factory Code?
You need the Ford 5‑digit factory code, a unique security protocol number assigned at manufacturing; you’ll request it during code retrieval, providing VIN, to program or replace your key fob correctly through the dealership system.
Conclusion
You’ve just turned a precise, ten‑second dance into a reliable key‑fob link, yet the process feels as simple as pressing a button. While the ignition cycles demand exact timing, the result is effortless access. Remember: a fresh battery and a sealed cabin keep the system humming, but a missed second can halt everything. Follow each step methodically, and you’ll blend complexity with convenience, leaving you confident every time you lock or open your vehicle’s doors.