About 70% of modern Dodge owners report the Auto Start/Stop behaving differently after a battery change or software update, so you’ll want a clear reset plan up front.
You’ll check battery health and scan for codes, toggle the Auto Start/Stop button under the shifter for a quick reset, or use the infotainment/diagnostic menu for persistent faults, and you may even install an eliminator if you don’t want the feature remembered. Keep going to see exactly which steps and diagnostics you should run and when.
Quick Navigation
Key Takeaways
- Check and restore battery health first: weak or undercharged main or auxiliary batteries commonly disable Start/Stop until replaced or charged.
- Toggle the Start/Stop switch under the gear selector each ignition cycle to disable or re-enable the system (indicator lights confirm status).
- Resolve dashboard “Stop/Start unavailable” or related fault codes with an OBD scan and repair before clearing codes to allow system reset.
- Ensure operating conditions allow activation (engine temperature, seatbelt/doors closed, brake depressed, low climate control load).
- For persistent, user-desired deactivation, install a reversible Start/Stop Eliminator for compatible Dodge Ram models (plugs into gateway module).
Understanding Auto Start/Stop Functionality
Dodge’s Auto Start/Stop system automatically shuts off your engine when you stop at traffic lights or in traffic, boosting fuel efficiency by minimizing idle time.
You’ll notice it reactivates seamlessly when you release the brake pedal, ensuring smooth acceleration and enhancing your driver experience with minimal interruption.
Toggle it off via the switch under your shift knob; a dashboard indicator confirms disablement.
This delivers key system benefits like reduced emissions and fuel savings, but relies on healthy main and auxiliary batteries.
Issues trigger warning lights, like check engine or exclamation marks, signaling diagnostics. Maintain batteries regularly for ideal performance.
Common Reasons for Resetting the System
You often need to reset your Dodge’s Auto Start/Stop system due to battery charge issues, like low voltage after replacement that drops below the threshold and disables functionality.
Temperature also inhibits activation, as extreme cabin or ambient conditions trigger safety mode to protect the engine.
Monitor indicator lights closely, since you’ll address these first before resetting to restore reliable operation.
Battery Charge Issues
Battery charge issues rank among the top triggers for resetting Dodge’s Auto Start/Stop system, as a weak battery disrupts its core functionality.
You should check the small auxiliary battery under the passenger seat and the main battery because both affect Start/Stop performance and may force a system reset if degraded.
Use an OBD scanner to read battery-related fault codes and perform voltage monitoring during key-on and cranking to spot drops or irregularities.
Maintain battery maintenance routines: keep terminals clean and tight, test capacity periodically, and replace batteries that fail voltage or load tests to avoid recurrent resets.
Temperature Inhibits Activation
Temperature inhibits activation when extreme ambient heat or improper cabin settings prevent Dodge’s Auto Start/Stop system from engaging, often requiring a reset to restore functionality.
High ambient heat triggers inhibition for engine protection, while temperature effects from climate control adjustments, like settings above 72°F or Max A/C—block activation until cabin comfort stabilizes.
You’ve noticed reduced airflow during stops; that’s the system prioritizing climate control readiness.
eTorque exacerbates issues in heat, demanding battery and temp monitoring.
Check your cabin at 72°F for consistent operation—reset if persistent.
Locating the Auto Start/Stop Button
Locate the Auto Start/Stop button on your Dodge vehicle directly below the gear shift lever, near the center console.
This button placement lets you manually disable the Start/Stop feature each time you start the engine, giving you precise control.
Press it once, and watch the indicator light illuminate to confirm deactivation.
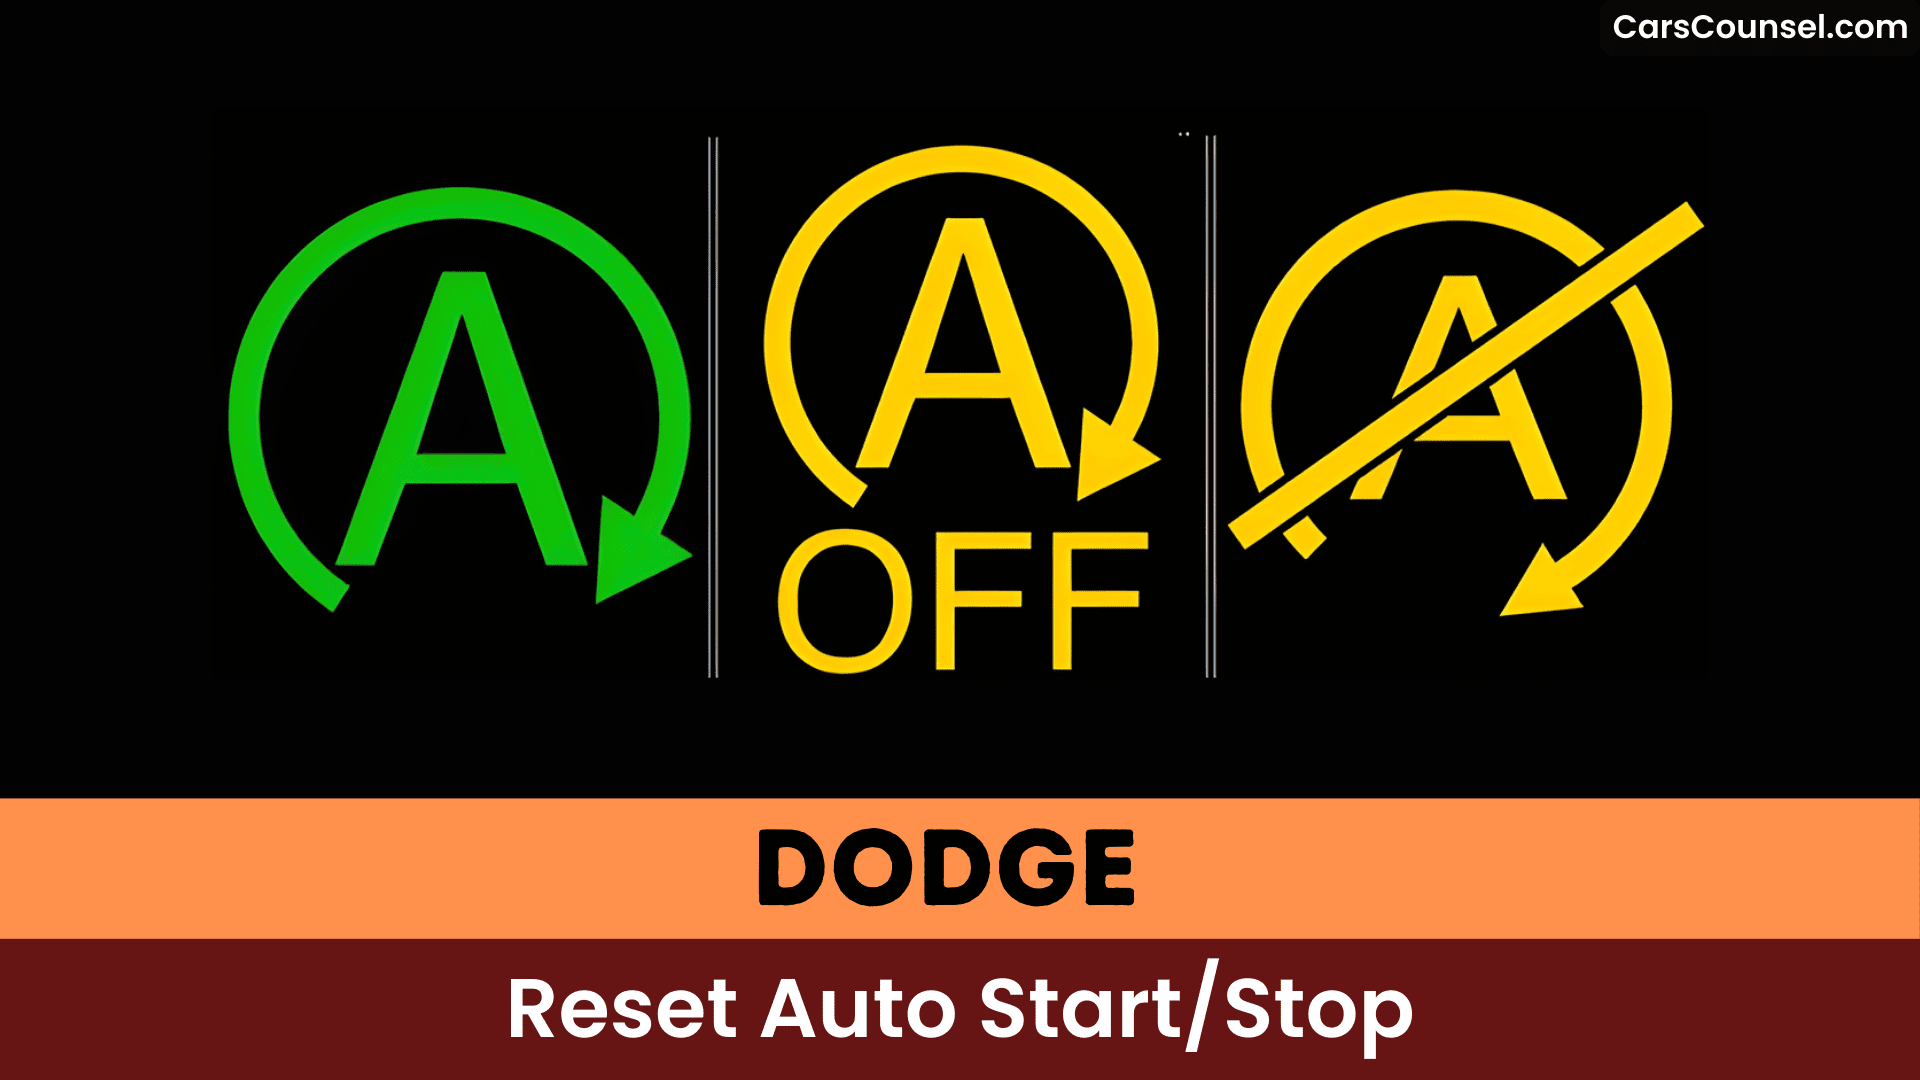
Some models feature a circular icon resembling a vehicle with an encircling arrow for quick recognition.
Check your user manual for model-specific variations, as placement can differ by year.
Master this spot to override the system effortlessly every drive.
Manual Toggle Method for Quick Reset
Locate the toggle button under the shift knob or near the center console, as you’ve already identified its position.
Press the disable switch firmly to deactivate the Auto Start/Stop system, which defaults to on each ignition cycle.
Verify the indicator light illuminates on the switch, confirming the feature’s off status for that drive.
Locate Toggle Button
You’ll find the toggle button to disable Dodge’s Auto Start/Stop system directly under the shift knob, offering a straightforward manual reset each time you start your vehicle.
Locate this toggle button in Dodge vehicles beneath the shift knob on the center console; it’s sized small and marked with the familiar “A” icon encircled by an arrow.
Press the button after ignition to switch Auto Start/Stop off for that drive; an indicator light on the instrument cluster confirms the system is disabled.
Because the setting resets at every restart, you’ll need to repeat this each time you start the engine.
Press Disable Switch
- Quick toggle under shift knob for immediate deactivation.
- Dashboard light confirms status.
- Reapply each ignition for consistent manual control.
Verify Indicator Light
| Item | What to watch for |
|---|---|
| Toggle action | Switch light illuminates |
| Dashboard alert | “Stop/Start OFF” message |
| Verification | Indicator light verification |
| Recurrence | Must repeat each start |
| Fault clue | No light = possible fault |
Accessing Infotainment Settings Menu
To access the infotainment settings menu on your Dodge, tap the Settings icon on the Uconnect touchscreen display once the vehicle is powered on.
You’ll use the infotainment navigation to reach Vehicle > Settings for settings customization and system controls.
- Tap Vehicle on the top menu, then select Settings to expose vehicle systems, including Auto Start/Stop.
- Use touch or the SCROLL/ENTER knob to toggle options; a check mark confirms selection.
- Confirm changes before exiting; note Auto Start/Stop defaults may not persist and may require resetting at each start.
Step-by-Step Infotainment Reset Process
One clear way to reset Auto Start/Stop via the infotainment is to put the ignition in RUN (without starting the engine), open Settings on the Uconnect touchscreen, select Vehicle → Eco or Auto Start/Stop, choose the disable/reset option, and confirm the change so the dashboard indicator updates accordingly.
Master Infotainment system navigation by pressing the Settings icon first—you’ll access Auto Start/Stop features swiftly.
Immerse yourself in Vehicle settings, toggle Eco or Auto Start/Stop to reset, then verify the dashboard light confirms deactivation.
This precise sequence restores control efficiently on your Dodge, ensuring seamless operation every stop.
Battery Voltage Checks Before Reset
Grab a multimeter for precise voltage testing: measure across terminals with the vehicle off, then running, to gauge static and dynamic battery maintenance.
If low, inspect and replace the auxiliary battery under the passenger seat—it’s key to Start/Stop function.
Address issues first to avoid error codes.
Complete a drive cycle post-fix to reset the system fully.
Inspecting Battery Connections
Inspect battery terminal tightness first—you’ll guarantee secure connections on both the main and auxiliary batteries under the passenger seat, as loose ones disable the Auto Start/Stop system.
Next, assess auxiliary battery health by checking for corrosion on terminals and cables, then clean and tighten them to eliminate malfunctions.
Finally, verify ground connection integrity, since poor grounds mimic battery failure and trigger warning lights.
Battery Terminal Tightness
- Verify terminals are clean; remove corrosion with a brush and baking-soda solution.
- Tighten clamps securely but don’t over-torque.
- Recheck after a short drive to confirm the system resets.
Auxiliary Battery Health
After you’ve confirmed your main battery terminals are tight, check the auxiliary battery under the passenger seat—it’s essential for powering Dodge’s Auto Start/Stop system.
Inspect terminals for corrosion and tighten loose clamps; corroded or loose connections cause performance issues with Start/Stop and can trigger warnings or CELs.
Perform a load test to verify the auxiliary battery can sustain required voltage under load; if voltage falls below manufacturer thresholds replace it.
Monitor both main and auxiliary battery health regularly, since failure of either degrades Start/Stop operation.
Replacing a faulty auxiliary battery often restores normal Auto Start/Stop function.
Ground Connection Integrity
A solid ground and clean, tight battery connections are critical because they complete the electrical return path the Auto Start/Stop system relies on. Any corrosion, loose clamp, or frayed ground strap can cause voltage drops, intermittent sensor signals, and Start/Stop faults.
Inspect your ground wire regularly—trace it from battery negative to chassis for frays or looseness. Clean terminals with baking soda solution for corrosion prevention, then tighten securely. You’ll prevent safety mode triggers and guarantee stable power.
- Check grounds visually for wear or corrosion weekly.
- Tighten all connections to spec torque (10-15 ft-lbs).
- Apply dielectric grease post-cleaning to block future oxidation.
Conditions Preventing Auto Stop Activation
| Condition | Cause | Impact |
|---|---|---|
| Engine temperature extreme | Too low/high | Protects engine health |
| Low battery charge/health | Weak auxiliary battery | Insufficient restart power |
| High climate control load | Max fan/heat/defrost | Maintains cabin comfort |
| Improper driving position | Not in gear/brake not depressed | Guarantees safety/stability |
| Error codes present | Engine/electrical faults | Disables until resolved |
Address these to restore functionality.
Diagnosing Error Codes With OBD Scanner
Pick an OBD scanner suited for Chrysler/Dodge protocols—AlfaOBD or any OBD-II tool that reads body and engine modules—and plug it into the vehicle’s OBD-II port with the ignition in the ON position.
Read stored and pending codes from the engine and body control modules to identify Auto Start/Stop-related faults (for example battery, sensor, or cylinder misfire codes), then note their freeze-frame data for context.
After diagnosing and repairing the root causes, re-scan and only clear codes when faults are confirmed resolved to avoid masking persistent issues.
Select OBD Scanner
One reliable way to diagnose Auto Start/Stop faults is to use an OBD scanner that’s compatible with FCA/Dodge protocols, because generic readers often miss manufacturer-specific codes and data streams.
Use OBD scanner types that support manufacturer-level access and live data to read Start/Stop faults and battery or electrical codes. Choose FCA compatibility (AlfaOBD, dealer-level add-ons, or Autel with FCA license) to guarantee correct PIDs and SGW handling.
After repairs, clear codes to reset the system and observe behavior. Regular scans help track battery health, misfires, and electrical faults before they disable Start/Stop.
- AlfaOBD for Stellantis-specific ECU access
- Autel/ dealer-level tools with FCA add-on
- Consumer OBD2 for live data and code clearing
Connect Scan Tool
After selecting a compatible scanner in the previous step, plug the OBD-II tool into the vehicle’s diagnostic port—usually under the left side of the dash near the steering column—and power the tool from the ignition so it can communicate with all ECUs.
Use your obd scanner features to perform a full module scan and retrieve common error codes affecting Auto Start/Stop, including misfire codes tied to specific cylinders.
Note any persistent or module-specific DTCs, record their PID data, then repair faults (misfires, sensors, wiring).
Finally, clear codes with the scanner and verify the Start/Stop warning is extinguished.
Read Error Codes
- Run a full autoscan to reveal hidden engine, BCM, or battery faults inhibiting Start/Stop.
- Note codes like U0140 (ECU-BCM disconnect) or P152E (hood switch/TSB-related).
- Address issues, then drive several days to reset the check engine light.
Permanent Disable Using Start/Stop Eliminator
If you’re fed up with your Ram’s engine cutting out at stoplights, the Start/Stop Eliminator gives you a permanent, vehicle-friendly bypass that remembers and restores the “off” state so you don’t have to press the button every ignition cycle.
Designed for Dodge Ram 1500 models (2019-2022), it plugs into the gateway module under the dash—no tools needed, install in minutes.
You’ll improve user experience by eliminating intermittent activations, boosting product benefits like reduced wear on ignition components and seamless control.
Users report frustration-free drives; it’s reversible and warranty-safe. Bypass factory limits for authoritative comfort.
Installation Guide for Eliminator Device
- Locate the security gateway module under the dash on the driver’s side; unplug the 12-wire connector.
- Insert the Eliminator inline: plug the harness into the device, then the device into the module.
- Secure with the included zip tie to nearby wiring; trim excess for a clean fit.
Device compatibility spans all Ram 1500 trims, including eTorque—no warranty issues or feature loss.
Drive interruption-free.
Troubleshooting Persistent Warnings
When persistent Auto Start/Stop warnings show up, don’t ignore them: start by isolating electrical causes and stored faults, since weak main or auxiliary batteries, loose grounds, or logged diagnostic trouble codes commonly trigger the system’s fault state.
Check both batteries’ health—you’ll find the auxiliary under the passenger seat; user feedback confirms poor performance often persists despite resets.
Grab an OBD scanner to pull codes like P152e for targeted fixes, echoing user experiences with hood switches or TSBs.
Disconnect the battery briefly to clear lights, then drive several days. If warnings linger, hit the dealership for diagnostics.
Dealer Diagnostic Recommendations
Start your dealer diagnostic with a structured, voltage-focused inspection that reproduces the fault while logging live data.
You’ll treat the vehicle as an electrical system: monitor battery voltage trends, recreate cabin and ambient conditions that affect Auto Start/Stop, and observe ECU responses to capture transient faults.
Dealer service should include targeted electrical inspections for connectors, grounds, and eTorque interfaces because loose starter or gateway connectors can trigger safety mode and persistent warnings.
Don’t rely solely on clearing codes; safety-mode resets usually need dealer intervention once underlying faults are repaired.
- Verify battery voltage under load during shutdown cycles.
- Inspect starter/gateway connectors and grounds.
- Log ECU/live data while reproducing the fault.
Maintenance Tips for Reliable Operation
Because reliable Auto Start/Stop operation depends on the vehicle’s electrical baseline, you should prioritize proactive battery and wiring care to prevent nuisance disables and safety-mode requests.
Regularly test and maintain the main battery and the auxiliary under the passenger seat, since weak cells will degrade Auto Start/Stop function and overall vehicle performance.
Use an OBD scanner to read Start/Stop and engine codes for timely diagnostics.
Inspect and secure electrical connections and wiring for corrosion, chafing, or loosened terminals.
If issues persist, reset by disconnecting/reconnecting the battery after confirming connections, and keep software updated via the dealer.
Frequently Asked Questions
Can You Reset the Start/Stop System?
Yes — you can reset the start stop functionality by rebooting the vehicle (battery disconnect or hard reset), clearing codes with an OBD scanner, or driving after repairs; follow system troubleshooting steps and consult dealer if persistent.
Why Is My Auto Start-Stop Not Working?
Silent solution: Start-stop symptoms show when batteries, burnishing (misfiring cylinder #6), or bad connections fail—use OBD diagnostics, check the passenger-side auxiliary battery, inspect wiring/starter, then follow troubleshooting tips for repair.
How to Reset Dodge Ram Remote Start?
Turn the ignition to ON (don’t start), then press your Dodge Ram remote start button twice within five seconds to reinitialize the remote start features; confirm hood, doors, gear, battery, and fuses meet operational conditions.
How to Permanently Disable Auto Start-Stop on a Dodge Durango?
Permanently disable Auto Start Stop on your Dodge Durango by installing an Autostop Eliminator. Plug it into the gateway module’s 8-wire connector under the passenger carpet—ensure the vehicle’s off for 5 minutes first. It remembers your off preference every start.
Conclusion
You’ll want to confirm battery health and clear any OBD codes, then press the Auto Start/Stop button beneath the shifter to toggle it each drive, but installing an “eliminator” module can make that choice stick if you prefer. Investigate whether a low-voltage condition or a persistent fault code is really causing the disablement—sometimes it’s a sensor or software flag, not a mysterious conspiracy—so you’ll target the actual fix rather than chasing symptoms.