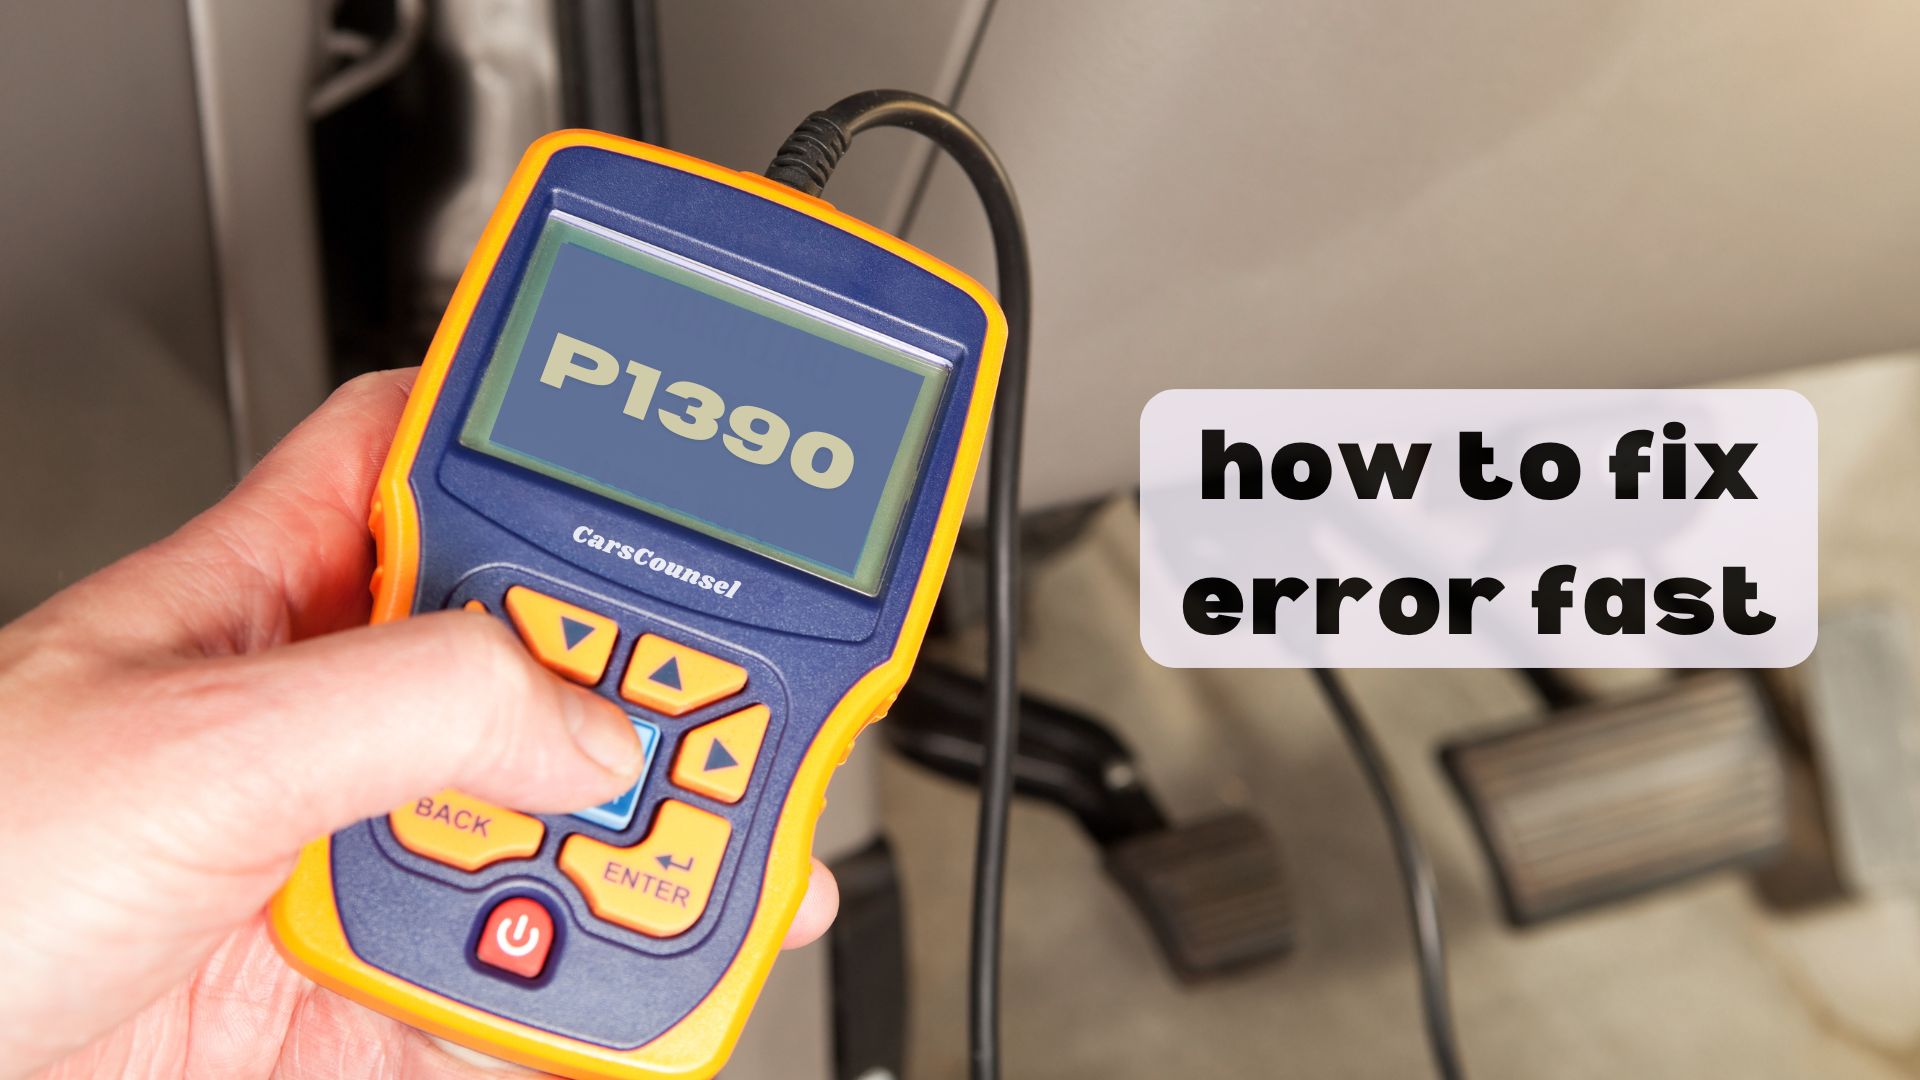
The P1390 code is a manufacturer-specific powertrain code. Its exact definition depends entirely on the vehicle application, often indicating a timing belt misalignment or a sensor sequence fault.
This code identifies a detected mechanical or electrical condition, not necessarily a failed sensor. Proper diagnosis requires verifying the exact factory definition and inspecting the relevant timing components.
Quick Navigation
Key Takeaways
- The P1390 code is manufacturer-specific, commonly indicating a timing belt misalignment or cam/crank sensor sequence fault.
- Possible causes include a stretched timing belt, a failed tensioner, damaged timing components, or faulty position sensors.
- Symptoms typically include an illuminated Check Engine Light, engine misfires, rough idle, or a no-start condition.
- Diagnosis requires confirming the exact factory definition and physically inspecting the timing marks or testing the sensor circuits.
- Repairs depend on the confirmed fault and may involve timing belt replacement, tensioner service, or sensor replacement.
P1390 Code Description and Implications
P1390 is a manufacturer-specific trouble code. Its exact definition depends entirely on the vehicle application.
Some Honda, Acura, Subaru, and Dodge applications: The code indicates that the timing belt has jumped one or more teeth, causing a mechanical misalignment between the crankshaft and camshaft position sensors.
Certain Volkswagen and Audi applications: The code indicates an “Engine Speed Sensor (G28) / Camshaft Position Sensor (G40) out of sequence” fault, which can be caused by timing chain stretch or sensor issues.
Some Ford applications: The code may relate to an “Octane Adjust Pin Circuit” fault, where the PCM detects an issue with the physical octane adjustment pin in the harness connector.
Common Causes of the P1390 Code
Several conditions can trigger this manufacturer-specific malfunction code. Identifying the exact cause requires physical inspection or electrical testing.
- For timing belt applications: A stretched timing belt, a failed tensioner, a worn idler pulley, or incorrect installation causing the belt to skip teeth.
- For VW/Audi applications: Timing chain stretch, a failed tensioner, or faulty camshaft/crankshaft position sensors.
- For Ford applications: A disconnected, damaged, or incorrectly seated octane adjust pin in the PCM connector.
- Poor electrical connections, corroded connectors, or damaged wiring at the position sensors.
Symptoms Associated With P1390
Symptoms vary depending on the specific system design and the underlying fault condition.
- Illuminated Check Engine Light.
- Engine misfires, rough idle, or hesitation during acceleration.
- On interference engines, a skipped timing belt can cause severe internal engine damage, resulting in a complete no-start condition.
- Poor fuel economy and reduced engine power.
Diagnosing the P1390 Trouble Code
Diagnosis must begin by confirming the exact factory definition and inspecting the physical system components.
- Verify the exact manufacturer definition and locate the service information for the specific timing or sensor circuit.
- For timing belt applications: Remove the timing covers and physically inspect the timing marks on the crankshaft and camshaft gears to verify alignment.
- Inspect the timing belt for missing teeth, cracks, or a failed tensioner.
- For VW/Audi applications: Check for timing chain stretch using the measuring blocks in the scan tool data, and inspect the sensors.
- For Ford applications: Inspect the PCM connector to ensure the octane adjust pin is fully seated and not damaged.
Repairing the P1390 Issue
Repairs depend entirely on the confirmed root cause of the system malfunction.
- If the timing belt has jumped teeth, replace the timing belt, tensioner, and idler pulleys, and realign the timing marks to factory specifications.
- If internal engine damage occurred due to belt failure on an interference engine, cylinder head or complete engine replacement may be necessary.
- If a timing chain is stretched, replace the chain, guides, and tensioners.
- If the octane adjust pin is damaged or missing, repair the connector or replace the pigtail.
- Replace any failed camshaft or crankshaft position sensors using a component meeting the correct vehicle specification.
Cost Considerations for P1390 Repairs
Cost depends on diagnostic time, component accessibility, required parts, programming requirements, and labor.
A standard timing belt and water pump service is a routine maintenance item, but repairing internal engine damage caused by a skipped belt on an interference engine will result in substantially higher costs.
Prevention Strategies for Future Occurrences
While electrical failures are not always preventable, mechanical timing issues can be avoided through proper maintenance.
- Replacing the timing belt, tensioner, and idler pulleys at the manufacturer’s recommended mileage intervals prevents belt failure and skipped teeth.
- Inspecting the timing chain for stretch during major services can help identify developing wear before it triggers a correlation code.
- Ensuring all electrical connectors, including the PCM harness, are fully seated and locked during previous repairs prevents pin-related faults.
Troubleshooting Tips and Best Practices
Always consult the exact manufacturer service information for your vehicle’s timing procedures and expected sensor waveforms.
- Do not assume the position sensors are faulty simply because a correlation code is present; mechanical timing misalignment must be physically verified first on belt-driven applications.
- On interference engines, do not attempt to crank the engine repeatedly if a skipped timing belt is suspected, as this can bend valves and destroy the cylinder head.
- Verify technical service bulletins for your specific make and model, as some manufacturers issue updated tensioner part numbers or revised timing procedures for recurring alignment faults.
More OBD-II Codes
| P1371 | P1370 | P1368 | P1367 |
| P1366 | P1365 | P1394 | P1395 |
| P1396 | P1397 | P1398 | P1399 |
| P0016 | P0340 | P0335 | P1336 |
| P1405 | P1406 | P1407 | P1408 |
| P1409 | P1410 | P1415 | P1416 |
Frequently Asked Questions
Is the P1390 code generic or manufacturer-specific?
No. P1390 is a manufacturer-specific code. Its exact definition varies by vehicle make, commonly indicating a timing belt misalignment or sensor sequence fault.
Can I drive my car with a P1390 code?
It is highly discouraged. If the code indicates a skipped timing belt on an interference engine, continuing to drive or crank the engine can cause catastrophic internal valve and piston damage.
Will a bad camshaft position sensor cause a P1390 code?
Yes. On applications monitoring sensor correlation, a failing camshaft or crankshaft position sensor can send erratic signals, causing the PCM to detect an out-of-sequence condition.
Does a P1390 code always mean the timing belt broke?
No. It indicates the timing marks are misaligned. The belt may have simply stretched or jumped a tooth due to a weak tensioner, rather than breaking completely.
Will a P1390 code cause an emissions test failure?
Yes. Any code that illuminates the Check Engine Light or indicates an active misfire or timing system fault will cause an automatic failure during an OBD-II emissions inspection.
What Should You Do About the P1390 Code?
Confirm the exact factory definition for your specific vehicle application. Follow the applicable manufacturer diagnostic procedure to physically inspect the timing components or test the relevant sensor circuits.
Repair or replace the confirmed failed mechanical components or sensors, then retest the system to ensure proper operation.