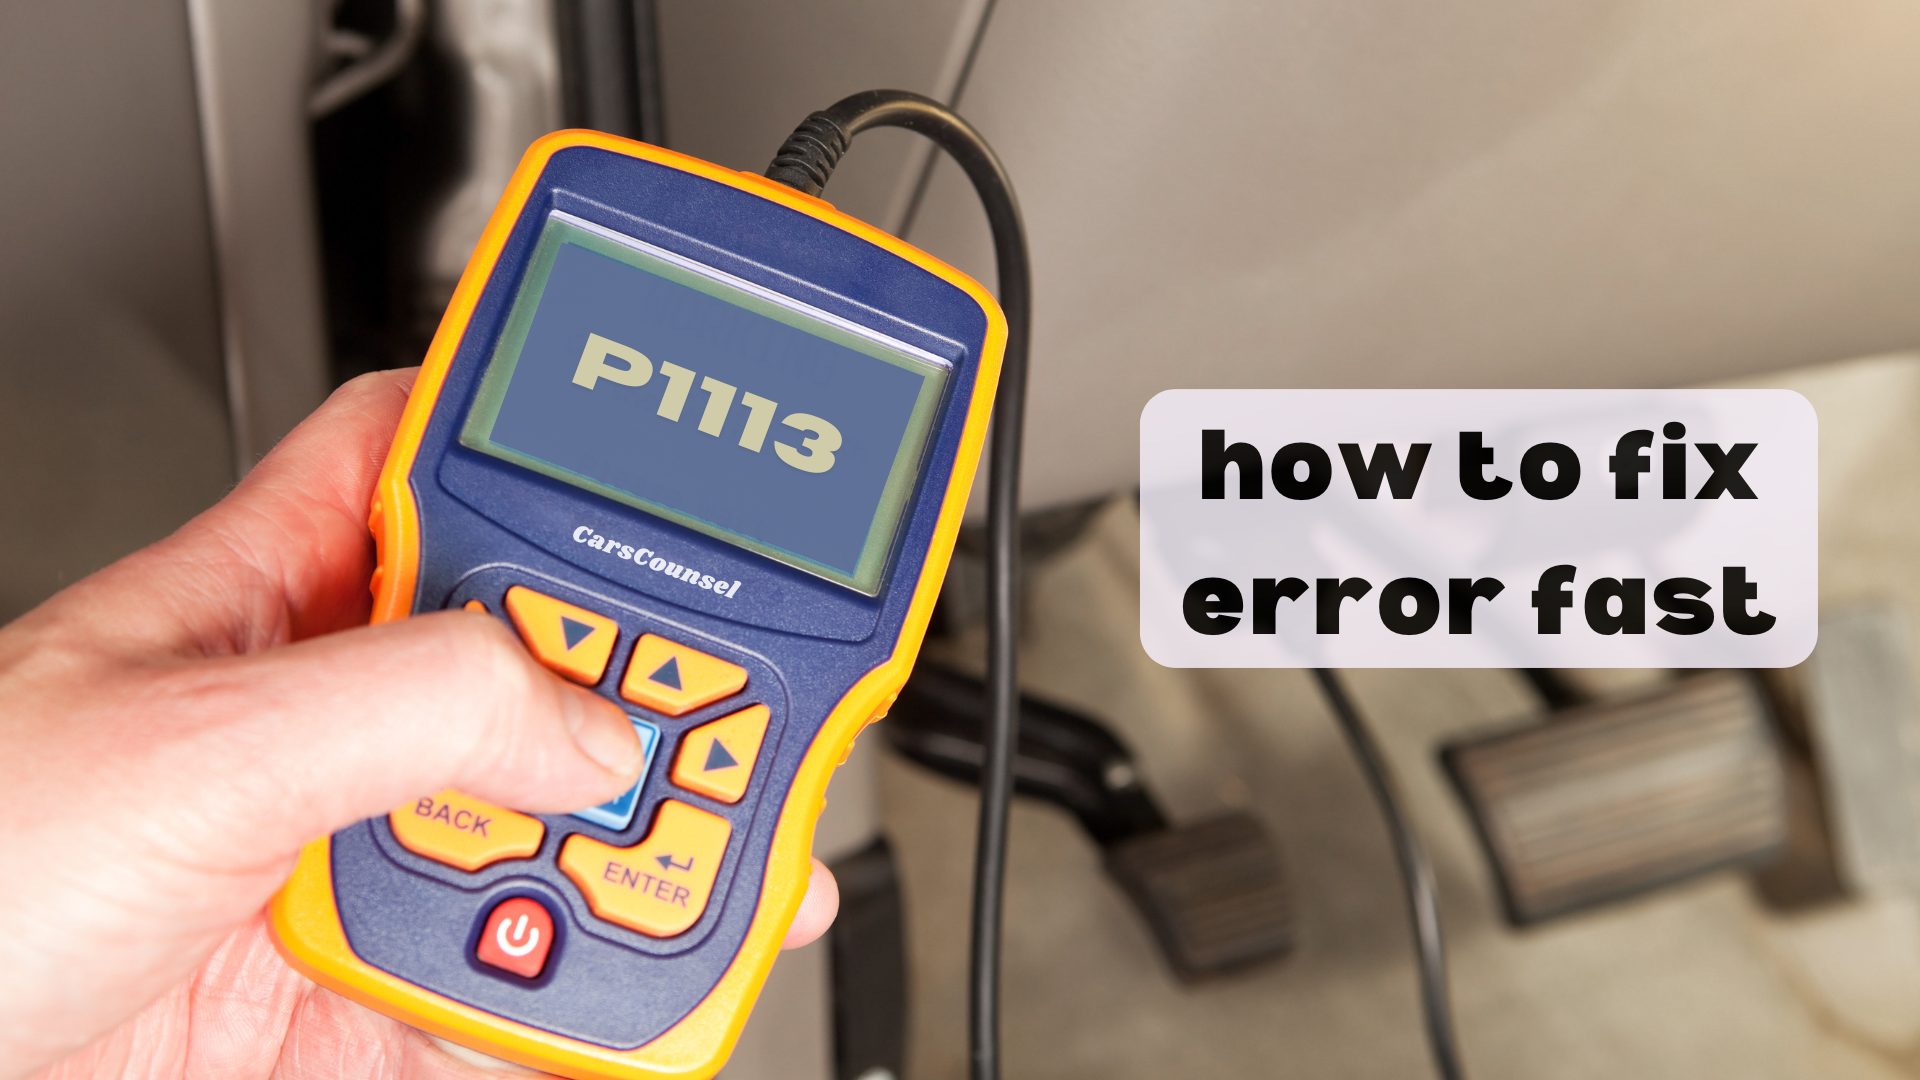
When you see the P1113 code, it’s important to act quickly to prevent more OBD2 problems in the engine.
Start by checking the Engine Coolant Temperature (ECT) sensor for any damage or rust. You can use a multimeter to see if its resistance matches the manufacturer’s guidelines.
Next, look at the wiring for any frayed wires or bad connections. Replace any damaged parts if needed.
This approach not only fixes the immediate issue but also helps keep your engine running smoothly.
Want to know which tools to use and the exact steps to take? Let’s dive into the details.
Quick Navigation
Key Takeaways
- Check and clean the ECT sensor and its connector for any dirt or corrosion.
- Use a multimeter to measure the ECT sensor’s resistance and compare it to the manufacturer’s guidelines.
- Inspect the wiring harness for any signs of damage, rust, or worn-out wires.
- Make sure the thermostat is working properly by seeing if it opens and closes smoothly without getting stuck.
What Is the P1113 Code?
The P1113 code means there’s a problem with the Engine Coolant Temperature (ECT) Sensor Circuit, where it’s getting high voltage on and off. This is a big deal because the ECT sensor helps keep track of your engine’s temperature.
When it works right, it sends accurate temperature info to the Engine Control Module (ECM), which helps your engine run smoothly. But if the sensor is getting high voltage, it can mess things up, leading to bad fuel mileage and possible engine damage.
Knowing what the P1113 code means is crucial for keeping your car in good shape. If you ignore it, the problem could get worse and lead to costly engine repairs.
It’s important to fix the ECT sensor issue right away to avoid more serious problems.
Common Symptoms of P1113
If you have a P1113 code, you might notice your car idling roughly, using more fuel than usual, and the check engine light turning on. These symptoms suggest engine and coolant problems.
The engine might run poorly or misfire, causing reduced power. You could also see higher emissions, which is a problem if you need to pass an emissions test.
Starting the engine might be harder, and it could overheat. Poor fuel economy is a common issue because the engine isn’t working efficiently due to wrong temperature readings.
These signs mean you should take action quickly to avoid serious engine damage. Fixing the P1113 code is important to keep your engine running well and to avoid expensive repairs.
Causes of the P1113 Code
The P1113 code can pop up for several reasons. One common cause is a bad Engine Coolant Temperature (ECT) sensor, which might give wrong readings because it’s worn out.
Issues with the intake air temperature sensor can also mess things up in a similar way. Sometimes, damaged wiring or connectors, often from corrosion, can send high voltage signals intermittently.
A broken thermostat can make the engine overheat, which affects the sensor readings. The Engine Control Module (ECM) might also be at fault if it misreads data, causing the code to appear.
Other reasons include vacuum leaks and dirty sensors, which can send inaccurate information to the ECM. Accurate engine diagnostics are crucial to find the exact problem.
Inspecting the ECT Sensor
After identifying potential causes, start by checking the ECT sensor to make sure it’s giving accurate readings. Here’s how to test the sensor:
- Disconnect the ECT sensor: Look for any debris or corrosion.
- Use a multimeter: Measure the sensor’s resistance.
- Compare the readings: Check them against your vehicle’s specifications. If the resistance is off, the sensor might be faulty.
- Inspect the sensor connector: Make sure it’s clean and not damaged or worn out.
This process helps you determine if the sensor is working correctly and helps pinpoint the cause of the P1113 code.
Checking the Wiring Harness
Checking the Wiring Harness
Look over the wiring harness for any visible damage, rust, or wear that might mess with sensor readings. Start by thoroughly examining it for any frayed wires, cracked insulation, or exposed conductors.
Rusty connectors can mess up signal transmission, so make sure all connections are clean and tight. Use a multimeter to check for continuity and ensure there are no breaks in the wires.
If you find any damaged sections, replace them and ensure all connections are secure and clean. Regularly inspecting the wiring helps keep sensors working well and prevents recurring P1113 issues.
Fixing these problems quickly ensures accurate data transmission to the Engine Control Module (ECM), which helps the engine run smoothly.
Evaluating the Thermostat
To check the thermostat, first take it out of the engine and look it over for any signs of damage, rust, or if it’s sticking.
Making sure the thermostat works well is key to fixing the P1113 code. If you see any issues, it’s best to replace the thermostat.
Here’s what to look for:
- Rust or Deposits: Check for rust or buildup that could mess with how it works.
- Movement: Make sure the thermostat can open and close smoothly.
- Physical Damage: Look for any cracks or other damage.
Regularly checking and replacing a bad thermostat can stop your engine from overheating and help with fuel efficiency.
If you spot any problems, don’t hesitate to replace it, as a bad thermostat can cause the P1113 code to appear.
Using an OBD-II Scanner
A key tool for figuring out the P1113 code is an OBD-II scanner, which lets you read and clear fault codes from your car’s computer. Knowing some basics about OBD-II is important; it’s a standard system used in all cars made after 1996.
By plugging the scanner into your car’s diagnostic port, you can pull up error codes like P1113 and get clues about what’s wrong. The scanner is helpful because it saves you time and money by quickly pointing out the problem.
Plus, it gives you real-time data, so you can watch sensor readings and engine performance. This lets you check if the repairs worked right away, making sure the issue is fixed before you drive again.
Repairing or Replacing Sensors
Fixing the P1113 code usually means you need to repair or replace the engine coolant temperature (ECT) sensor or the intake air temperature sensor to ensure they send accurate readings to the electronic control module (ECM).
Here’s what you should do:
- Check the Sensors: Look for any visible damage or dirt on the sensors.
- Test the Sensors: Use a multimeter to make sure the sensor resistance matches what the manufacturer recommends.
- Replace the Sensors: If the testing shows the sensor is bad, replace the ECT or intake air temperature sensor.
Fixing Wiring Issues
After fixing sensor problems, check the wiring harness and connectors for damage or corrosion that might be causing high voltage readings.
Start by looking for frayed wires, cracked insulation, or corroded connectors. Use a multimeter to check the continuity of the circuit, making sure there are no breaks or high resistance points in the wiring.
If you find any damaged sections, cut out the bad part and solder in new wire, then cover it with heat shrink tubing. Clean any corroded connectors with electrical contact cleaner.
Doing these things will ensure the wiring transmits signals properly, helping to fix the P1113 code and improve your vehicle’s performance.
Preventing P1113 Recurrence
To keep the P1113 code from coming back, make sure to regularly maintain the engine coolant temperature (ECT) sensor and its parts. Regular maintenance is crucial for the sensor to last long and for your car to stay in good shape.
Make sure you:
- Look at the ECT Sensor: Check it often for any signs of wear or damage to ensure it gives accurate readings.
- Clean the Connectors and Wires: Keep the connectors and wires clean and free from rust or dirt.
- Keep an Eye on Coolant Levels: Make sure the coolant levels are correct to keep the engine at the right temperature and the sensor working well.
More OBD-II Codes
Frequently Asked Questions
How Long Does It Take to Fix a P1113 Code?
Fixing the P1113 code can take a few hours if you catch the symptoms early and follow the right steps. Diagnosing sensor problems, checking the wiring, and replacing any faulty parts quickly can help speed up the repair process.
Can I Drive With a P1113 Code Active?
It’s not a good idea to drive with a P1113 code showing. This code can lead to bad gas mileage and your engine getting too hot. Use an OBD-II scanner to check for the P1113 code, look at the ECT sensor, and check the wiring to avoid serious engine damage.
What Tools Do I Need to Fix a P1113 Code?
Imagine you’re a detective. You’ll need a diagnostic scanner to figure out what’s wrong and a repair manual to guide you. Also, get a multimeter, some basic hand tools, and the replacement parts to fix it properly.
How Much Does It Cost to Fix a P1113 Code?
Fixing a P1113 code can cost different amounts depending on the issue. You might pay about $100 for a diagnostic test. Replacing an Engine Coolant Temperature (ECT) sensor could be between $150 and $250. If you need a new thermostat, that could cost $300 to $500. Fixing wiring or reprogramming the Engine Control Module (ECM) will depend on how complicated it is and the labor rates at your shop.
Can a P1113 Code Cause Permanent Engine Damage?
A P1113 code is something you don’t want to ignore. If you don’t take care of it, it can cause serious engine damage. You’ll notice your engine doesn’t run as well. It’s important to do some diagnostic tests to find and fix the problem before it gets worse.
Conclusion
Just like a skilled detective, you’ve followed the clues to quickly fix the P1113 code. By inspecting the ECT sensor, checking the wiring, and using an OBD-II scanner, you’ve addressed the issue directly.
Remember, replacing faulty parts and keeping your ECT sensor and thermostat in good shape will ensure your engine runs smoothly.
Stay alert, and your engine will perform well, avoiding future problems. Keep your tools nearby, and may your drives be trouble-free.