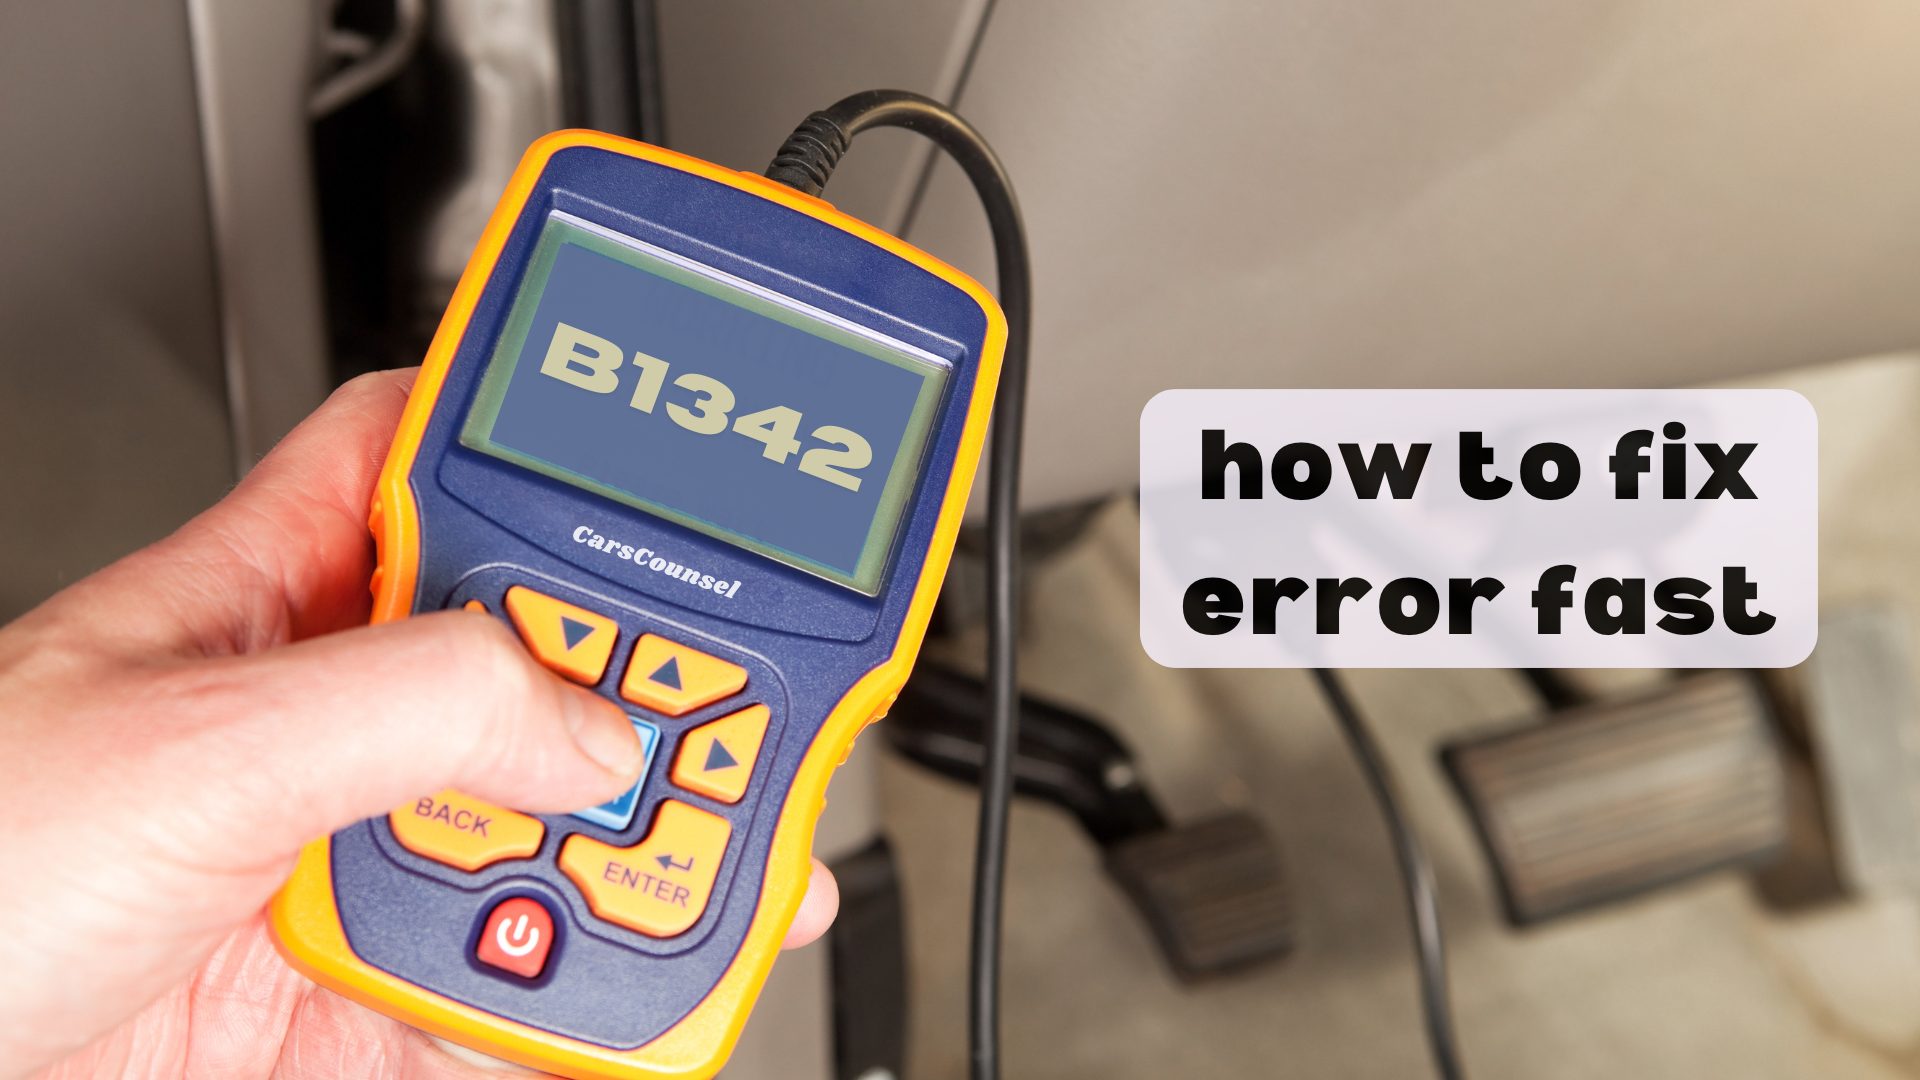
Ever wondered if the B1342 code is a big deal or just a minor hiccup in your car? When this error shows up, it’s crucial to figure it out quickly to avoid any safety issues.
Start by confirming the error code with an OBD-II scanner. Next, check the ECM power relay and battery to see if there are any voltage problems.
Also, take a look at the airbag system wiring for any damage or rust. Fixing these issues right away can save you time and money.
There’s more to know, but this will get you started on the right path.
Quick Navigation
Key Takeaways
- Use an OBD-II scanner to read and confirm the B1342 error code from the car’s computer.
- Test the ECM power relay with a multimeter and replace it if it’s damaged.
- Look over the airbag system wiring for any damage or corrosion, and make sure all the connections are tight.
- Check the battery and charging system to make sure they’re working properly to avoid voltage problems.
What Is the B1342 Code
The B1342 code means there’s a problem with your car’s electrical systems, especially the airbag system. When this code shows up, it indicates an issue with the airbag safety feature, so it’s important to fix it right away. You’ll need to check the electrical parts to find the exact problem. Often, the issue could be a bad Body Control Module (BCM) or something wrong with the instrument cluster.
To make sure your airbag and other safety features work correctly, you should diagnose and fix this code as soon as possible. Use tools like an OBD-II scanner to find the problem, and check the wiring, connectors, and modules.
Fixing these electrical issues quickly will help keep your car safe and prevent more problems down the road.
Common Symptoms
If you see the B1342 code, it usually means your airbag warning light is on, signaling a problem with your car’s electrical system. This is a serious issue for airbag safety and needs immediate attention.
You might also notice other signs that something’s wrong with the electrical system:
- Airbag issues: The airbag mightn’t work properly in an accident, which is a big safety concern.
- Headlight problems: Your headlights might flicker or not work at all, making it hard to see at night.
- Weird dashboard readings: Your gauges might show incorrect or changing numbers, which can be confusing.
Fixing these problems right away helps keep your car safe and reliable, and prevents bigger issues down the road.
Primary Causes
The main reasons for the B1342 code usually include a bad ECM power relay, problems with the battery or charging system, loose or corroded ground connections, and faulty instrument clusters.
Start by checking the ECM power relay for any voltage drops, as this can affect the electrical system.
Look at the battery and charging system for any issues that might mess up the power supply.
Loose or corroded ground connections can cause voltage changes, which can impact airbag safety.
Lastly, a broken instrument cluster can set off the code and mess with driver info displays.
Fixing these problems quickly ensures your car’s electrical systems and airbag safety stay reliable, avoiding more issues down the road.
Affected Ford Models
Ford vehicles like the F-150, Focus, and Escape are known to often trigger the B1342 code because of their electrical issues. If you have a Ford Focus, you might’ve run into electrical problems that cause this error code. These models tend to have this issue due to their complicated electrical systems.
Here are three common signs you might notice:
- Airbag Warning Light: A light that stays on, indicating something is wrong.
- Headlight Issues: Your vehicle’s lights might act up.
- Inconsistent Airbag System: This can pose safety risks.
Fixing these problems early can save you time and money. Knowing that the Ford Focus and other models are prone to these issues can help you diagnose and fix the B1342 code faster.
Diagnostic Tools Needed
To effectively diagnose the B1342 code, you’ll need an OBD-II scanner to read the error codes from your car’s computer. This scanner is crucial for identifying what exactly is wrong.
You’ll also need tools for electrical testing, like a multimeter, to check voltage, resistance, and continuity in the circuits. These tools will help you check the ECM power relay, battery, charging system, and airbag parts.
Using these diagnostic tools properly ensures you can find and fix the problem quickly.
Step-by-Step Diagnosis
Step-by-Step Diagnosis
To diagnose the B1342 code, follow these steps:
- Connect Your OBD-II Scanner: Plug the scanner into your vehicle’s diagnostic port to read the trouble codes.
- Check for Voltage Problems: Use a multimeter to test the ECM power relay and battery charging system. Look for any drops or irregularities in voltage.
- Inspect Wiring and Connectors: Carefully examine the airbag system’s wiring and connectors for any damage, corrosion, or loose connections. Use continuity testing to ensure the circuits are intact.
- Test Airbag Components: Check the airbag control module and sensors to make sure they’re working properly. Replace any faulty parts.
Repairing Faulty Relays
Finding and replacing a bad ECM power relay is key to fixing the B1342 error code and making sure your car’s electrical system works right.
First, use a multimeter to test the relay for the correct voltage and resistance. If the relay doesn’t pass these tests, you need to replace it.
Find the ECM power relay in the fuse box, usually under the hood, and take it out carefully. Put in a new relay that matches the original one.
After replacing it, put back any parts you removed and reconnect the battery.
Finally, use an OBD-II scanner to clear the error code and test the system to make sure the problem is fixed.
Regular check-ups can help avoid future relay issues.
Fixing Wiring Issues
When fixing wiring issues related to the B1342 code, start with a careful look at the airbag system and its connections for any obvious damage or corrosion.
Use wiring diagrams to track the paths and ensure everything is properly connected.
Check for:
- Frayed Wires: Damaged insulation can cause shorts or open circuits.
- Corroded Connectors: Corrosion can mess up signal transmission.
- Loose Connections: Make sure all connectors are tightly fastened.
These steps help you tackle the most common wiring problems affecting the airbag system.
Using wiring diagrams allows you to systematically trace and check each connection.
Ensuring everything is connected right is crucial for fixing the B1342 code and getting your vehicle’s safety features back in order.
Replacing Control Modules
After fixing any wiring problems, you might need to replace the control modules to fully get rid of the B1342 code.
First, make sure the new control module is compatible with your vehicle to avoid more issues. Taking out and putting in control modules requires careful handling and precise connections.
Keep in mind that aftermarket parts, like non-OEM steering wheels, can mess with the airbag system and cause the B1342 code to show up again. Always use OEM parts to keep the system working properly.
Once the new module is installed, double-check all the connections and run a diagnostic scan to confirm the problem is fixed. This ensures your vehicle’s safety systems are working correctly and the error code is gone.
Preventive Maintenance Tips
Regularly checking and maintaining your vehicle’s electrical connections can help stop the B1342 code from coming back. Following a good maintenance plan ensures your car runs smoothly.
Here are three important tips to remember:
- Regular Checks: Make it a habit to check all electrical connections, especially in the airbag system, to spot problems early.
- Stick to Maintenance Schedules: Follow your car’s maintenance schedule to keep all parts in good shape.
- Test Battery and Charging System: Regularly test your battery and charging system to avoid voltage changes that can cause the B1342 code.
More OBD-II Codes
Frequently Asked Questions
Can the B1342 Code Affect Vehicle Performance Aside From Electrical Systems?
The B1342 code mainly affects the electrical systems. However, if a sensor isn’t working properly, it can also indirectly affect how your vehicle runs. Use diagnostic tools to find and fix any related problems to ensure your vehicle works well and is safe to drive.
Are There Any Temporary Fixes for the B1342 Code Until a Permanent Solution Is Found?
Yes, you can try some temporary fixes like resetting the Engine Control Module (ECM) by disconnecting the battery for a few minutes. Other quick fixes include checking and cleaning connectors and making sure all ground connections are tight to help stabilize the voltage.
How Long Does It Usually Take to Diagnose and Repair the B1342 Code?
Figuring out the B1342 code usually takes 1-2 hours, depending on the car’s condition. To fix it, check the ECM power relay, wiring, and airbag parts. Using scanning tools can make the process faster and more accurate.
Can Driving With the B1342 Code Active Cause Further Damage to the Vehicle?
Driving with the B1342 code active can make your car less safe and cause bigger problems over time. Studies show that ignoring electrical issues can make things worse 20% of the time, possibly leading to airbag problems, which are crucial for keeping you safe in a crash.
Do Weather Conditions Impact the Likelihood of Triggering the B1342 Code?
Yes, weather conditions can impact the likelihood of triggering the B1342 code. Moisture and temperature changes can affect electrical parts, causing voltage drops and corrosion, which can trigger the code. Make sure all connections are secure and protected.
Conclusion
To fix the B1342 code, start by verifying the error with an OBD-II scanner.
Check for any voltage problems and inspect the wiring connections carefully.
Replace any faulty parts with original equipment manufacturer (OEM) parts to ensure they fit and work correctly.
After making the repairs, clear the code to make sure the problem is solved.
By following these steps, your vehicle should be back to normal.