You’ve probably noticed the fob won’t lock your car, and the solution starts with a simple pry.
Grab a flat‑head screwdriver wrapped in cloth, locate the release tab on the back, and press it while gently separating the halves.
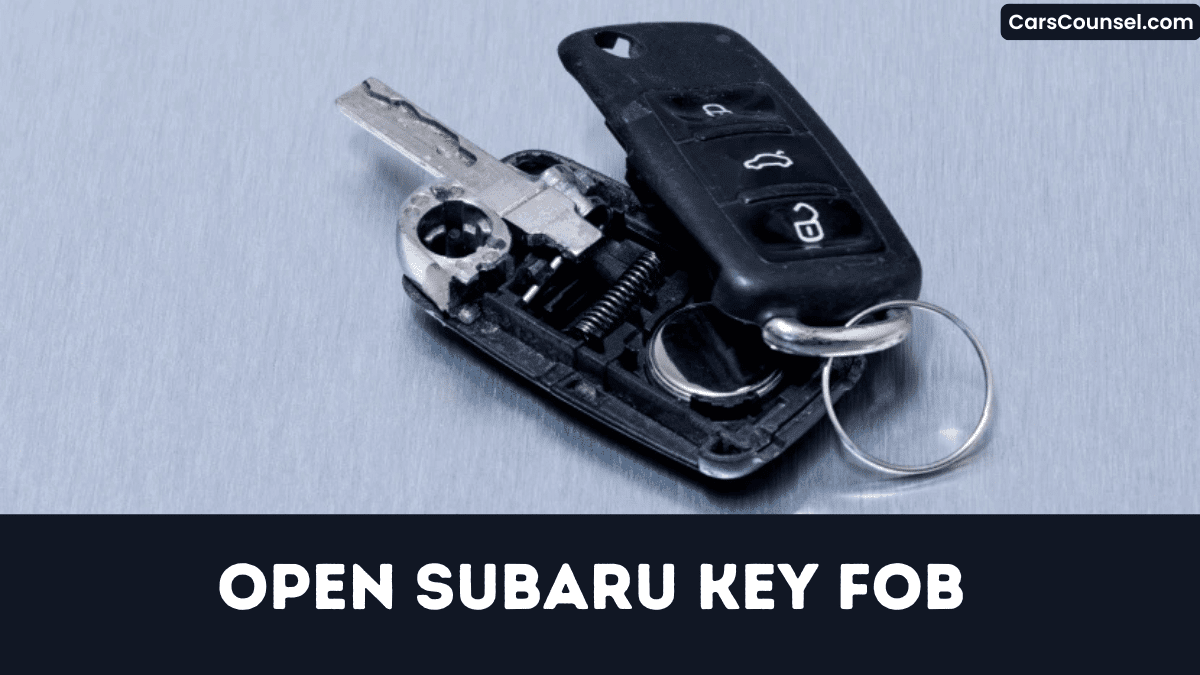
Once the shell clicks apart, the battery is exposed, ready for the next move that restores full functionality.
Quick Navigation
Key Takeaways
- Locate the small seam on the fob’s edge and gently pry it apart with a flat‑head screwdriver wrapped in cloth.
- Press the silver release tab (or side‑seam indentation) and twist the screwdriver to snap the two halves open.
- Remove the old CR2032/CR2025 battery, noting polarity; the “+” side faces the lid.
- Insert a new battery with the correct polarity, ensuring it sits flat against the contacts.
- Re‑assemble the halves, press until you hear a click, then test the fob’s LED and lock/unlock functions.
Tools Needed for Subaru Key Fob Battery Replacement
With a small flat‑head screwdriver (or a wrapped steak knife) ready, you’ll pry open the seam between the fob halves, using the emergency key as a lever to create the initial gap.
Choose a screwdriver with a thin, flat tip; a proper screwdriver selection prevents damaging the plastic.
Wrap the tip with a strip of tape or cloth for a secure tape grip and to avoid scratches.
Slip on rubber gloves; they shield the contacts and keep oils off the new lithium cell.
Keep a spare CR2032, CR2025, or CR1620 battery within reach for immediate swap.
Proceed promptly now.
Release the Emergency Key From the Fob
Find the small release button on the back of the fob near the key shank slot.
Press it firmly, then pull the emergency key straight out without applying sideways force.
Don’t forget to keep the key aside and make sure the fob’s opening gap stays clear for the next steps.
Locate Release Button
Where exactly is the release button on your Subaru key fob?
You’ll find the button location on the back of the fob, directly beneath the metal key shank.
On newer rectangular fob variants (CR2032) the recessed circular button sits beside the silver tab used to remove the shank.
Older teardrop fob variants (CR2025) place the button on the lower right rear surface, just above the seam.
Exposed‑metal‑key fob variants (CR1620) integrate the button into the metal housing; press it with a fingernail or thin screwdriver.
Hold for one to two seconds; the emergency key will pop out easily immediately.
Pull Key Straight Out
Press and hold the tiny release button on the back of the fob for about two seconds until you feel a click.
Then, apply steady pressure and maintain firm grip while you pull the emergency key straight out, keeping it aligned with the recessed slot for proper slot clearance.
- Use a fingertip or non‑metallic tool to press the release button.
- Make sure the slot stays free of debris for smooth extraction.
- Pull the key straight, without angling, to avoid twisting.
- Store the key in a dry, safe place after removal.
- Re‑insert by aligning the tip, pushing until it snaps back.
Open the Fob Without Breaking It
When you put on rubber gloves and press the silver release tab on the back of a 2032‑type fob, the metal key shank pops out, letting you slip a flat‑head screwdriver into the gap and begin prying.
Wear rubber gloves, press the silver tab on a 2032 fob, and slip a flat‑head screwdriver to pry.
Heat application—use a dryer for seconds—so plastic softens.
Locate the side‑seam indentation on 2025 or 1620 models and gently twist a screwdriver to release the snap‑fit latch.
Use gentle prying with the flat‑head tip, turning just enough for a click as halves separate.
Record the eight‑digit serial number inside the case, then lift the circuit board up, keeping shells intact for re‑assembly.
Identify Battery Polarity Inside the Fob
If you examine the battery compartment, you’ll see that the flat, smooth side of a CR2032, CR2025, or CR1620 must face up toward the lid, and a tiny “+” or “‑” etched on the plastic holder indicates the correct orientation.
Verify the polarity markings before you pull the old cell, and note the contact orientation to avoid mistakes.
- Look for a “+” or “‑” imprint on the plastic holder.
- Make sure flat, smooth side (positive) points toward the lid.
- For CR1620, the raised button side is negative.
- Photograph or sketch the existing contact orientation.
- Double‑check before inserting the new battery.
Replace the Battery in Your Subaru Key Fob
You’ll find a CR2032 lithium cell inside the rectangular Subaru fob, which is the correct battery type.
Wear rubber gloves, press the release tab, and pry the halves apart to open the fob safely.
Then note the polarity, lift the old cell, and snap the new CR2032 in with the positive side up.
Identify Battery Type
How can you tell which battery your Subaru key fob needs?
Open the fob, locate the eight‑digit serial number and match it to the model codes printed on the battery imprint. Newer rectangular fobs use a CR2032, older teardrop shapes a CR2025, and exposed‑metal‑key units a CR1620. Note the polarity marking; the positive (+) side faces up for all three types.
- CR2032 fits rectangular fobs with flat top
- CR2025 powers older teardrop‑shaped key fobs reliably
- CR1620 is required for exposed‑metal‑key models units
- Batteries last three years under normal use
- Purchase CR2032/CR2025 in 5‑packs locally at stores
Replace it today.
Open Fob Safely
Why take extra precautions when opening your Subaru key fob? Because static discharge can damage the electronics, so you need static protection and proper glove usage before you begin.
First, put on rubber gloves to guard your hands and prevent static buildup.
For newer rectangular fobs, press the silver release tab, pull out the metal key shank, then insert a cloth‑wrapped flat‑head screwdriver into the gap and gently pry the halves apart.
For older teardrop or exposed‑metal key fobs, locate the seam indentation and twist a flat‑head screwdriver until the case separates.
Note polarity; the (+) side faces up.
Insert New Battery
What’s the first step when your Subaru key fob’s buttons stop responding? Open the fob, replace the CR2032, and test the remote.
- Remove the emergency key, pry the halves apart with a flat‑head screwdriver, and note the “+” orientation.
- Lift out the old CR2032 (or compatible CR2025/CR1620) without touching the leads.
- Insert a fresh CR2032, ensuring the positive side faces up; choose a reputable brand selection for reliable voltage.
- Always snap the halves together until you hear a click, then re‑insert the emergency key.
- Perform eco disposal of the spent battery properly and store a spare for future swaps.
What to Do If the Fob Doesn’t Respond After Replacement?
Even if you’ve installed a fresh 3 V CR2032 with the correct polarity, the fob can stay dead because of oversights.
First, confirm the battery’s polarity again and make sure the halves are snapped together; any gap breaks the internal contacts.
Next, test the fob 1–2 m from the vehicle; if it still won’t lock or open, hold the lock and open buttons together for ten seconds to reset it.
If it remains silent, measure the battery voltage—new cells can be dead out of the package.
Finally, follow the reprogramming steps at a Subaru dealer; dealer assistance is required for rectangular fobs.
Re‑Assemble the Subaru Key Fob Correctly
How do you re‑assemble the Subaru key fob correctly?
First, verify the CR2032 battery sits flat, positive up, before closing the case.
Then, re‑insert the emergency key fully into its groove.
Align the halves so metal contacts and plastic tabs interlock, ensuring contact alignment and seal integrity.
Press until you hear a click.
Finally, snap the case shut, press any button and watch the LED flash, confirming the connection.
- Seat battery flat, positive side up.
- Insert emergency key fully into groove.
- Match metal contacts, plastic tabs for contact alignment.
- Press halves until click properly seals seal integrity.
- Verify LED flash and serial number match.
Test the Repaired Subaru Key Fob – Quick Checklist
When you’ve reassembled the Subaru key fob, run this quick checklist to verify every function works.
Reassemble the Subaru key fob, then run this quick checklist to verify all functions work.
Press lock; make sure doors lock within two seconds and fob flashes LED twice, confirming button response.
Stand thirty feet away, press open, and watch doors open while LED glows steadily, testing signal range.
Press trunk release; rear hatch should open within three seconds.
Hold panic button two seconds; horn sounds and interior lights flash.
For push‑button start models, place the fob on the start pad, depress the brake, press the start button, and confirm the engine cranks without a “key not detected” warning.
How to Open Key Fobs by Brand: Hidden Key Release, Battery Type & Case Separation
| Toyota Key Fob | Honda Key Fob | Hyundai Key Fob |
| Chevy Key Fob | Ford Key Fob | Jeep Key Fob |
| Kia Key Fob | Mercedes Key Fob | |
| Audi Key Fob | Volvo Key Fob | VW Key Fob |
Frequently Asked Questions
How Do I Open My Subaru Key Fob?
You’ll open your Subaru key fob by selecting a small flat‑head screwdriver (tool selection), removing the metal key, inserting the wrapped tip into the gap, twisting gently, and snapping the halves together for fob troubleshooting.
How to Remove a Subaru Key Fob Cover?
You’ll remove the Subaru key fob cover by selecting a thin flat‑head screwdriver (tool selection), gently inserting it into the seam, and prying carefully smoothly apart the plastic cover material completely until the halves separate.
How to Change Battery in 2020 Subaru Legacy Key Fob?
Replace the CR2032 battery (Battery type) by sliding the fob halves apart, removing the old cell, inserting the new one, and snapping it back; the Replacement cost is typically $5‑$10. You’ll have full functionality soon.
How Do I Open up My Key Fob?
Picture the tiny seam glinting like a secret hinge; you’re gently prying it with a wrapped screwdriver, split the halves, expose the battery, then re‑snap for fob durability and seamless remote pairing after checking polarity.
Conclusion
Now you’ve gently coaxed your Subaru key fob back to life without bruising its delicate innards. By releasing the emergency key, prying the seam, swapping the CR2032, and re‑uniting the halves, you’ve avoided a costly dealer visit. Should the fob stay silent, give it a brief pause before testing again. Remember, a careful touch and correct polarity keep the electronics humming, ensuring your vehicle greets you with a friendly beep each time you arrive today.