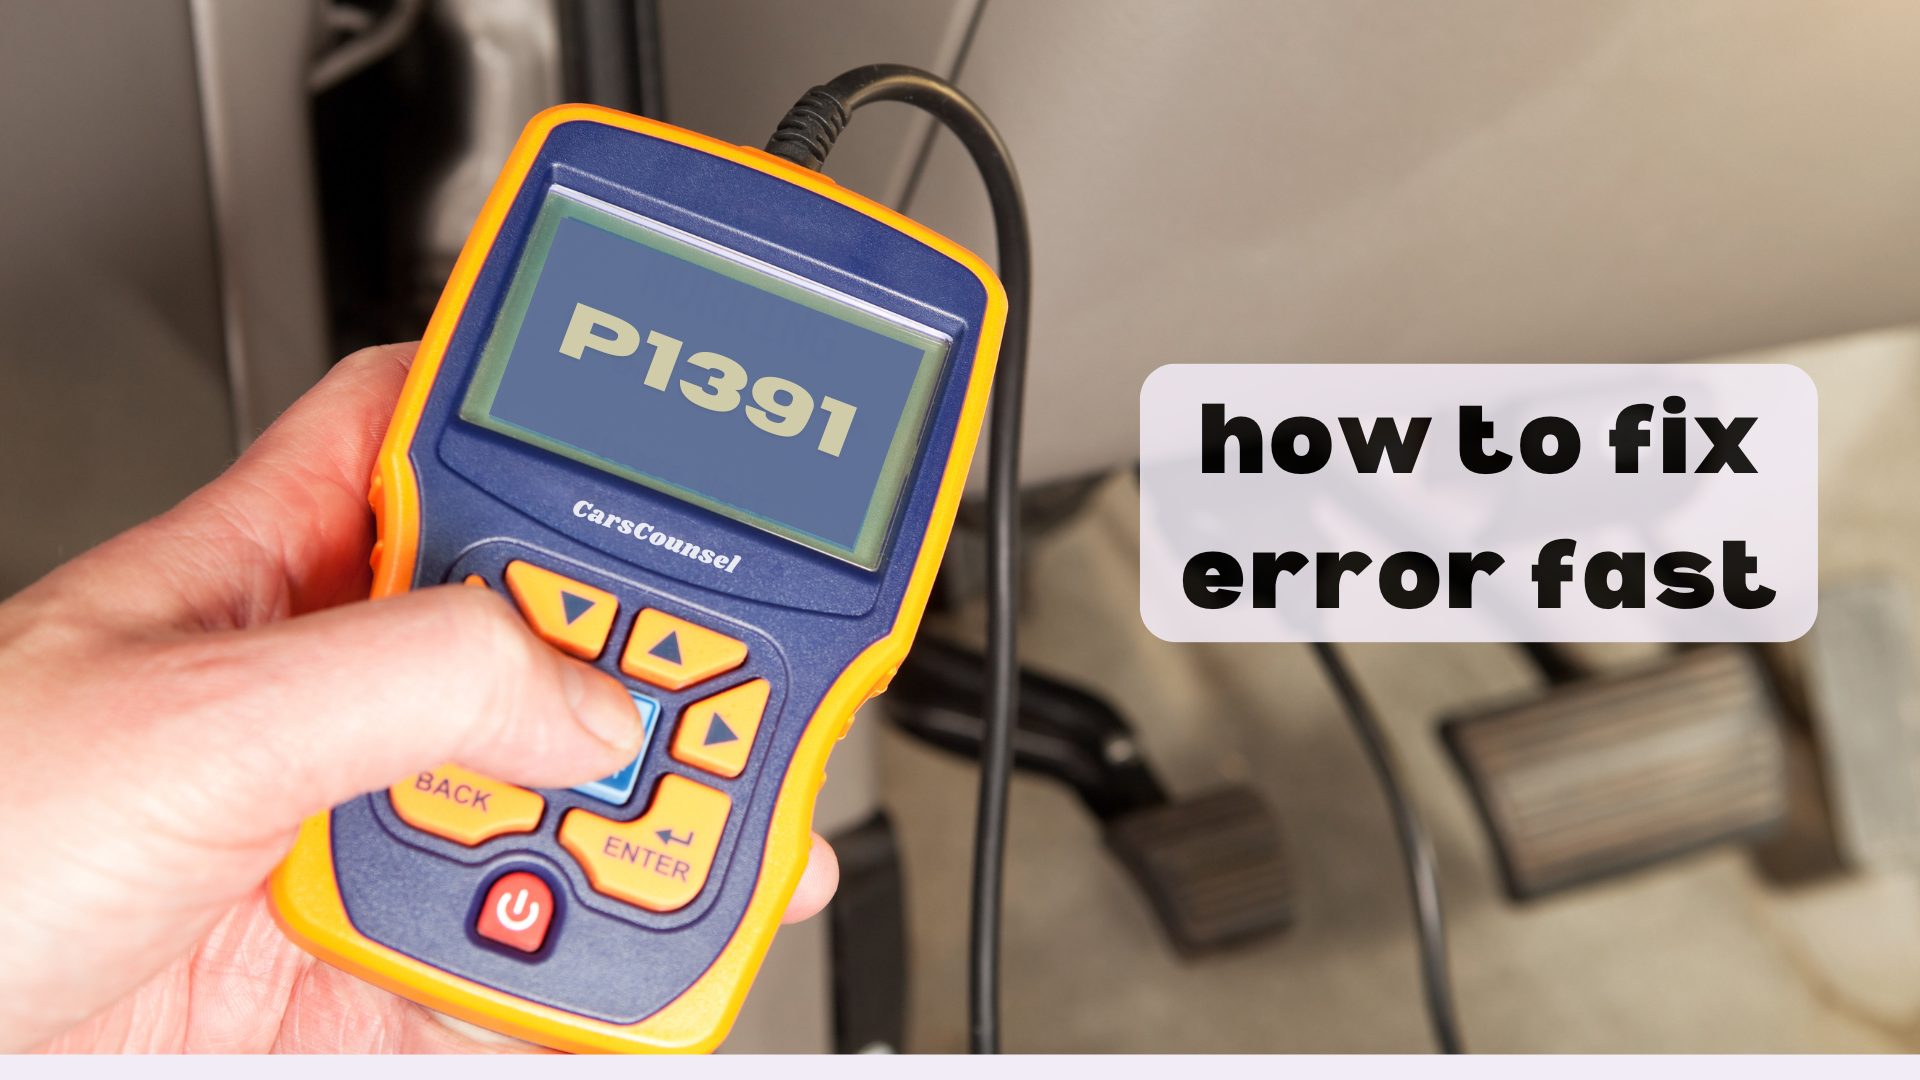
P1391 is a manufacturer-specific OBD-II diagnostic trouble code. Because it is manufacturer-specific, its exact definition depends on the vehicle application, often relating to the camshaft or crankshaft position sensors.
The exact application must be verified before diagnosis. The code indicates a detected intermittent signal condition, but testing is required to identify the root cause.
Quick Navigation
Key Takeaways
- P1391 is a manufacturer-specific code, meaning its exact definition varies by automaker and vehicle application.
- On many Chrysler, Jeep, Honda, and Acura applications, it indicates an intermittent loss or interruption of the Camshaft Position (CMP) or Crankshaft Position (CKP) sensor signal.
- Possible causes include damaged wiring, a failing sensor, or mechanical timing issues like a stretched timing belt or chain.
- Diagnosis requires verifying the exact factory definition and inspecting the relevant sensors, wiring, and timing components.
P1391 Code Description and Implications
P1391 is a manufacturer-specific powertrain code. Because the second digit is “1”, the definition is controlled by the automaker rather than the SAE standardized list.
Some Chrysler, Jeep, and Dodge applications: P1391 indicates an intermittent loss of signal from the Camshaft Position (CMP) or Crankshaft Position (CKP) sensor.
Certain Honda and Acura applications: P1391 indicates an intermittent interruption in the CMP or CKP sensor signal.
When the control module detects an inconsistent or dropping signal from these critical timing sensors, it sets this error code. Because this is a manufacturer-specific code, the exact definition and diagnostic steps vary by automaker.
Common Causes of the P1391 Code
Possible causes depend entirely on the specific vehicle application.
Damaged, chafed, or corroded wiring and connectors in the CMP or CKP sensor circuits are frequent culprits.
A failing or internally shorted camshaft or crankshaft position sensor can also drop the signal intermittently.
Mechanical timing issues, such as a stretched timing chain or worn timing belt, can cause the sensors to read out of sync.
Debris on the sensor tip or a damaged reluctor ring can also disrupt the magnetic signal.
Symptoms Associated With P1391
The primary symptom is an illuminated check engine light.
Drivers may experience engine stalling, failure to start, rough idling, or severe misfires.
In some applications, the tachometer may drop to zero while cranking or driving if the CKP signal is lost.
Diagnosing the P1391 Trouble Code
Diagnosis must begin by confirming the exact factory definition for the specific make, model, and year.
Technicians inspect wiring harnesses for the CMP and CKP sensors, especially near hot or moving engine components.
An oscilloscope or advanced scan tool is used to monitor the live signal waveforms of both sensors simultaneously.
Mechanical timing alignment and reluctor rings are also inspected for physical damage or stretch.
Repairing the P1391 Issue
Repairs follow the confirmed diagnosis for the specific application.
If wiring damage is found, repairing the harness and clearing the code resolves the electrical fault.
If a sensor fails the signal test, replacing the confirmed failed CMP or CKP sensor is required.
If the timing chain is stretched or the belt has jumped time, mechanical timing repairs are necessary.
Cost Considerations for P1391 Repairs
Repair costs vary widely depending on the underlying fault and the vehicle application.
Replacing an external sensor involves standard parts and labor.
If the repair requires replacing a stretched timing chain or internal components, labor costs increase significantly.
Cost depends on diagnostic time, component accessibility, required parts, programming requirements, and labor.
Prevention Strategies for Future Occurrences
Inspecting exposed engine wiring harnesses can help identify developing damage from heat, vibration, or rodent activity.
Following the manufacturer’s severe service maintenance schedule for timing belt or chain inspection helps prevent mechanical timing faults.
Troubleshooting Tips and Best Practices
Never assume a manufacturer-specific code has a universal meaning. Always verify the exact factory service information for your specific vehicle.
Do not replace both sensors without first verifying the wiring, connectors, and live data signal waveforms.
If P1391 is accompanied by cam/crank correlation codes, suspect a mechanical timing issue rather than just an electrical sensor fault.
More OBD-II Codes
| P1373 | P1374 | P1375 | P1376 |
| P1377 | P1378 | P1392 | P1393 |
| P1394 | P1395 | P1396 | P1397 |
| P0335 | P0340 | P0016 | P0017 |
| P0300 | P0301 | P0302 | P0303 |
| P0304 | P0305 | P0320 | P0339 |
Frequently Asked Questions
Is P1391 a generic OBD-II code?
No. P1391 is a manufacturer-specific code, meaning its exact definition and diagnostic procedure depend entirely on the vehicle’s make, model, and application.
Can I drive my vehicle with a P1391 code?
It is not recommended. An intermittent loss of the crankshaft or camshaft position signal can cause the engine to stall suddenly without warning, creating a safety hazard.
Will a P1391 code cause the engine to stall?
Yes. The engine control module relies on these signals for spark and fuel timing. If the signal drops out while driving, the engine will immediately stall.
Does P1391 always mean the sensor is broken?
No. The code often points to an electrical fault like damaged wiring, a corroded connector, or a mechanical issue like a stretched timing chain.
How do I clear a manufacturer-specific P1391 code?
Clearing the code requires fixing the underlying electrical or mechanical fault. Simply using a scan tool to erase the code will not repair the root cause.
What Should You Do About the P1391 Code?
Confirm the exact factory definition for your specific vehicle, then follow the applicable manufacturer diagnostic procedure for the relevant system and components.
Because P1391 is manufacturer-specific, testing the exact wiring circuits, sensors, or timing components identified by the factory service information is required to find the root cause.
Once the fault is confirmed, perform the necessary repairs and verify the fix by clearing the codes and completing a test drive.


Comments are closed.