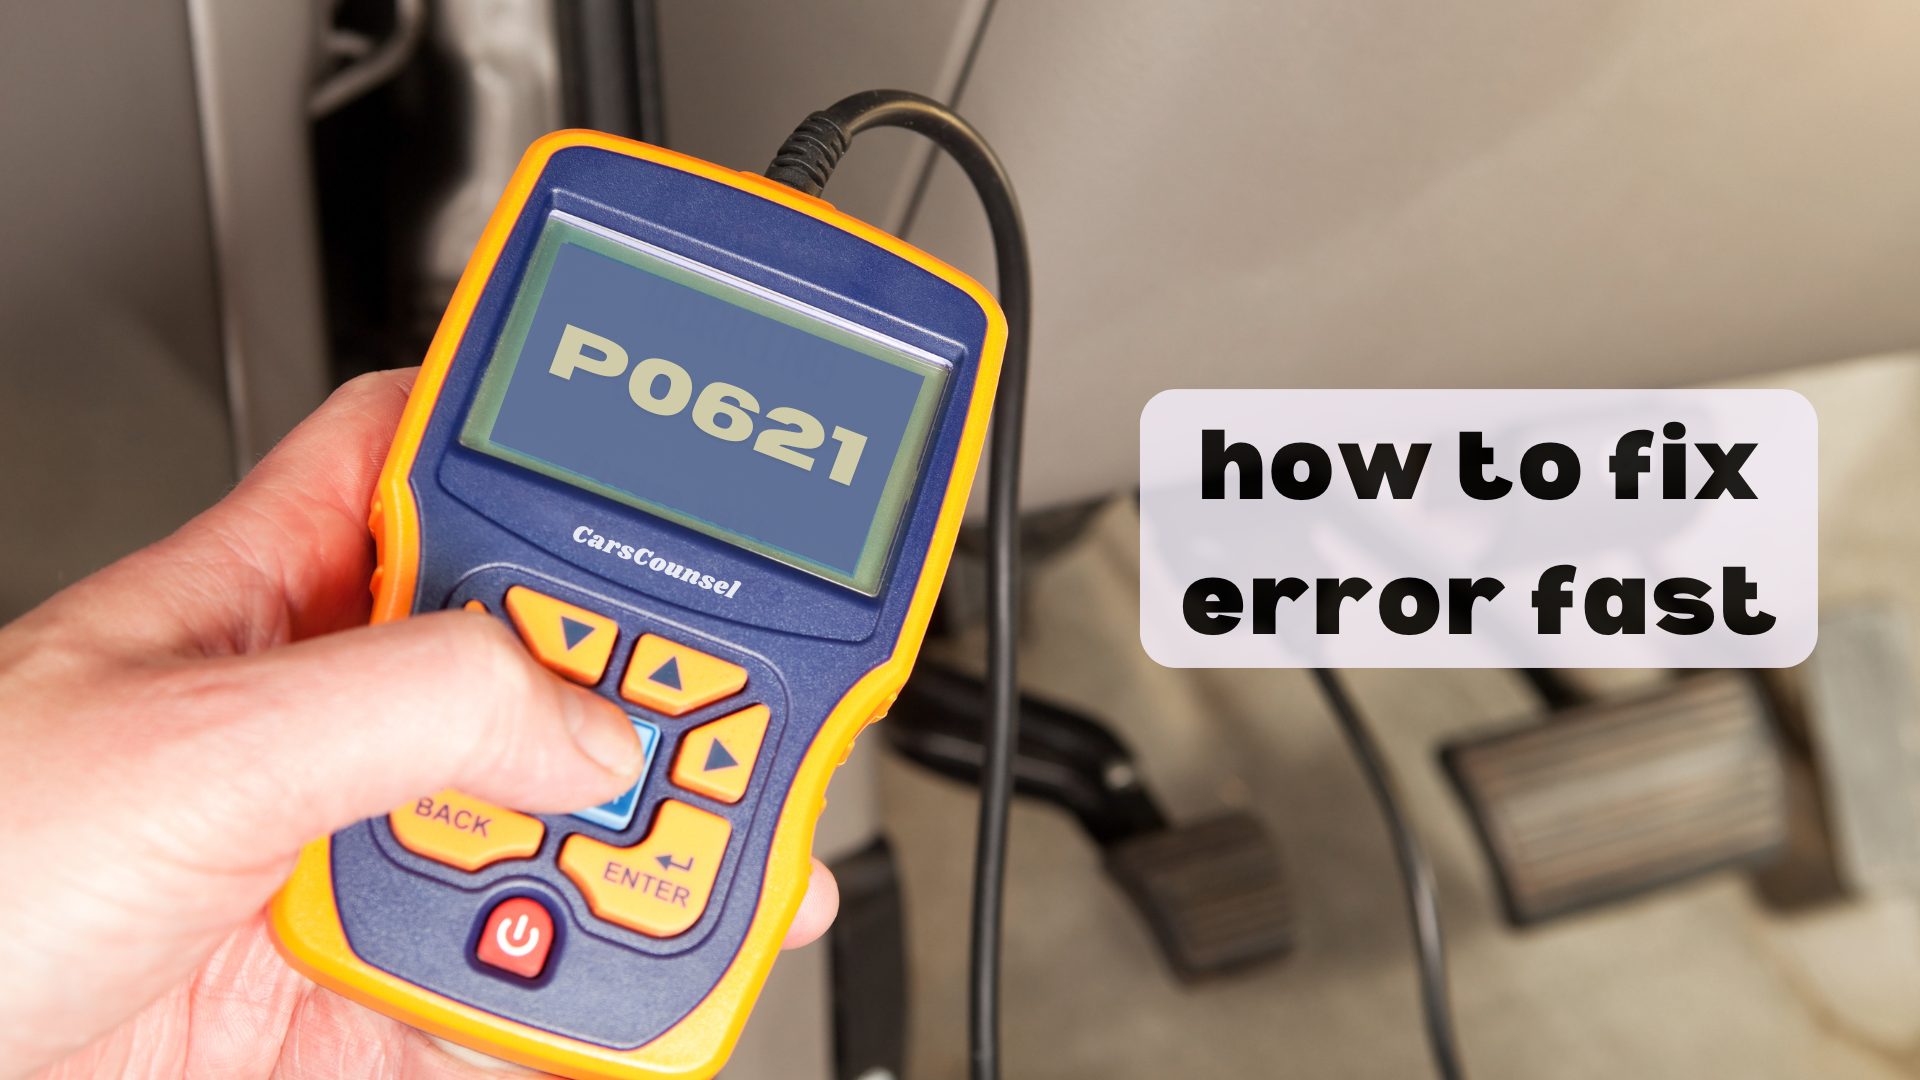
The P0621 code is a generic OBD-II diagnostic trouble code indicating “Generator Lamp ‘L’ Control Circuit Malfunction.” It means the powertrain control module detected an electrical fault in the circuit controlling the dashboard battery warning light.
This code does not automatically prove the alternator or bulb has failed. Diagnosis requires checking the bulb, inspecting the wiring, and testing the control circuit before replacing components.
Quick Navigation
Key Takeaways
- The P0621 code indicates the control module detected an electrical malfunction in the generator lamp “L” control circuit.
- Possible causes include a burnt-out dashboard bulb, damaged wiring, corroded connectors, or a failed alternator internal regulator.
- Diagnosis involves verifying the dashboard battery light operation, inspecting the harness, and testing the control circuit voltage.
- Repairs may involve replacing the bulb, repairing wiring, or addressing confirmed alternator or control module faults.
P0621 Code Description and Implications
The P0621 code indicates that the powertrain control module detected a malfunction in the generator lamp “L” control circuit. This generic OBD2 error code applies to many vehicles equipped with an electronically controlled charging system.
The module uses the “L” terminal circuit to illuminate the dashboard battery warning light and to provide an initial excitation voltage to the alternator’s internal voltage regulator.
When the module detects an open circuit, a short, or an illogical voltage state on this specific control wire, it stores this code. This is an electrical circuit fault, not necessarily a complete charging system failure.
Common Causes of the P0621 Code
A burnt-out or missing dashboard battery warning light bulb is a primary cause. The bulb often completes the initial excitation circuit, and an open filament interrupts the signal to the alternator.
Damaged wiring, chafed insulation, or corroded connectors in the harness between the control module, the dashboard cluster, and the alternator will interrupt the control signal.
An internally failed alternator voltage regulator or worn slip rings can prevent the “L” terminal circuit from functioning correctly, triggering the circuit malfunction code.
Symptoms Associated With P0621
An illuminated Check Engine Light is expected once the monitor detects the circuit malfunction. MIL behavior varies by application, but the light commands when the fault is verified.
The dashboard battery warning light may fail to illuminate when the key is turned to the “on” position before starting, or it may remain illuminated while driving.
In some applications, the alternator may fail to begin charging properly at low idle speeds because it did not receive the initial excitation signal from the “L” circuit.
Diagnosing the P0621 Trouble Code
Diagnosis must begin by confirming the exact factory definition and checking for related charging system codes. Record freeze-frame data to see the conditions when the code set.
Verify the operation of the dashboard battery warning light. If the bulb does not illuminate with the key on and engine off, the issue may simply be a burnt-out bulb or a cluster communication fault.
Inspect the wiring harness and connectors at the alternator and the control module for physical damage, corrosion, or fluid intrusion.
Use a multimeter to test the “L” terminal circuit for continuity, shorts to ground, and shorts to voltage according to the manufacturer wiring diagram.
Repairing the P0621 Issue
Repairs must follow confirmed diagnosis. If the dashboard bulb is burnt out, replace it with the correct specification bulb to restore the excitation circuit.
If the wiring harness is damaged or connectors are corroded, repair the circuit and secure the harness to prevent future damage.
If electrical testing confirms the alternator’s internal regulator or “L” terminal is faulty, replace the alternator using a component meeting the exact vehicle specification.
Cost Considerations for P0621 Repairs
Cost depends on diagnostic time, component accessibility, required parts, programming requirements, and labor.
Replacing a dashboard bulb or repairing a damaged wire involves minimal parts and labor expenses.
If the alternator requires replacement due to an internal regulator failure, the cost of the component and the labor to remove and install it will increase the overall repair price.
Prevention Strategies for Future Occurrences
Inspecting exposed alternator wiring harnesses and connectors for heat damage or corrosion during routine under-hood service can help identify developing issues before they cause a circuit fault.
Ensuring the dashboard warning lights are functioning correctly during regular vehicle operation helps maintain the integrity of the initial excitation circuit.
Some internal alternator regulator failures occur due to normal component aging and cannot be reliably prevented through standard maintenance.
Troubleshooting Tips and Best Practices
Do not replace the alternator without verifying the dashboard bulb and external wiring first. A simple burnt-out bulb or broken wire will cause the exact same code as a failed internal regulator.
Always check the battery state of charge and alternator output voltage. While P0621 targets the lamp control circuit, a completely dead battery can mask or complicate charging system diagnostics.
Check for technical service bulletins for your exact vehicle application. Some manufacturers release updated alternator pigtail connectors or revised wiring harnesses to address chronic terminal corrosion.
More OBD-II Codes
| P0607 | P0606 | P0605 | P0604 |
| P0603 | P0602 | P0622 | P0625 |
| P0627 | P0628 | P0629 | P0633 |
| P0620 | P0650 | P0651 | P0652 |
| P0600 | P0601 | P0638 | P0641 |
| P0683 | P0685 | P0688 | P0690 |
Frequently Asked Questions
Is the P0621 code generic or manufacturer-specific?
Yes, P0621 is a generic SAE OBD-II diagnostic trouble code. However, the exact wiring diagram and alternator excitation method vary by manufacturer and vehicle application.
Can a burnt-out dashboard bulb cause a P0621 code?
Yes. The dashboard battery warning light bulb often completes the initial excitation circuit for the alternator. A burnt-out bulb creates an open circuit, triggering this code.
Will a P0621 code prevent my alternator from charging?
It can. On some applications, the alternator requires the initial voltage from the “L” terminal circuit to begin charging. If the circuit is open, the alternator may not charge at low idle speeds.
Does a P0621 code mean I need a new alternator?
Not necessarily. While an internal regulator failure is possible, the code is frequently caused by a burnt-out dashboard bulb, damaged wiring, or corroded connectors. Proper testing is required first.
Can I clear the P0621 code without fixing the problem?
Clearing the code only resets the warning light. If the underlying open circuit, burnt-out bulb, or failed regulator remains, the monitor will detect the malfunction immediately and turn the light back on.
What Should You Do About the P0621 Code?
Confirm the exact factory definition and check for related charging system codes for your specific vehicle application. Follow the applicable manufacturer diagnostic procedure to verify whether the fault lies in the dashboard bulb, wiring, or the alternator itself.
Once testing confirms the root cause, repair or replace the confirmed failed component, then retest the charging system operation to ensure proper voltage output and warning light function.