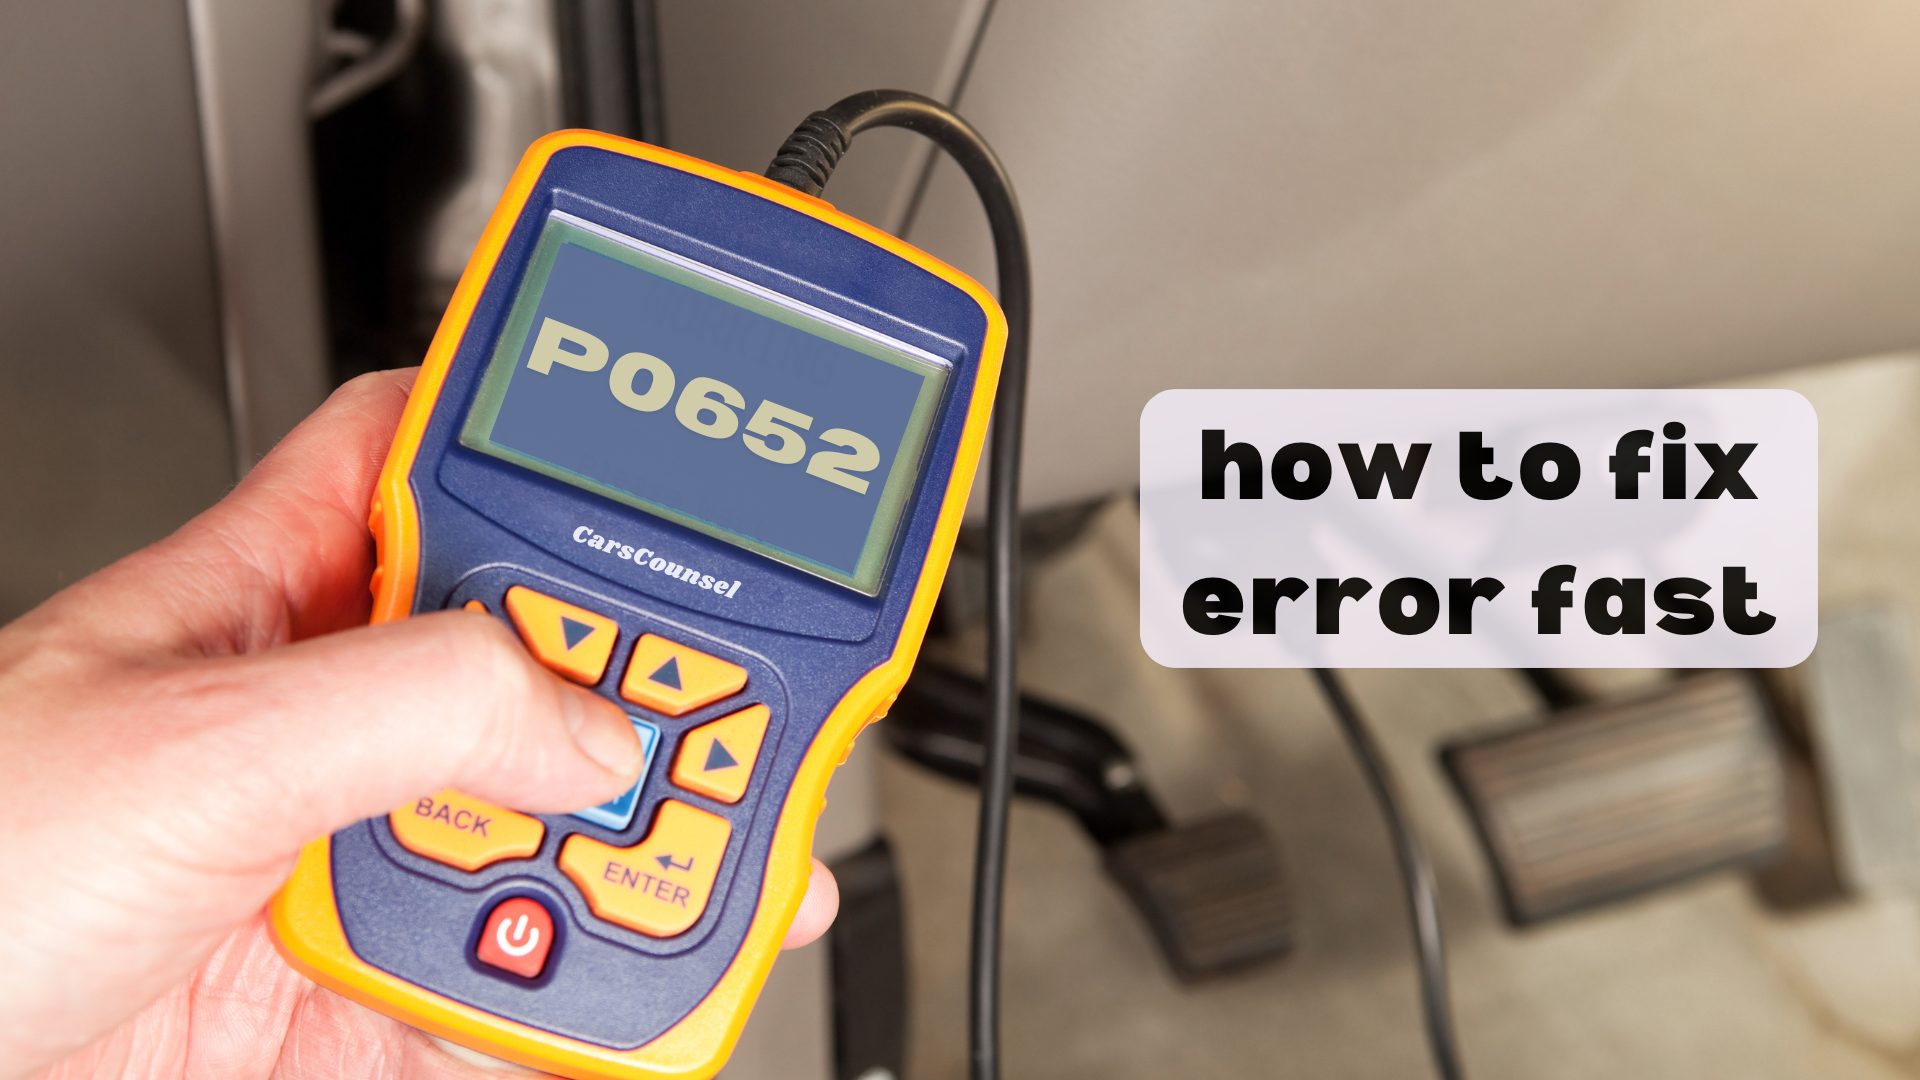
P0652 is a generic OBD-II diagnostic trouble code indicating the powertrain control module detected a low voltage condition in the Sensor Reference Voltage “B” circuit.
This code identifies an electrical circuit condition rather than confirming a single failed component. The underlying cause requires targeted diagnosis based on the exact factory wiring diagrams.
Quick Navigation
Key Takeaways
- P0652 indicates the control module detected a low voltage condition on the 5-volt Sensor Reference “B” circuit.
- Possible causes include a short to ground in the reference wire, an internally shorted sensor, or a failed control module.
- Diagnosis requires isolating the sensors on the “B” circuit and testing the wiring for shorts to ground.
- Repairs depend on the confirmed root cause and may involve wiring repair, sensor replacement, or module service.
P0652 Code Description and Implications
P0652 is a generic OBD-II code indicating the powertrain control module (PCM) detected a low voltage condition in the Sensor Reference Voltage “B” circuit.
The PCM provides a stable 5-volt reference to multiple engine sensors to ensure accurate signal readings.
When the control module monitors this specific reference bus and detects the voltage is consistently below the normal operating range, it logs this code.
Because P0652 is a generic code, this fundamental monitoring logic applies across various vehicles from multiple manufacturers.
However, the exact sensors connected to the “B” reference circuit vary depending on the specific vehicle application.
When diagnosing an OBD2 error related to reference voltage, verifying the exact factory wiring diagram is the most critical first step.
Common Causes of the P0652 Code
The underlying causes for a sensor reference voltage low condition generally involve the wiring harness, connected sensors, or the control module itself.
Short to Ground: The 5-volt reference “B” wire may be chafed or pinched, causing it to short directly to the vehicle chassis and pull the voltage low.
Internally Shorted Sensor: A failed sensor connected to the “B” circuit can short the 5-volt reference to ground internally, dragging down the voltage for the entire bus.
Failed Control Module: An internal failure within the PCM’s voltage regulator can prevent it from outputting the correct 5-volt reference.
Corroded Connectors: Moisture intrusion or corrosion at a sensor connector or the PCM harness can create a path to ground.
Symptoms Associated With P0652
The prominent symptom is the illumination of the Check Engine Light.
The engine may experience severe drivability issues, stalling, or a no-start condition because critical sensors lose their reference voltage.
Depending on the application, the transmission may enter a limp mode or fail to shift correctly due to missing throttle position or MAP sensor data.
Other sensors sharing the same 5-volt reference bus will also stop providing valid data to the PCM.
Diagnosing the P0652 Trouble Code
Diagnosis must begin by confirming the exact factory service information to identify which specific sensors are connected to the 5-volt reference “B” circuit.
Use a digital multimeter to measure the voltage on the reference circuit at the PCM connector and at each sensor on the bus.
If the voltage is low, systematically disconnect each sensor on the “B” circuit one by one while monitoring the voltage.
If the voltage returns to 5 volts when a specific sensor is unplugged, that sensor is likely internally shorted.
If the voltage remains low with all sensors disconnected, test the wiring harness for a short to ground between the PCM and the sensor connectors.
Repairing the P0652 Issue
Repairs must follow confirmed diagnosis. Never replace the PCM or sensors solely based on the presence of the code.
If a specific sensor is confirmed to be internally shorting the reference circuit, replace the sensor using a component meeting the correct vehicle specification.
If the wiring harness is shorted to ground, repair the damaged wire and secure the harness away from hot or moving components.
If all wiring and sensors test correctly but the PCM is not outputting 5 volts, follow the manufacturer’s procedure to evaluate or replace the control module.
Cost Considerations for P0652 Repairs
Repair costs vary considerably depending on the confirmed root cause and the specific vehicle application.
Repairing damaged wiring or cleaning connectors involves minimal parts and moderate labor costs depending on harness accessibility.
Replacing a failed sensor involves standard parts costs, though labor can increase if the component is difficult to access.
Cost depends on diagnostic time, component accessibility, required parts, programming requirements, and labor.
Prevention Strategies for Future Occurrences
Preventing reference voltage circuit faults requires protecting the vehicle’s engine bay wiring from physical damage and environmental exposure.
Inspecting exposed wiring near sensors can help identify developing chafing or heat damage before it causes a short circuit.
Keeping connector seals intact may reduce moisture intrusion and terminal corrosion in harsh driving environments.
Troubleshooting Tips and Best Practices
Always check for Technical Service Bulletins related to P0652 for your specific vehicle application.
Manufacturers may release updated wiring harness routing kits, revised sensor designs, or software updates for the PCM to address known reference voltage issues.
Do not assume the PCM requires replacement simply because a reference voltage code is present.
A simple chafed wire or a single failed sensor can produce the P0652 code without the control module being defective.
If the vehicle recently underwent engine or sensor service, verify that no wiring was pinched or left resting against sharp metal edges.
More OBD-II Codes
| P0638 | P0641 | P0643 | P0645 |
| P0650 | P0651 | P0654 | P0657 |
| P0660 | P0661 | P0670 | P0671 |
| P0602 | P0603 | P0604 | P0605 |
| P0117 | P0118 | P0122 | P0123 |
| P0325 | P0335 | P0340 | P0452 |
Frequently Asked Questions
Is the P0652 code generic or manufacturer-specific?
P0652 is a generic SAE-defined OBD-II code. Its fundamental definition regarding a low voltage condition on the Sensor Reference “B” circuit applies across various manufacturers, though exact diagnostic procedures vary.
Can a bad sensor cause a P0652 code?
Yes. If a sensor connected to the 5-volt reference “B” circuit fails internally and shorts the reference wire to ground, it will drag down the voltage for the entire bus and trigger the code.
Will disconnecting the battery clear the P0652 code?
Disconnecting the battery may temporarily clear the code, but it does not repair the underlying electrical fault. It also erases valuable freeze frame data, complicating professional diagnosis.
Can I drive my vehicle with a P0652 code?
Driving is not recommended. A loss of the 5-volt reference can cause critical sensors to fail, leading to severe drivability issues, stalling, or a no-start condition, creating a safety hazard.
Does P0652 mean the PCM must be replaced?
Not necessarily. While an internal PCM voltage regulator failure is a possible cause, a short to ground in the wiring harness or a failed sensor can also trigger the code. The circuits must be tested first.
What Should You Do About the P0652 Code?
Confirm the exact factory definition and diagnostic procedure for your specific vehicle application before attempting repairs.
Do not assume the PCM or sensors require replacement based solely on the presence of the diagnostic trouble code.
Inspect the 5-volt reference wiring, isolate the sensors on the “B” circuit, and review live voltage data to rule out external faults.
Follow the applicable manufacturer diagnostic workflow to isolate the relevant system and components before replacing any hardware.