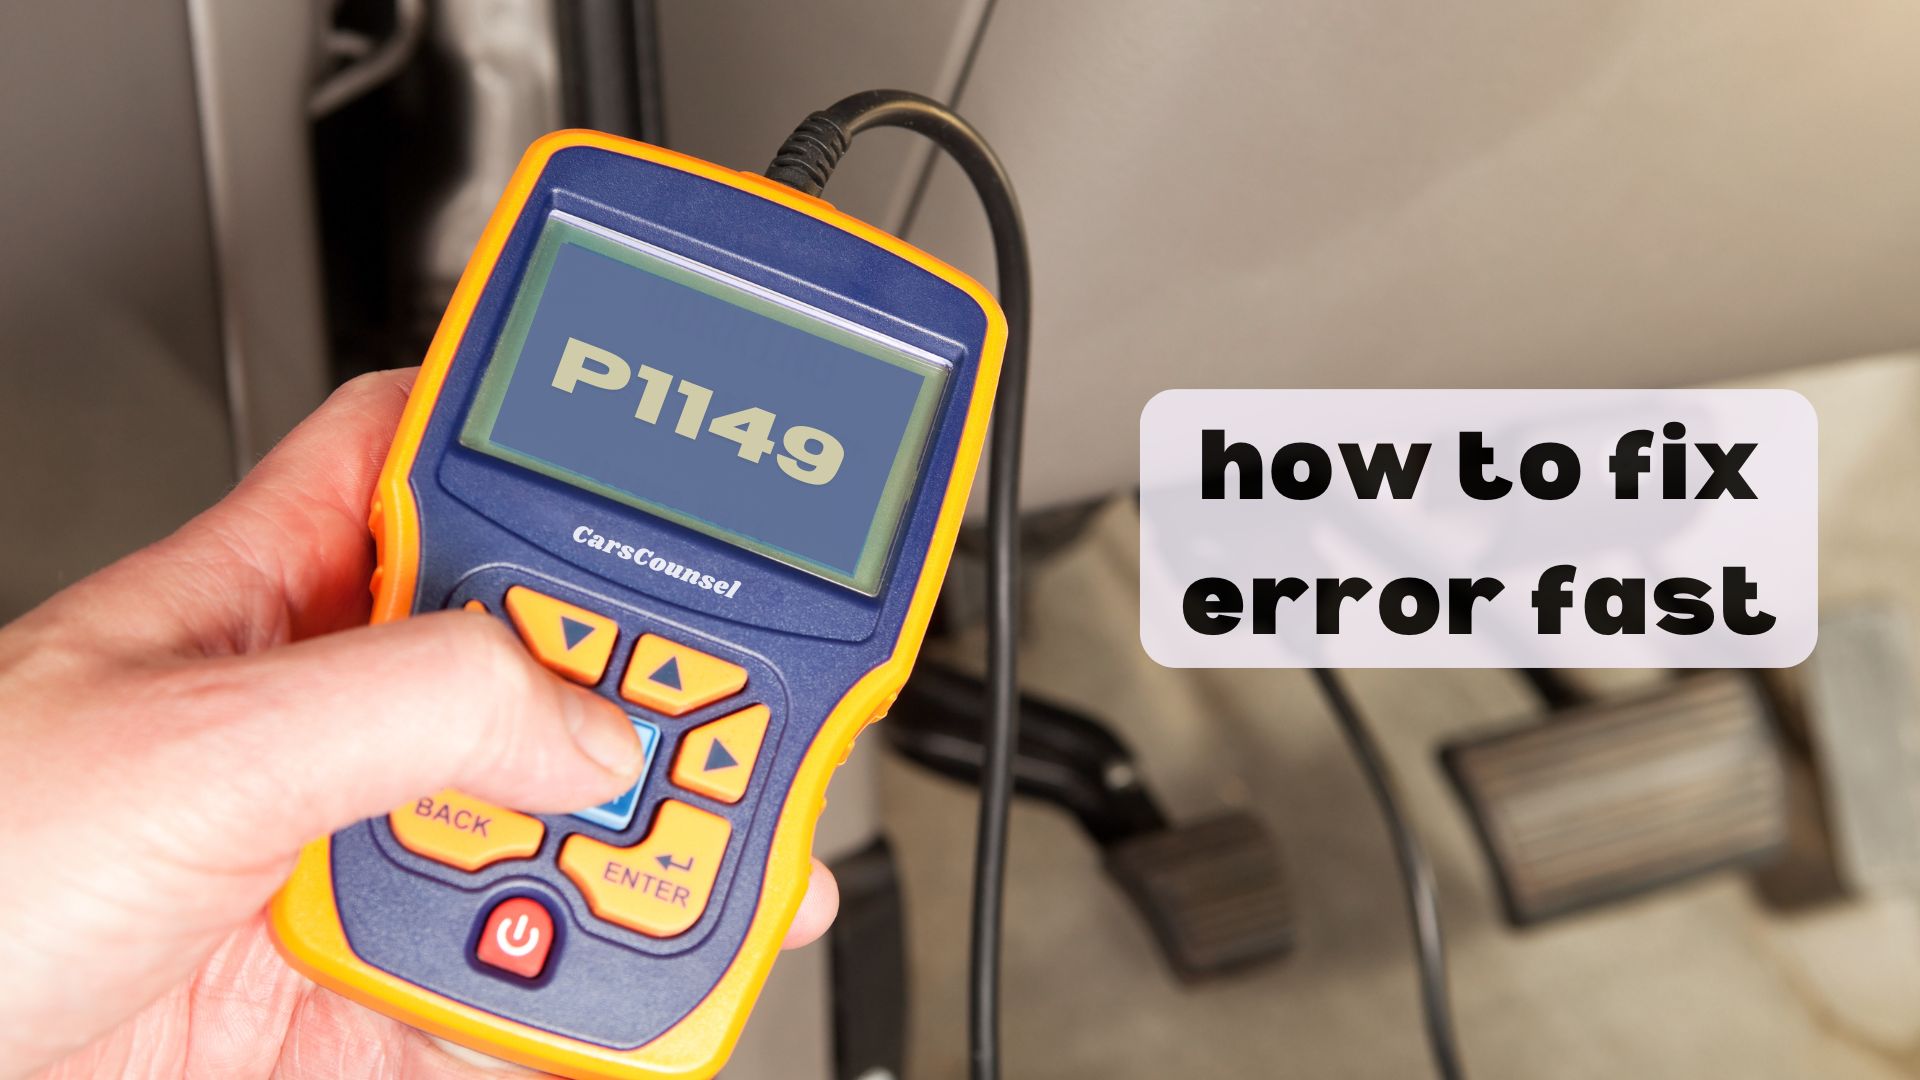
The P1149 diagnostic trouble code is a manufacturer-specific powertrain code. It generally indicates that the upstream air/fuel ratio or oxygen sensor on Bank 1 is operating outside its expected performance range or that closed-loop fuel control is out of limits.
Because definitions vary by automaker, the exact vehicle application must be verified. The code alone does not prove the sensor has failed without proper circuit and performance testing.
Quick Navigation
Key Takeaways
- P1149 is a manufacturer-specific code indicating an air/fuel ratio sensor, oxygen sensor, or closed-loop control performance issue on Bank 1.
- On Nissan and Infiniti applications, it points to a Closed Loop Control Function fault or Air/Fuel Ratio Sensor 1 Circuit Range/Performance.
- On Honda and Acura applications, it indicates a Primary HO2S (Sensor 1) Circuit Range/Performance Problem.
- On Volkswagen applications, it indicates an Oxygen Sensor Control Bank 1 Out Of Range condition.
- Diagnosis requires verifying the exact definition and testing the sensor signal, heater circuit, and fuel system integrity.
P1149 Code Description and Implications
The P1149 code indicates that the engine control module has detected a performance issue with the upstream sensor on Bank 1, which is the engine bank that contains cylinder 1.
Some Nissan and Infiniti applications: P1149 indicates a Closed Loop Control Function fault or Air/Fuel Ratio Sensor 1 Circuit Range/Performance issue. The module detects that the fuel control loop cannot maintain the target ratio.
Certain Honda and Acura applications: The code indicates a Primary HO2S (Sensor 1) Circuit Range/Performance Problem. The module detects that the sensor signal is outside the calibrated voltage or current thresholds.
Some Volkswagen applications: P1149 points to an Oxygen Sensor Control Bank 1 Out Of Range condition, meaning the lambda control has reached its adaptation limits.
Common Causes of the P1149 Code
Sensor Degradation: The internal elements of the Bank 1 Sensor 1 air/fuel ratio or oxygen sensor may be contaminated by oil, coolant, or silicone, slowing its response time.
Fuel System Issues: A leaking fuel injector, weak fuel pump, or restricted fuel filter can cause actual fuel delivery extremes that the sensor accurately reads but cannot correct.
Vacuum or Exhaust Leaks: Unmetered air entering the intake or an exhaust leak upstream of the sensor can skew the readings, causing the control module to detect a range or performance fault.
Wiring and Connector Issues: Damaged wiring, poor electrical connections, or excessive resistance in the sensor signal or heater circuits can degrade the signal sent to the control module.
Symptoms Associated With P1149
Warning Lights: The Check Engine Light will illuminate. MIL behavior varies by application, but a confirmed range or performance fault will command the light on.
Drivability: The vehicle may experience rough idling, hesitation during acceleration, or decreased fuel economy. In some cases, drivability remains normal, and the code is only detected during specific monitor testing.
Diagnosing the P1149 Trouble Code
Accurate diagnosis begins by verifying the exact vehicle application and reviewing manufacturer-specific service information.
Inspect the Intake and Exhaust: Check the intake manifold and exhaust piping near the Bank 1 Sensor 1 location for vacuum leaks or exhaust cracks that could introduce false air.
Review Live Data: Use a scan tool capable of displaying the relevant data to monitor the Bank 1 Sensor 1 waveform and fuel trims. Compare the switching frequency against the Bank 2 data if applicable.
Test the Sensor and Wiring: If live data confirms a slow response or out-of-range condition, verify the sensor signal, ground, and heater circuits according to the manufacturer procedure.
Repairing the P1149 Issue
Repairs must follow the confirmed root cause identified during diagnosis.
Leak Repairs: If a vacuum or exhaust leak is found near the sensor, repair or replace the affected components to restore proper gas sampling and air/fuel mixture control.
Sensor Replacement: If the sensor fails performance testing and the wiring is intact, replace the Bank 1 Sensor 1 component with a part meeting the correct vehicle specification.
Wiring Repairs: If the signal or heater circuit has excessive resistance or physical damage, repair the harness and clear the codes.
Cost Considerations for P1149 Repairs
Cost depends on diagnostic time, component accessibility, required parts, programming requirements, and labor.
Replacing an upstream sensor involves moderate labor, though accessibility can be limited on transverse engines where Bank 1 is located near the firewall or under heat shields.
Prevention Strategies for Future Occurrences
Addressing engine oil consumption or coolant leaks promptly helps prevent sensor contamination that degrades response times.
Repairing minor vacuum and exhaust leaks early prevents outside air from skewing upstream sensor readings and triggering range or performance codes.
Troubleshooting Tips and Best Practices
Do not replace the sensor just because a range or performance code is present: An exhaust leak or vacuum leak is a frequent cause. Always verify intake and exhaust integrity first.
Compare Bank 1 and Bank 2: Use live data to compare the switching patterns and fuel trims of both banks. If Bank 2 operates normally while Bank 1 is out of range, the issue is isolated.
Verify your definition: Always confirm whether your specific vehicle uses a narrowband sensor or a wideband sensor, as testing procedures and replacement parts differ significantly.
Check for related trouble codes: Look for accompanying fuel trim or misfire codes, which might indicate a mechanical engine issue rather than a failed sensor.
More OBD-II Codes
| P1144 | P1145 | P1146 | P1147 |
| P1148 | P1150 | P1032 | P1153 |
| P1154 | P1155 | P1156 | P1157 |
| P0133 | P0130 | P0155 | P0156 |
| P1158 | P1159 | P1161 | P1163 |
| P1164 | P1165 | P1166 | P1167 |
Frequently Asked Questions
Is P1149 a generic or manufacturer-specific code?
No. P1149 is a manufacturer-specific powertrain code. Its definition varies by brand, indicating an air/fuel ratio sensor performance issue, a closed-loop control fault, or an oxygen sensor out-of-range condition.
Can I drive my vehicle with a P1149 code?
The vehicle may remain drivable, but an out-of-range sensor can cause poor fuel economy and increased emissions. Driving should be limited until the underlying fuel system or sensor issue is diagnosed and repaired.
Will disconnecting the battery clear the P1149 code?
Disconnecting the battery might temporarily clear the code. However, it does not repair the underlying contaminated sensor, vacuum leak, or wiring fault, and the code will return upon the next monitor cycle.
Can a vacuum leak cause a P1149 code?
Yes. An intake vacuum leak allows unmetered air to enter the engine. This skews the air/fuel ratio, causing the sensor to read a continuous lean condition that exceeds the control module’s adaptation limits.
Does P1149 affect the transmission?
No. The P1149 code relates strictly to the engine fuel and air metering system, specifically the upstream Bank 1 oxygen or air/fuel ratio sensor. It does not directly affect transmission operation.
What Should You Do About the P1149 Code?
When a P1149 code appears, confirm the exact factory definition for your specific vehicle make and model. Because this code targets different sensor technologies and monitoring criteria depending on the manufacturer, applying the wrong diagnostic path will lead to misdiagnosis.
Follow the applicable manufacturer diagnostic procedure to test the relevant system and components. Once the root cause is confirmed, complete the necessary leak repairs, sensor replacements, or wiring corrections before returning the vehicle to normal service.