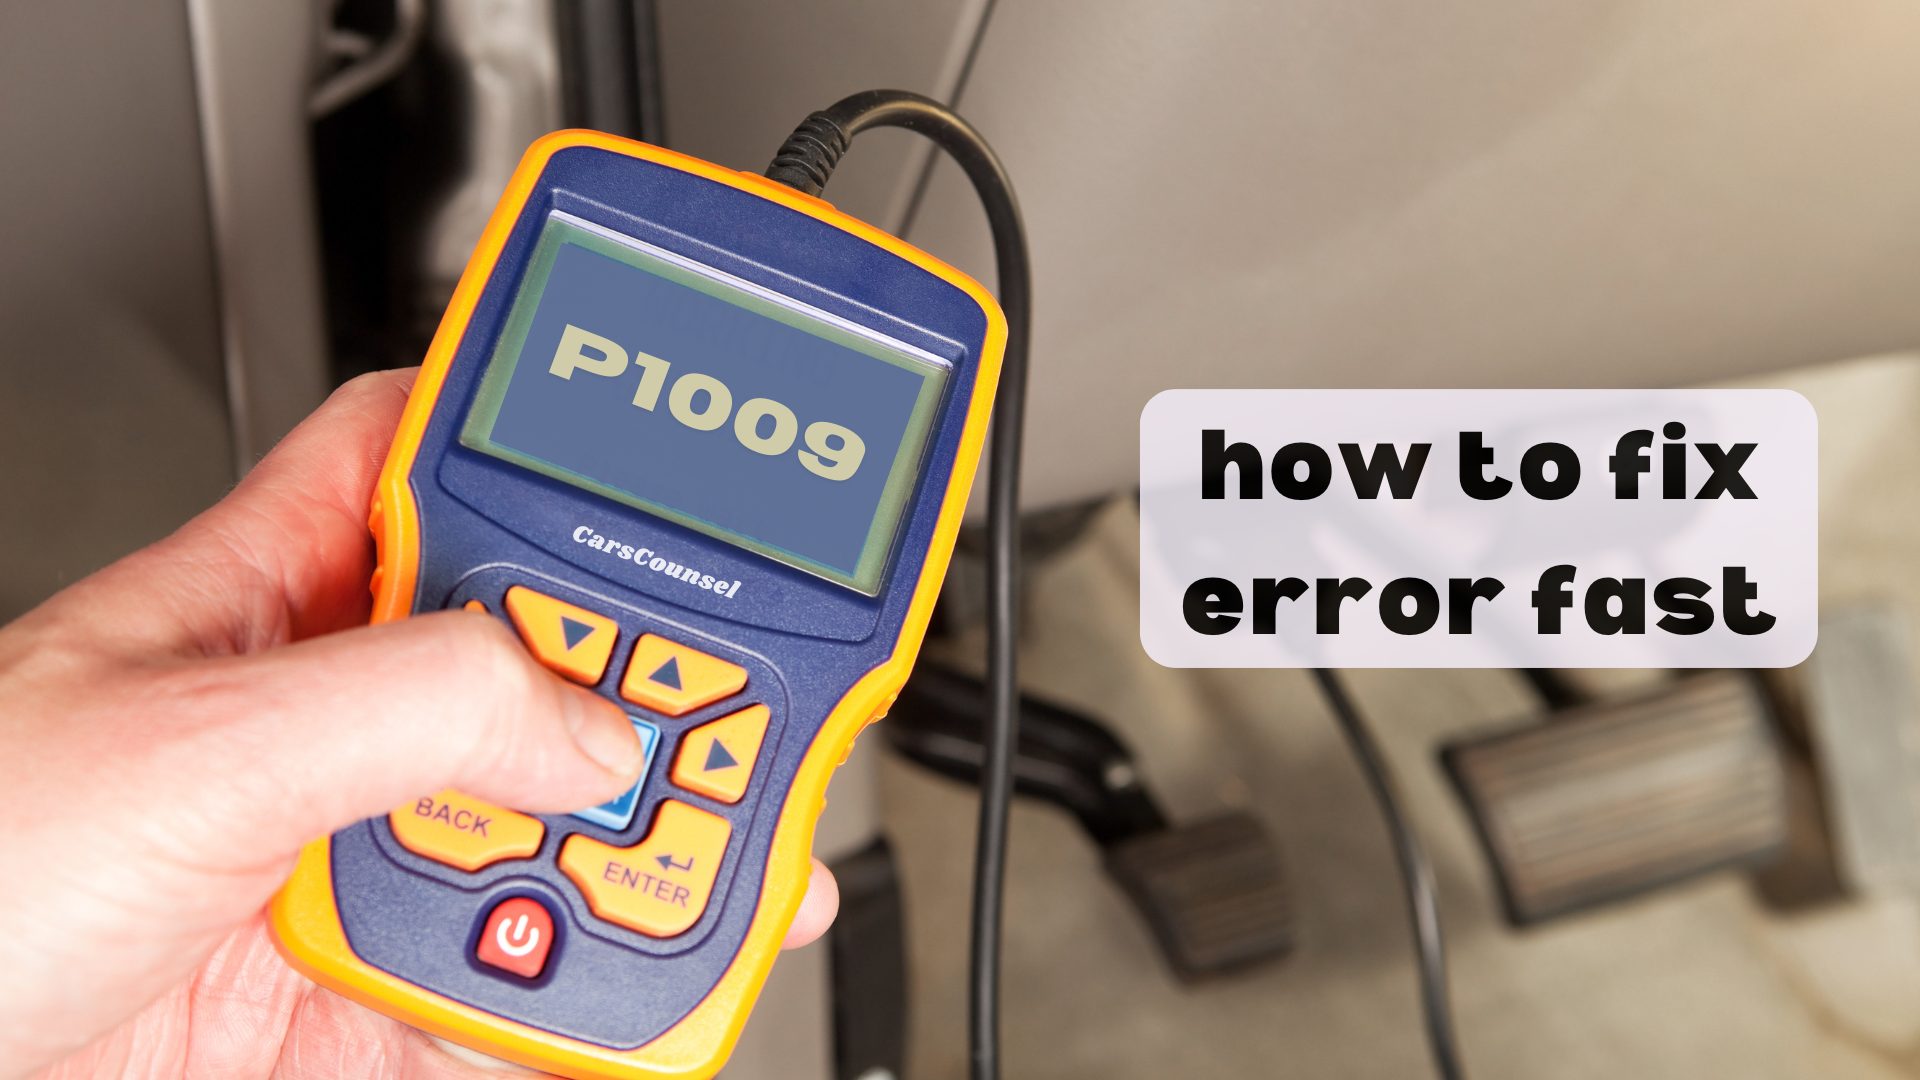
Among OBD2 codes, P1009 is a manufacturer-specific powertrain definition. Its exact meaning depends on the vehicle application, but it is primarily associated with Honda and Acura vehicles indicating a Variable Timing Control (VTC) advance malfunction.
Because this code is manufacturer-specific, the exact diagnostic path depends on your vehicle’s specific engine design. Testing the engine oil, VTC strainer, and solenoid is required to identify the root cause of the timing fault.
Quick Navigation
Key Takeaways
- Condition detected: The PCM identified that the camshaft timing is not advancing correctly or is sluggish compared to the target command.
- Oil and mechanical checks: Diagnosis involves checking engine oil level and condition, inspecting the VTC strainer, and testing the VTC solenoid.
- Drivability impacts: A VTC malfunction can cause rough idling, reduced power, poor fuel economy, and a rattling noise on cold starts.
- Related codes: P1009 may appear alongside other camshaft timing or VTC solenoid circuit codes, helping pinpoint the exact failing component.
P1009 Code Description and Implications
The P1009 code is a manufacturer-specific definition primarily used by Honda and Acura for a Variable Timing Control (VTC) Advance Malfunction. The VTC system uses engine oil pressure to hydraulically advance the intake camshaft, optimizing performance and emissions.
When the powertrain control module (PCM) commands the VTC solenoid to advance the timing, it monitors the camshaft position sensor. If the actual timing does not match the target advance, or responds too slowly, the PCM stores P1009.
This code indicates a hydraulic or mechanical performance issue within the VTC system. It does not automatically prove the VTC solenoid has failed internally; the issue could be low oil pressure, a clogged filter, or a stuck actuator.
Common Causes of the P1009 Code
- Low or degraded engine oil: Insufficient oil volume or dirty, degraded oil prevents the VTC system from generating the necessary hydraulic pressure.
- Clogged VTC strainer: A small mesh filter located on the cylinder head can become blocked with sludge or debris, starving the VTC solenoid of oil.
- Faulty VTC oil control solenoid: The spool valve may become mechanically stuck or fail electrically, preventing oil from reaching the actuator.
- Mechanically stuck VTC actuator: The camshaft phaser itself can fail internally, jamming in the advanced or retarded position.
- Wiring or connector issues: Damaged wires or corroded pins at the VTC solenoid connector can interrupt the control signal.
Symptoms Associated With P1009
Possible symptoms include:
- Illuminated Check Engine Light (MIL).
- Rattling or grinding noise from the engine upon cold start, indicating a failing VTC actuator.
- Rough idle, engine misfires, or hesitation during acceleration.
- Reduced engine power and decreased fuel economy.
- Limp mode activation, limiting engine RPM to prevent valve-to-piston interference.
Diagnosing the P1009 Trouble Code
Diagnosing a VTC performance code requires a scan tool, a digital multimeter, and the vehicle’s specific service information. The first step is to verify the exact factory definition for your specific Honda or Acura application.
A professional diagnostic workflow includes:
- Check engine oil: Verify the oil level is correct and inspect the condition. Dark, sludgy oil indicates a maintenance issue.
- Scan for related codes: Check for additional VTC, camshaft position, or oil pressure codes.
- Inspect the VTC strainer: Remove and inspect the small mesh strainer on the cylinder head for metal debris or sludge blockages.
- Test the VTC solenoid: Measure the solenoid resistance and verify it clicks when 12 volts are applied.
- Inspect wiring: Check the harness and connector for damage, corrosion, or loose pins.
Repairing the P1009 Issue
Repairs must follow confirmed diagnosis. Never replace the VTC actuator or engine components based solely on a P1009 code.
- Oil service: If the oil is low or degraded, perform an oil and filter change using the exact manufacturer-specified viscosity.
- Strainer cleaning: If the VTC strainer is clogged, clean it thoroughly or replace it, and investigate the source of the sludge.
- Solenoid replacement: If the VTC solenoid fails electrical or mechanical testing, replace it with a component meeting the correct vehicle specification.
- Actuator replacement: If the VTC actuator is mechanically jammed or rattling severely, it requires replacement, which involves timing chain service.
- Wiring repair: Repair any confirmed opens or shorts in the solenoid control circuit.
Cost Considerations for P1009 Repairs
The cost to resolve a P1009 code depends heavily on the root cause, diagnostic time, and component accessibility.
An oil change and strainer cleaning involve minimal parts and standard labor. If the VTC solenoid requires replacement, the price includes the part and minor labor. Replacing a failed VTC actuator requires extensive labor for timing chain disassembly and reassembly.
Prevention Strategies for Future Occurrences
While internal actuator wear is not always predictable, you can protect the VTC system from common oil-related failures.
- Follow strict oil change intervals: Replace the engine oil and filter regularly to prevent sludge from clogging the VTC strainer and solenoid.
- Use the correct oil viscosity: The VTC system relies on precise oil pressure; using the wrong oil weight will cause timing faults.
- Monitor oil levels: Check the dipstick regularly, as Honda and Acura engines can consume oil between changes, leading to low pressure.
Troubleshooting Tips and Best Practices
- Do not ignore cold start rattles: A brief rattle on startup is a known symptom of a failing VTC actuator draining down. Address it before it causes timing chain damage.
- Check the strainer first: Before replacing the VTC solenoid or actuator, always inspect the VTC strainer, as a simple clog is a frequent culprit.
- Verify oil level: Always confirm the engine oil is at the proper level before performing electrical diagnostics on the VTC system.
- Look for TSBs: Some manufacturers issue Technical Service Bulletins for updated VTC actuator part numbers or revised strainer designs.
More OBD-II Codes
| P1008 | P1005 | P1004 | P1003 |
| P1002 | P1001 | P1011 | P1017 |
| P1028 | P1031 | P1032 | P1035 |
| P0010 | P0011 | P0012 | P0013 |
| P0014 | P0016 | P0300 | P0171 |
| P0420 | P0455 | P0340 | P0335 |
Frequently Asked Questions
Can low engine oil cause a P1009 code?
Yes. The VTC system relies entirely on engine oil pressure to advance the camshaft. If the oil level is low or the oil is severely degraded, the system cannot generate enough hydraulic pressure, triggering a timing advance malfunction code.
Is it safe to drive with a P1009 code?
It depends on the symptoms. If the engine is misfiring, rattling loudly, or in limp mode, continued driving can cause severe internal engine damage. If the vehicle operates normally, seek diagnosis promptly to prevent long-term wear.
Will an oil change fix a P1009 code?
It might. If the root cause is simply low oil volume or dirty oil restricting flow, an oil and filter change using the correct viscosity may restore proper VTC operation. However, a clogged strainer or failed actuator will require physical repair.
What is the VTC strainer?
The VTC strainer is a small mesh filter located on the cylinder head, positioned just before the VTC solenoid. Its purpose is to catch debris and prevent it from jamming the solenoid spool valve or the camshaft actuator.
Can a bad VTC actuator cause a P1009 code?
Yes. If the internal mechanism of the VTC actuator (camshaft phaser) becomes mechanically jammed or wears out, it will fail to advance the camshaft timing properly, directly causing the PCM to set a P1009 performance code.
What Should You Do About the P1009 Code?
Because the P1009 code indicates a hydraulic or mechanical performance issue within the Variable Timing Control system, it requires systematic diagnosis rather than trial-and-error parts replacement. Confirm the exact factory definition for your specific vehicle application.
Inspect the engine oil level and condition, and check the VTC strainer for blockages. Test the VTC solenoid and verify the wiring harness. Follow the manufacturer’s diagnostic procedure to isolate the faulty component, repair the confirmed root cause, and verify the repair.