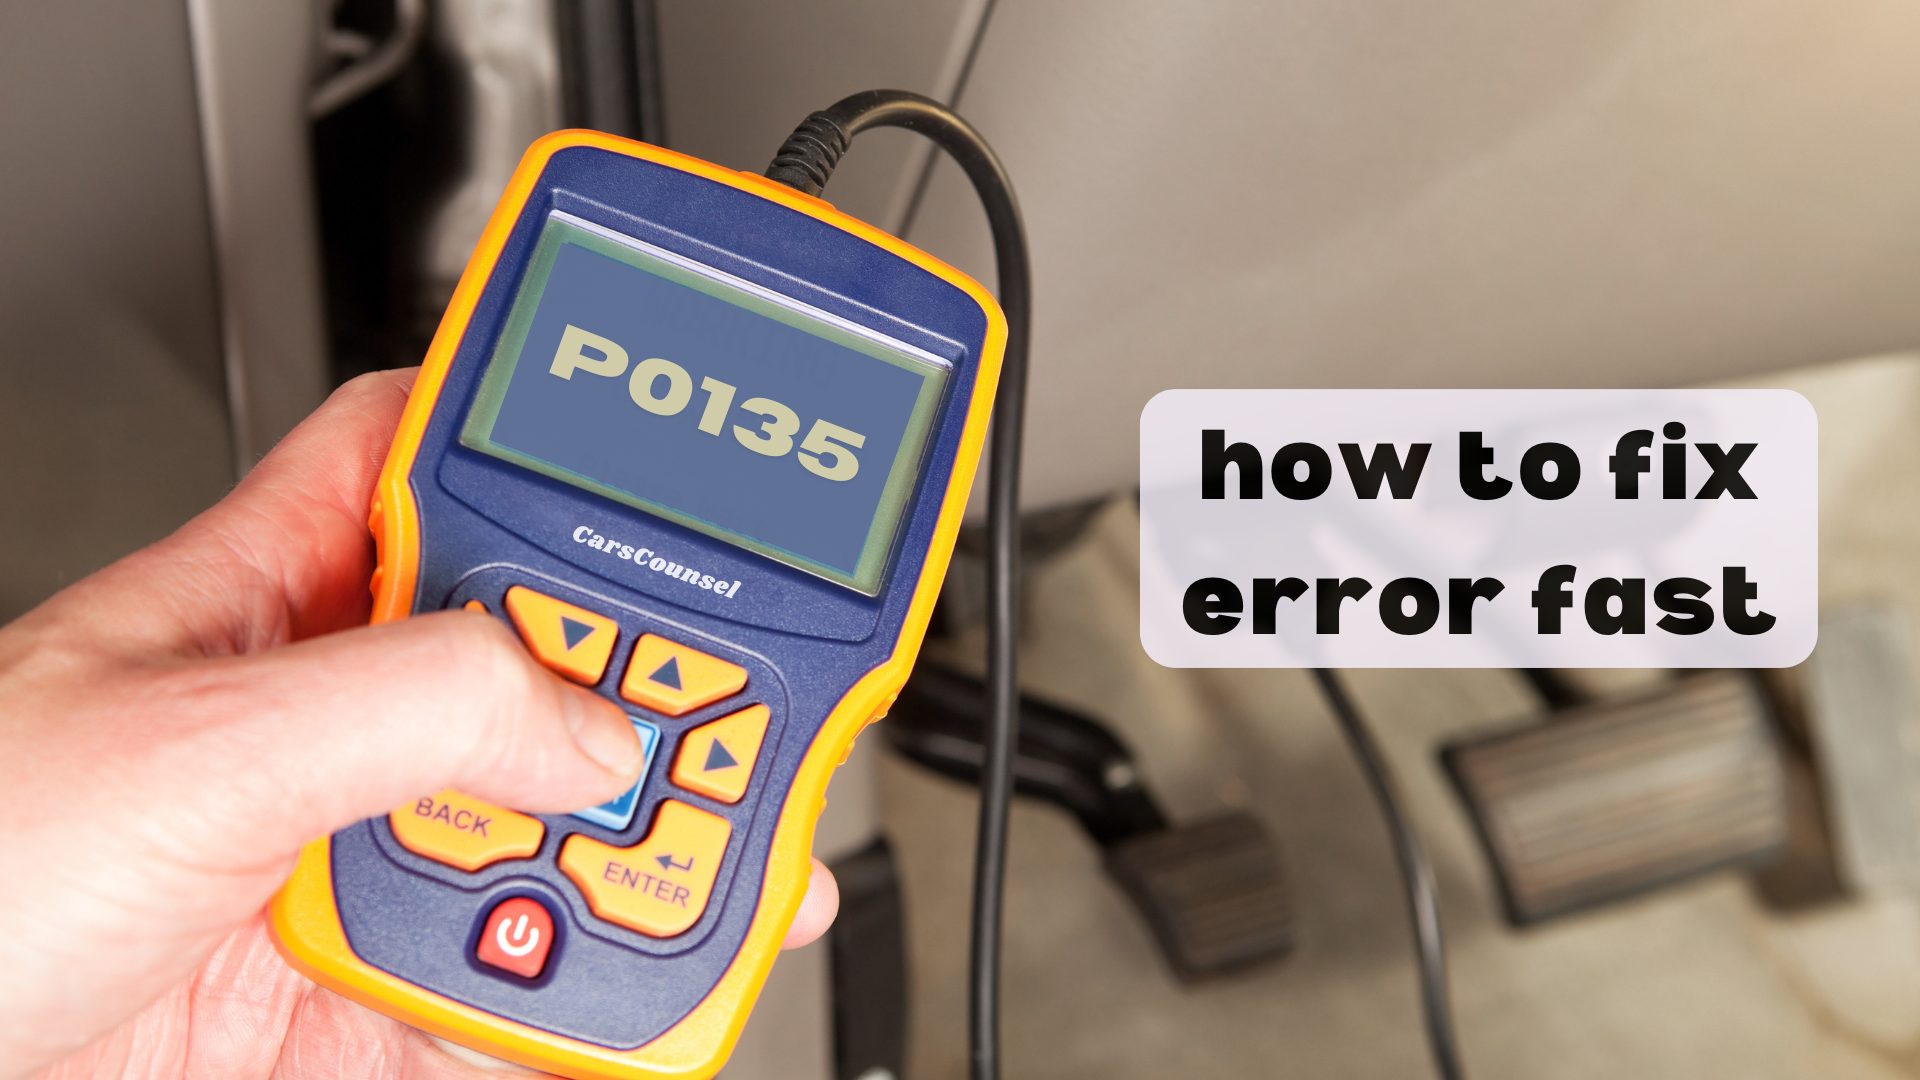
P0135 is a generic OBD-II powertrain code indicating a malfunction in the heater circuit of the Bank 1 Sensor 1 oxygen sensor. The powertrain control module detects an electrical issue preventing the sensor from reaching operating temperature quickly.
Because this code monitors the heater circuit specifically, it does not prove the sensor’s sensing element has failed. The root cause could involve wiring, fuses, or the heater element itself, requiring proper electrical diagnosis.
Quick Navigation
Key Takeaways
- P0135 indicates an electrical fault in the heater circuit for the upstream oxygen sensor on Bank 1.
- The heater element allows the sensor to reach operating temperature quickly for accurate early fuel trim adjustments.
- Possible causes include blown fuses, damaged wiring, corroded connectors, or an open internal heater element.
- Diagnosis requires electrical testing of the heater circuit and verifying power and ground supplies before replacing parts.
P0135 Code Description and Implications
The P0135 code stands for O2 Sensor Heater Circuit Malfunction (Bank 1 Sensor 1). The powertrain control module supplies voltage to the oxygen sensor’s internal heater element to bring it up to operating temperature rapidly after a cold start.
If the module detects an open circuit, short to ground, or short to voltage in the heater control circuit, it stores this generic code. Bank 1 refers to the engine bank containing cylinder number one.
Sensor 1 designates the upstream sensor, located before the catalytic converter. A malfunctioning heater circuit delays the sensor’s ability to provide accurate feedback, keeping the engine in open-loop fuel control longer than necessary.
This delay can temporarily increase emissions and reduce fuel efficiency until the exhaust gases naturally heat the sensor to its required operating threshold.
Common Causes of the P0135 Code
A blown fuse or faulty relay supplying power to the oxygen sensor heater circuit is a potential cause. This cuts power to the heating element entirely.
Damaged wiring or corroded connectors in the sensor harness can interrupt the circuit. Exhaust heat and road debris frequently degrade the wiring near the upstream sensor.
An open or shorted internal heater element within the oxygen sensor itself will trigger the code. The heating element can burn out over time due to thermal stress and contamination.
In rare cases, a faulty powertrain control module or a problem with the module’s internal driver circuit can prevent the heater from receiving the proper ground or voltage signal.
Symptoms Associated With P0135
The most immediate symptom is the illumination of the Check Engine Light. The vehicle may otherwise drive normally, as the sensor will eventually heat up from exhaust gases alone.
Drivers might experience a slight decrease in fuel economy during short trips, as the engine remains in open-loop fuel delivery longer while waiting for the sensor to reach operating temperature.
The vehicle will likely fail an emissions inspection due to the stored diagnostic trouble code and incomplete readiness monitors.
Diagnosing the P0135 Trouble Code
Diagnosis begins by checking the fuse and relay that supply power to the oxygen sensor heater circuit. A visual inspection of the Bank 1 Sensor 1 wiring harness is critical, looking for melted insulation or corrosion.
Using a digital multimeter, technicians measure the resistance of the sensor’s internal heater element across the appropriate pins. The reading must be compared to the exact manufacturer specification for that specific sensor.
If the heater element resistance is within specification, the next step is verifying that battery voltage is reaching the sensor’s power supply wire with the ignition on.
Finally, the control circuit ground path must be tested to ensure the powertrain control module is properly completing the circuit to activate the heater.
Repairing the P0135 Issue
If a blown fuse is found, the fuse must be replaced and the wiring inspected for a short to ground that caused the fuse to blow in the first place.
If the wiring harness is damaged or the connector is corroded, repairing the wiring or replacing the connector pigtail with a proper solder-and-heat-shrink repair is necessary.
When electrical testing confirms the internal heater element is open or out of specification, replacing the Bank 1 Sensor 1 oxygen sensor with a component meeting the exact vehicle specification is required.
If all wiring and the sensor test correctly, further diagnosis of the powertrain control module’s driver circuit is required before considering module replacement.
Cost Considerations for P0135 Repairs
Repair costs depend on the confirmed root cause and the accessibility of the sensor on your specific engine layout.
Replacing a fuse or repairing a short section of damaged wiring is generally on the lower end of the cost spectrum.
If the oxygen sensor itself requires replacement, the cost varies based on whether the vehicle requires a specific direct-fit sensor or a universal sensor that must be spliced.
Labor times vary depending on whether the sensor is easily accessible from the engine bay or requires lifting the vehicle to reach the exhaust manifold.
Prevention Strategies for Future Occurrences
Addressing engine oil or coolant leaks promptly prevents contaminants from fouling the oxygen sensor and degrading its internal components.
Routing replacement wiring harnesses away from sharp edges and hot exhaust components helps prevent future chafing and melting that can cause circuit faults.
Using the correct fuel and avoiding unapproved fuel additives reduces the risk of chemical contamination that can degrade the sensor over time.
Troubleshooting Tips and Best Practices
Never replace an oxygen sensor based solely on a heater circuit code without first verifying that power and ground are actually reaching the sensor connector.
Check for technical service bulletins related to your specific vehicle. Some applications have known issues with specific fuse box corrosion or updated wiring harnesses that address recurring heater circuit faults.
When testing the heater circuit, ensure the engine is completely cold to prevent burns and to get an accurate baseline resistance reading from the multimeter.
If multiple oxygen sensor heater codes are present simultaneously, focus diagnostic efforts on the shared power supply fuse or relay rather than assuming multiple sensors failed at once.
Review other OBD2 Codes if additional fuel trim or sensor circuit faults are stored.
More OBD-II Codes
| P0133 | P0132 | P0131 | P0130 |
| P0123 | P0122 | P0137 | P0138 |
| P0140 | P0141 | P0150 | P0155 |
| P0156 | P0161 | P0170 | P0171 |
| P0172 | P0174 | P0173 | P0201 |
| P0202 | P0203 | P0204 | P0205 |
Frequently Asked Questions
Can I drive my car with a P0135 code?
Driving is generally safe, as the engine will eventually run in closed-loop once exhaust gases heat the sensor. However, fuel economy may suffer on short trips, and the vehicle will fail emissions inspections.
Will a bad oxygen sensor heater affect fuel economy?
Yes. A failed heater keeps the sensor cold, forcing the engine to run in open-loop mode with a richer fuel mixture until the exhaust naturally heats the sensor. This reduces fuel efficiency.
Can a blown fuse cause a P0135 code?
Yes. The oxygen sensor heater circuit is typically protected by a dedicated fuse in the engine bay fuse box. If this fuse blows, the heater receives no power, triggering the circuit malfunction code.
Is Bank 1 Sensor 1 before or after the catalytic converter?
Sensor 1 designates the upstream oxygen sensor, which is located on the exhaust manifold or downpipe before the catalytic converter. Bank 1 is the engine bank containing cylinder number one.
Do I need to replace all oxygen sensors if one heater fails?
No. Oxygen sensor heater elements fail independently. Unless the other sensors are showing their own circuit codes or are beyond their recommended service life, only the confirmed faulty sensor requires replacement.
What Should You Do About the P0135 Code?
Confirm the exact factory definition and sensor location for your vehicle, then follow the applicable manufacturer diagnostic procedure. Verify the heater circuit fuse and inspect the wiring harness for physical damage before testing the sensor element.
Address the confirmed root cause promptly to restore proper closed-loop fuel control and ensure the vehicle passes emissions inspections.