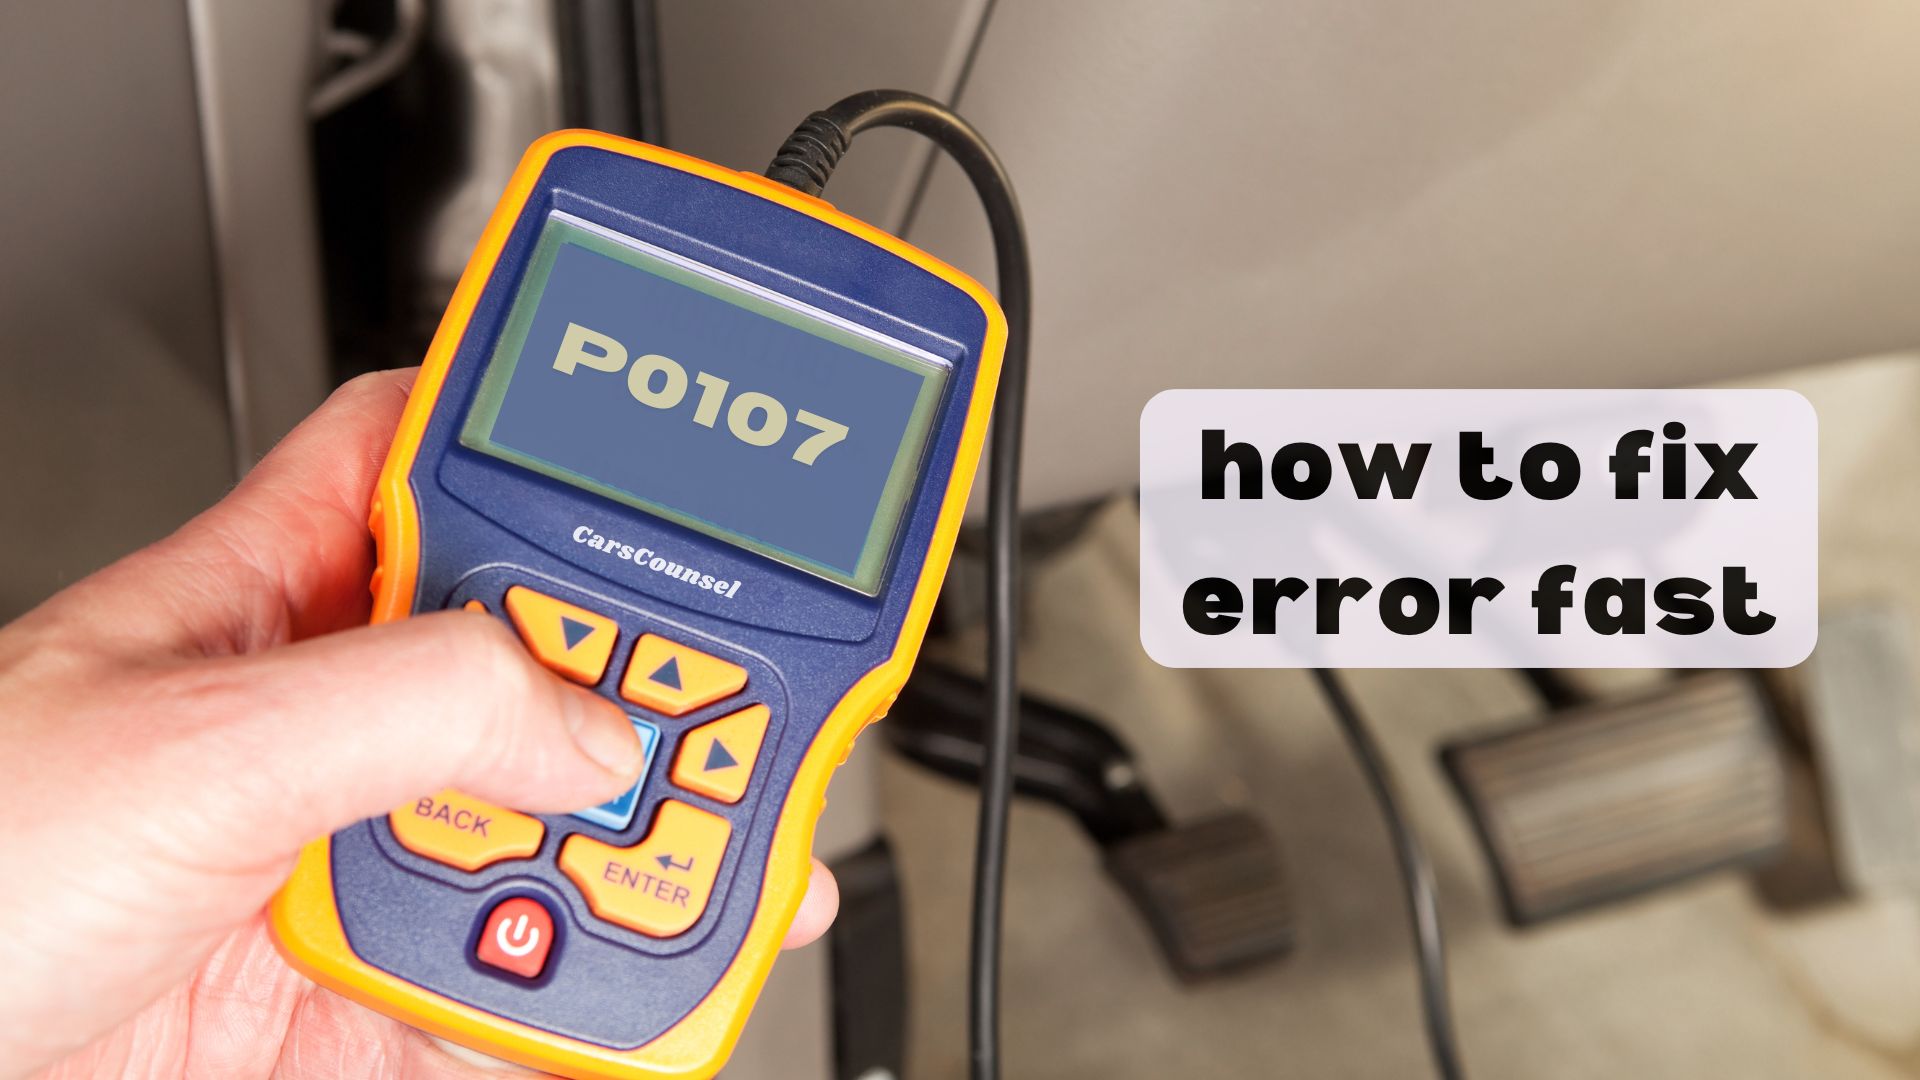
The P0107 trouble code is a generic OBD-II diagnostic code indicating that the Engine Control Module (ECM) has detected a low voltage condition in the Manifold Absolute Pressure (MAP) or Barometric Pressure (BARO) sensor circuit. This standardized definition applies across most vehicles.
This code identifies a detected electrical condition, not necessarily a failed sensor. The low signal typically stems from a short to ground, wiring damage, or connector issues. Accurate diagnosis requires testing the specific circuit before replacing components.
Quick Navigation
Key Takeaways
- P0107 indicates the ECM detected a voltage signal below the expected minimum threshold in the MAP or BARO sensor circuit.
- Possible causes include a short to ground, damaged wiring, corroded connectors, or an internally failed sensor.
- Symptoms often include an illuminated Check Engine Light, poor engine performance, rough idling, or hesitation.
- Proper diagnosis requires measuring circuit voltage and checking for continuity before replacing the sensor.
- Repair costs vary based on whether the issue is a simple wiring repair or requires sensor replacement.
P0107 Code Description and Implications
The P0107 code is a generic SAE definition that applies to all OBD-II compliant vehicles. It specifically indicates that the signal voltage from the MAP or BARO sensor has dropped below the manufacturer’s calibrated minimum threshold.
Modern engines rely on this voltage signal to determine engine load and adjust fuel delivery. When the ECM reads a voltage near zero volts on this specific circuit, it interprets the condition as a short to ground or an open circuit.
Because this is a generic code, the exact physical sensor location varies. Some vehicles use a dedicated MAP sensor on the intake manifold. Others integrate the sensor directly into the ECM or use a combined MAP/IAT unit.
Common Causes of the P0107 Code
Electrical faults are the primary trigger for this circuit-low condition. The ECM expects a variable signal return based on manifold pressure, and a short pulls the voltage low.
Short to ground: The signal wire may be chafed against the engine block or chassis, creating a direct path to ground that drops the voltage to zero.
Failed sensor element: Internal failure within the MAP sensor can cause the output driver to fail, pulling the signal line low regardless of actual manifold pressure.
Connector issues: Corrosion or moisture intrusion in the sensor connector can create a conductive path between the signal and ground circuits.
Symptoms Associated With P0107
When the ECM detects a critical loss of manifold pressure data, it typically illuminates the Check Engine Light. Depending on the vehicle’s fail-safe programming, other symptoms may appear.
Drivability issues: The engine may default to a fixed, high-load value, causing a rich fuel condition, rough idling, hesitation, or black smoke from the exhaust.
Limp mode: Some vehicles will restrict engine RPM and limit transmission shifting to protect the engine from potential damage due to incorrect fueling.
Stalling: The engine may stall at idle or when coming to a stop because the ECM cannot accurately calculate the required air-fuel mixture.
Diagnosing the P0107 Trouble Code
Accurate diagnosis begins by confirming the exact sensor configuration for your specific make, model, and year. Consult the manufacturer’s wiring diagram to identify the signal, reference, and ground circuits.
Visual inspection: Trace the wiring harness from the sensor to the ECM. Look for rubbed-through insulation near sharp brackets or heat damage from exhaust components.
Voltage testing: Using a digital multimeter, back-probe the sensor connector with the key on. Verify that the reference wire has five volts and that the signal wire is pulled low.
Component isolation: If the wiring tests correctly but the signal remains near zero volts with the connector disconnected, the sensor itself is likely the source of the fault.
Repairing the P0107 Issue
Repairs must address the specific root cause identified during testing. Simply clearing the code will not resolve an underlying electrical fault.
Wiring repair: If a short to ground is found, repair or replace the affected harness section. Use solder and heat-shrink tubing rather than twist-on connectors for lasting reliability.
Sensor replacement: If the sensor fails electrical testing, replace it with a component that meets the exact OEM specifications. Ensure the vacuum port is clear of debris before installation.
Connector service: Clean corroded pins with electrical contact cleaner. If the plastic housing is cracked or the terminals are loose, replace the connector pigtail.
Cost Considerations for P0107 Repairs
Repair costs depend heavily on the underlying fault and the vehicle’s design. A simple wiring repair may only require basic shop time and materials.
If the MAP sensor is easily accessible on the intake manifold, the part is generally inexpensive and quick to replace. However, if it is integrated into the ECM or requires dashboard removal, labor costs increase.
Diagnostic time is required to pinpoint the exact location of the short circuit before any parts are replaced.
Prevention Strategies for Future Occurrences
While internal sensor failures cannot always be predicted, you can protect the external circuits from common damage.
Harness routing: Ensure the wiring harness near the intake manifold is properly secured. Vibrations and engine movement can cause wires to chafe against sharp metal brackets over time.
Moisture protection: Keep connector seals intact during engine bay cleaning. High-pressure water can force moisture into electrical connections, leading to corrosion that eventually causes short circuits.
Troubleshooting Tips and Best Practices
Do not assume the sensor is faulty just because a P0107 code is present. A shorted wire touching the engine block will produce the exact same low-voltage reading as a completely failed sensor.
Always check the 5-volt reference circuit first. If the reference voltage is missing, the sensor cannot operate, though this typically sets a reference voltage code rather than a specific sensor low code.
Use a scan tool capable of displaying live data to watch the sensor voltage or pressure reading in real time. A reading of zero kPa or near zero volts confirms the circuit low condition.
More OBD-II Codes
| P0101 | P0100 | P0087 | P0068 |
| P0011 | P0010 | P0108 | P0111 |
| P0112 | P0113 | P0117 | P0118 |
| P0121 | P0122 | P0123 | P0171 |
| P0172 | P0174 | P0131 | P0132 |
| P0300 | P0420 | P0440 | P0505 |
Frequently Asked Questions
Is P0107 a generic or manufacturer-specific code?
P0107 is a generic SAE OBD-II code. Its baseline definition applies across all compliant vehicles, though the exact physical sensor location and diagnostic testing procedures vary by manufacturer and model.
Can a vacuum leak cause a P0107 code?
No. Vacuum leaks typically cause rationality or performance codes because the sensor is reading correctly but the engine is behaving poorly. P0107 specifically identifies an electrical circuit low voltage condition.
Will disconnecting the battery clear the P0107 code?
Disconnecting the battery may temporarily erase the code from the ECM memory, but it does not repair the underlying electrical fault. The code will return as soon as the monitor runs again.
Is it safe to drive with a P0107 code?
Driving is not recommended. The ECM will default to a fixed fuel map, which can cause severe rich conditions, fouled spark plugs, or catalytic converter damage due to unburned fuel entering the exhaust.
Does P0107 always mean the MAP sensor is bad?
No. The code indicates a low voltage condition in the circuit. This is frequently caused by a shorted wire, a corroded connector, or a lost reference voltage. The sensor should only be replaced after testing.
What Should You Do About the P0107 Code?
Confirm the exact factory definition and sensor configuration for your specific vehicle application. Because P0107 identifies a circuit-low condition, the root cause could be a shorted wire, a damaged connector, or a failed sensor.
Follow the applicable manufacturer diagnostic procedure to test the reference, signal, and ground circuits. Repair any confirmed wiring faults, or replace the relevant system components only after electrical testing verifies the failure. Finally, clear the codes and verify the repair with a test drive.