You might not realize that the P0641 error code often comes from problems with the sensor’s reference voltage circuit, which is an important but often overlooked part of your car’s electrical system.
Fixing this OBD2 Codes error doesn’t have to be scary or take a long time if you know where to begin. By learning how to use a multimeter to check reference voltages and carefully inspecting the wiring and connectors, you can solve this issue quickly.
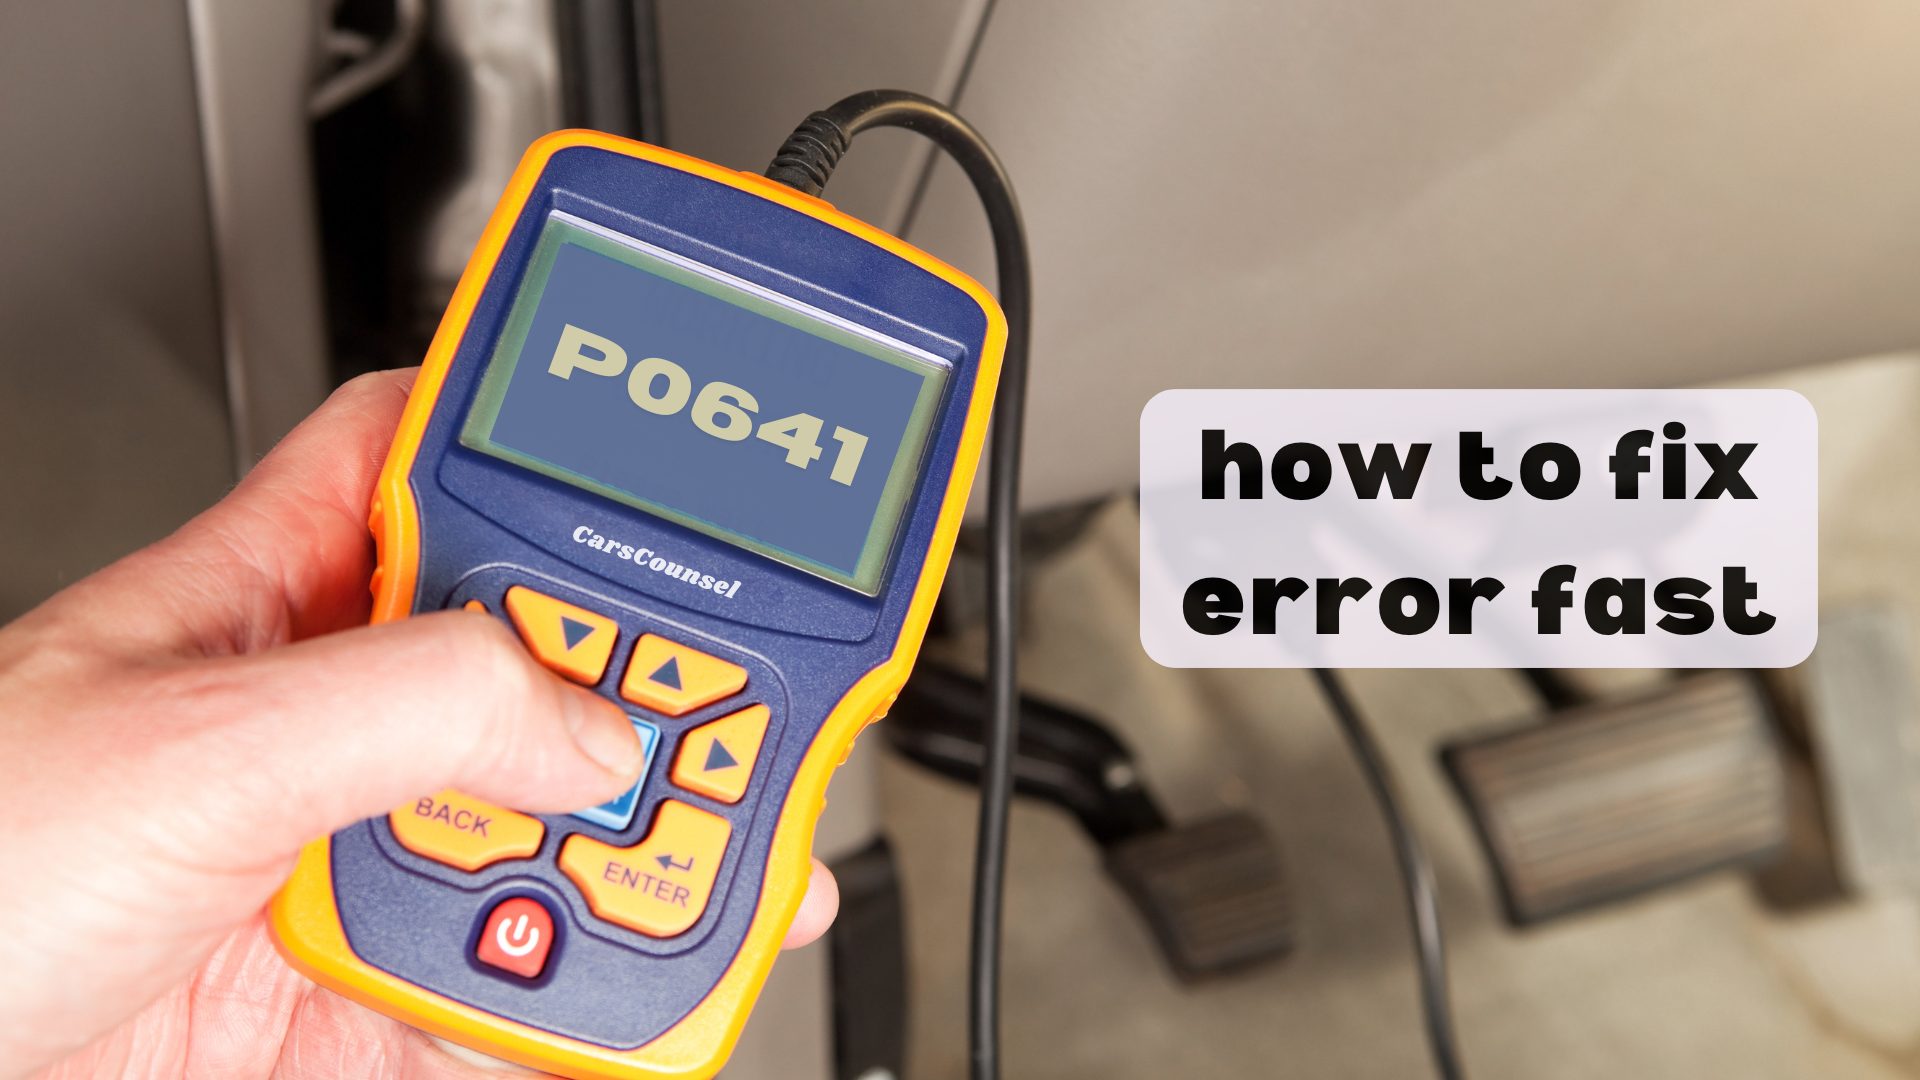
Want to make sure you get your car back on the road fast and avoid common mistakes? Let’s go over the steps you need to take.
Quick Navigation
Key Takeaways
- Check all the sensor wires and connections for rust or damage.
- Use a multimeter to measure the sensor’s reference voltage and compare it to what the manufacturer says it should be.
- Use an OBD-II scanner to read and clear error codes from the car’s computer.
- Make sure all electrical connections are tight and secure to avoid voltage drops.
Understanding the P0641 Code
When you’re dealing with the P0641 code, it’s important to know that it shows problems with the sensor reference voltage A circuit, which often affects engine performance. This code usually means the voltage input is different from what the manufacturer specifies.
Start by looking up the P0641 code to understand what it means. You’ll need to follow sensor voltage guidelines to find the issue. First, use a multimeter to check the sensor voltage and see if it matches the specified range.
Make sure all connections are secure and look for any corrosion or damage in the wiring. It’s also important to check the PCM (Powertrain Control Module) for possible problems.
Taking a step-by-step approach, including circuit testing, will help you find and fix the root cause effectively.
Common Symptoms
If your car shows a P0641 code, you might notice the engine stalling, losing power, or using more fuel than usual. The engine could also run roughly or misfire.
To figure out what’s wrong, you can use an OBD-II scanner to read error codes and check real-time data. Start by looking under the hood for any damaged wires or rusty connectors.
If the issue continues, use a multimeter to check the voltage at the sensors. Make sure the Powertrain Control Module (PCM) is working properly.
Typical Causes
Several common reasons can trigger a P0641 code. These include faulty sensors, problems with the PCM (Powertrain Control Module), damaged wiring, loose connections, environmental factors like moisture and heat, short circuits, open circuits, and corrosion or dirt on connectors.
First, check if any sensors are damaged or clogged, as this can cause them to send wrong signals.
Next, look at the wiring for any signs of damage or corrosion, which can lead to voltage drops. Make sure all connections are tight and clean.
Environmental factors can wear down components over time, so inspect for any signs of wear.
Finally, use a multimeter to find any short or open circuits in the system.
Affected Car Models
The P0641 code can affect many vehicles, but it’s especially common in models like the 2006-2007 Chevy Impala, Dodge RAM, and Jeep Grand Cherokee, as well as the 2008-2013 Cadillac CTS. If you own one of these cars, keep an eye on your sensors and wiring.
Start by checking the Powertrain Control Module (PCM) for any error codes. Look at the sensor reference voltage circuit to see if there’s anything unusual.
Check for corrosion on connectors, damaged wires, or loose connections. Use a multimeter to make sure the voltage levels match what the manufacturer recommends.
If you find any faulty sensors, fix them right away and use either OEM or high-quality aftermarket parts to prevent the problem from happening again.
Visual Inspection Tips
To start addressing the P0641 code, begin by carefully looking over the sensor reference voltage circuit for any obvious damage, like rusty connectors or worn-out wiring.
Here are some helpful tips:
Check all connectors and wires for rust, discoloration, or any physical damage. Make sure all connectors are securely attached and there are no loose connections.
Don’t make common mistakes like missing hidden areas where wires might rub against metal parts or ignoring slight discoloration that could mean early rusting.
Use a flashlight to see in dark areas and a magnifying glass to look closely at small details.
Pay special attention to places exposed to moisture or heat, as they’re more likely to get damaged.
Sensor Testing
When testing the sensors, you’ll need a multimeter to check the voltage output against what the manufacturer recommends.
First, unplug the sensor’s wiring harness. Set your multimeter to measure voltage. Attach the multimeter probes to the sensor terminals. Turn the ignition to the ‘on’ position but don’t start the engine.
Compare the voltage reading to the manufacturer’s specifications found in your vehicle’s manual. If the voltage isn’t within the specified range, the sensor might need recalibration or replacing. Always make sure the sensor is properly calibrated to get accurate readings.
Once you’re done, plug the harness back in. This process helps identify any faulty sensors that might be causing the P0641 code, ensuring your vehicle runs smoothly.
Circuit Testing
Start by making sure all the connections are tight and secure. Then use a multimeter to check if the circuit is complete and to look for any voltage drops.
Verify Connections:
Look at all the connections and make sure they’re properly connected. (Tool: Your eyes)
Continuity Test:
Set your multimeter to the continuity setting. Put the probes at both ends of the circuit and listen for a consistent tone that tells you the circuit is complete. (Tool: Multimeter)
Voltage Test:
Set the multimeter to DC voltage. Check the voltage at different points in the circuit to see if there are any big drops, which could mean there’s a problem with the wiring. (Tool: Multimeter)
These steps will help you find problems in the reference voltage circuit quickly.
Using a Scan Tool
Once you’ve made sure the circuit is working properly, connect your scan tool to the vehicle’s OBD-II port to get the P0641 code and any other related trouble codes.
Make sure your scan tool is up-to-date and works with your vehicle’s make and model. Turn the ignition to the ‘ON’ position without starting the engine.
Use the scan tool’s menu to find the troubleshooting section. Get and write down all active and pending codes.
Take note of any freeze frame data, as it shows what was happening when the code was triggered. Look over the data to spot any patterns or recurring issues.
This information is crucial for accurately diagnosing and fixing the P0641 code.
Effective Repair Strategies
After looking at the data from your scan tool, you can follow these simple steps to fix the P0641 code.
First, check the wiring in your vehicle for any signs of wear or damage, like corrosion. You can fix minor issues with electrical tape or replace damaged parts.
Next, inspect all sensor connections to make sure they’re clean and tightly connected. If any sensor is faulty, replace it with a good quality part.
Use a multimeter to check if the sensor voltage is within the range specified by the manufacturer.
Also, take a look at the Powertrain Control Module (PCM) to see if there are any problems. If needed, replace the PCM and reset it using the scan tool.
These tips will help you fix the P0641 code and get your engine running smoothly again.
Preventive Measures
Regularly checking and cleaning your car’s electrical plugs can go a long way in preventing the P0641 error code. By making preventive maintenance a habit, you can keep the electrical connections in top shape.
Here’s what to do:
- Check Often: Look at all the electrical plugs to see if they show any signs of wear, rust, or dirt.
- Clean Well: Use a contact cleaner to get rid of any dirt or build-up on the plugs so they conduct electricity properly.
More OBD-II Codes
Frequently Asked Questions
How Much Does It Cost to Fix a P0641 Code?
Fixing a P0641 code usually costs between $100 and $1,000. The exact cost depends on what needs to be repaired. Using tools like a multimeter and a scan tool can help figure out the exact problem and refine the cost.
Can I Drive My Car With a P0641 Code Present?
Driving your car with a P0641 code is like driving with a ticking time bomb. This code can cause symptoms like stalling and reduced power, making it risky to drive. The P0641 code is often caused by faulty sensors or wiring problems. It’s important to fix these issues right away to prevent more damage to your engine.
Are There Any Specific Tools Required to Diagnose a P0641 Code?
To figure out what’s causing a P0641 code, you’ll need a diagnostic scanner to read the error codes and a multimeter to measure sensor voltage, check if the circuits are connected properly, and find any voltage drops.
How Long Does It Typically Take to Repair a P0641 Code Issue?
Fixing a P0641 code can take some time. Checking things like sensors and circuits usually takes a few hours. If you need to replace the PCM or any wiring, it will take even longer.
Can a P0641 Code Affect My Car’s Emissions Test Results?
Curious if a P0641 code can mess with your emissions test? Yes, it can. This issue can cause performance problems, leading to higher emissions. Fix any bad sensors, wiring issues, or PCM troubles quickly to pass the test.
Conclusion
To sum up, fixing the P0641 code quickly means you need to be careful and thorough.
Begin by using a multimeter to test the sensor reference voltage, check and secure all wiring connections, and replace any broken parts.
Always use good-quality parts to avoid future problems.
Remember, it’s better to prevent issues than to fix them later.
After making the repairs, clear the error codes using an OBD-II scanner and keep an eye on your car’s performance to make sure the problem is fixed.